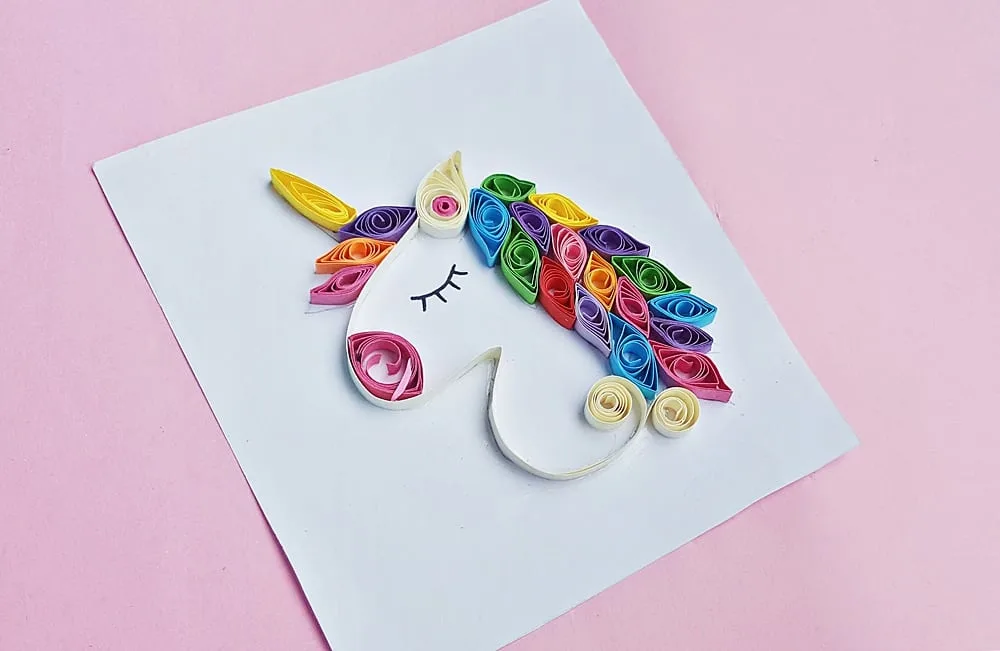
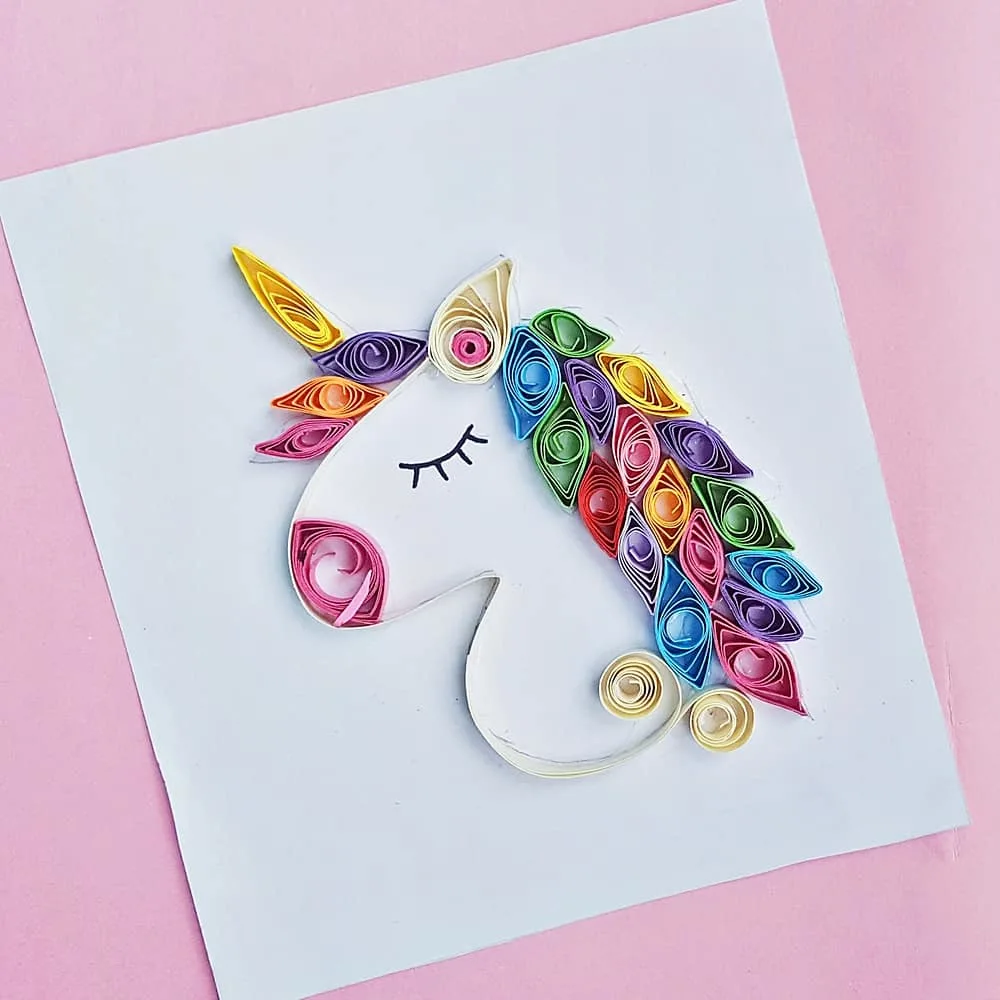
Have you tried paper quilling? We are so excited to share this magical Paper Quill Unicorn Art.
We’ve had our hand at making some easy paper quill art for kids like these paper quill balloons and animals. Because we love unicorns, we had to share how to make this magical creature in paper quill form too!
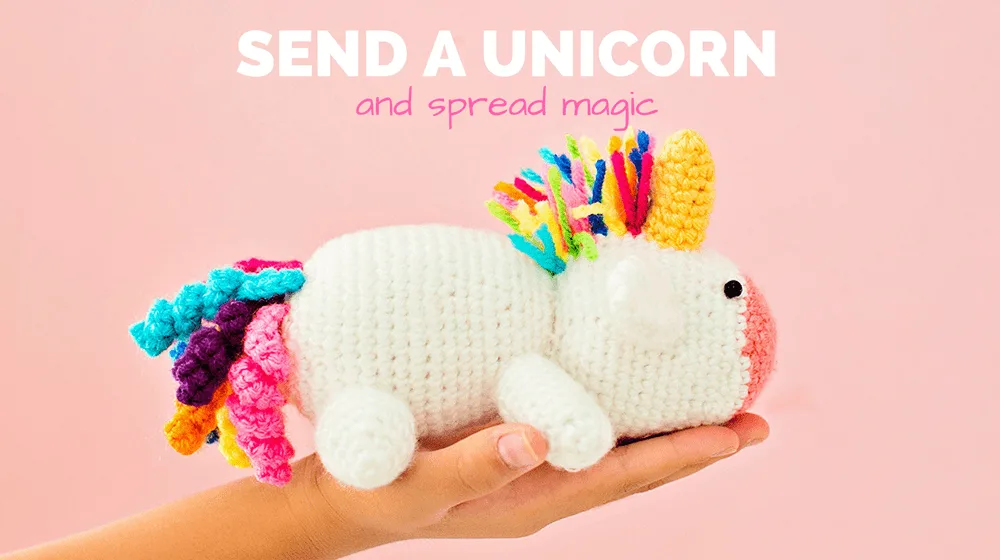
Psst..have you seen our new Send a Unicorn Shop?
What’s great about paper quilling is that you don’t need a lot of difficult art materials, just strips of paper and a quilling tool, plus some glue.
We made this super easy with our FREE printable unicorn template so all you have to do is quill your paper and follow along the lines.
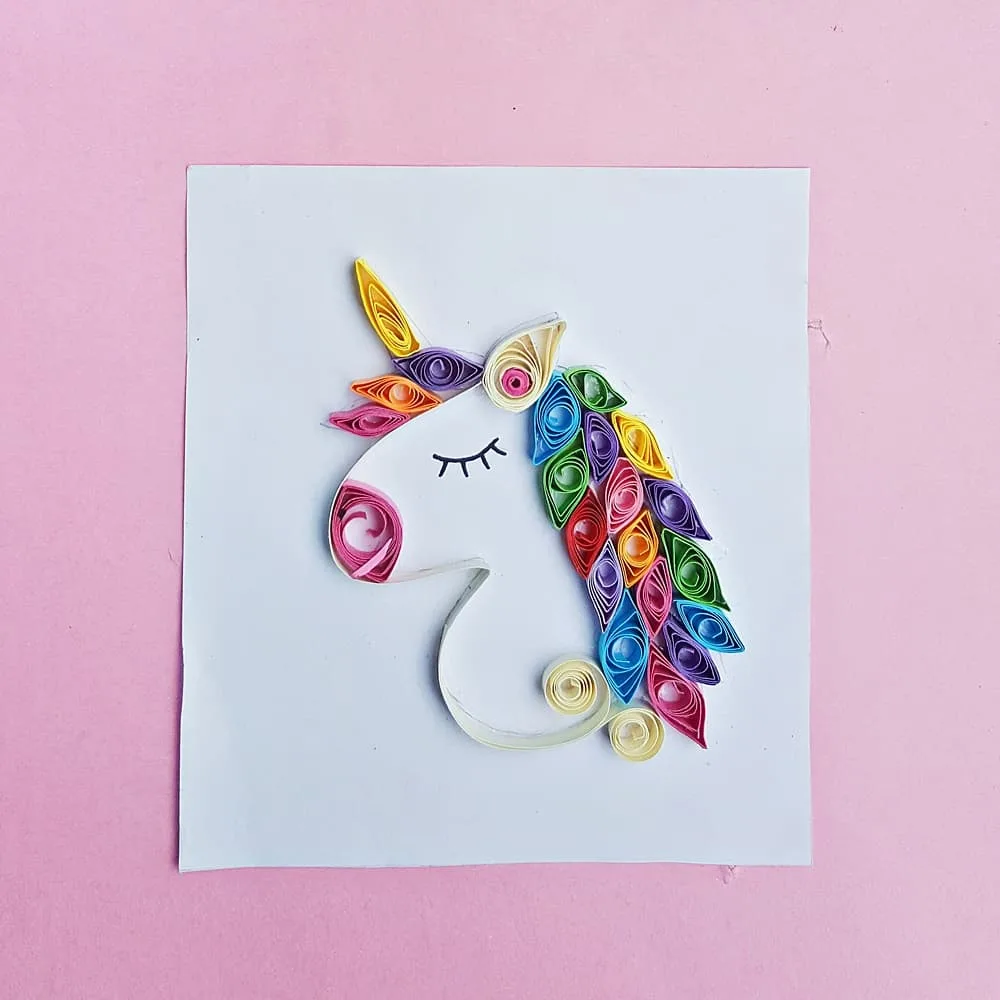
Scroll all the way down to watch this magical Paper Quill Unicorn Art in action, and be sure to subscribe to our channel for more fun crafts and ideas!
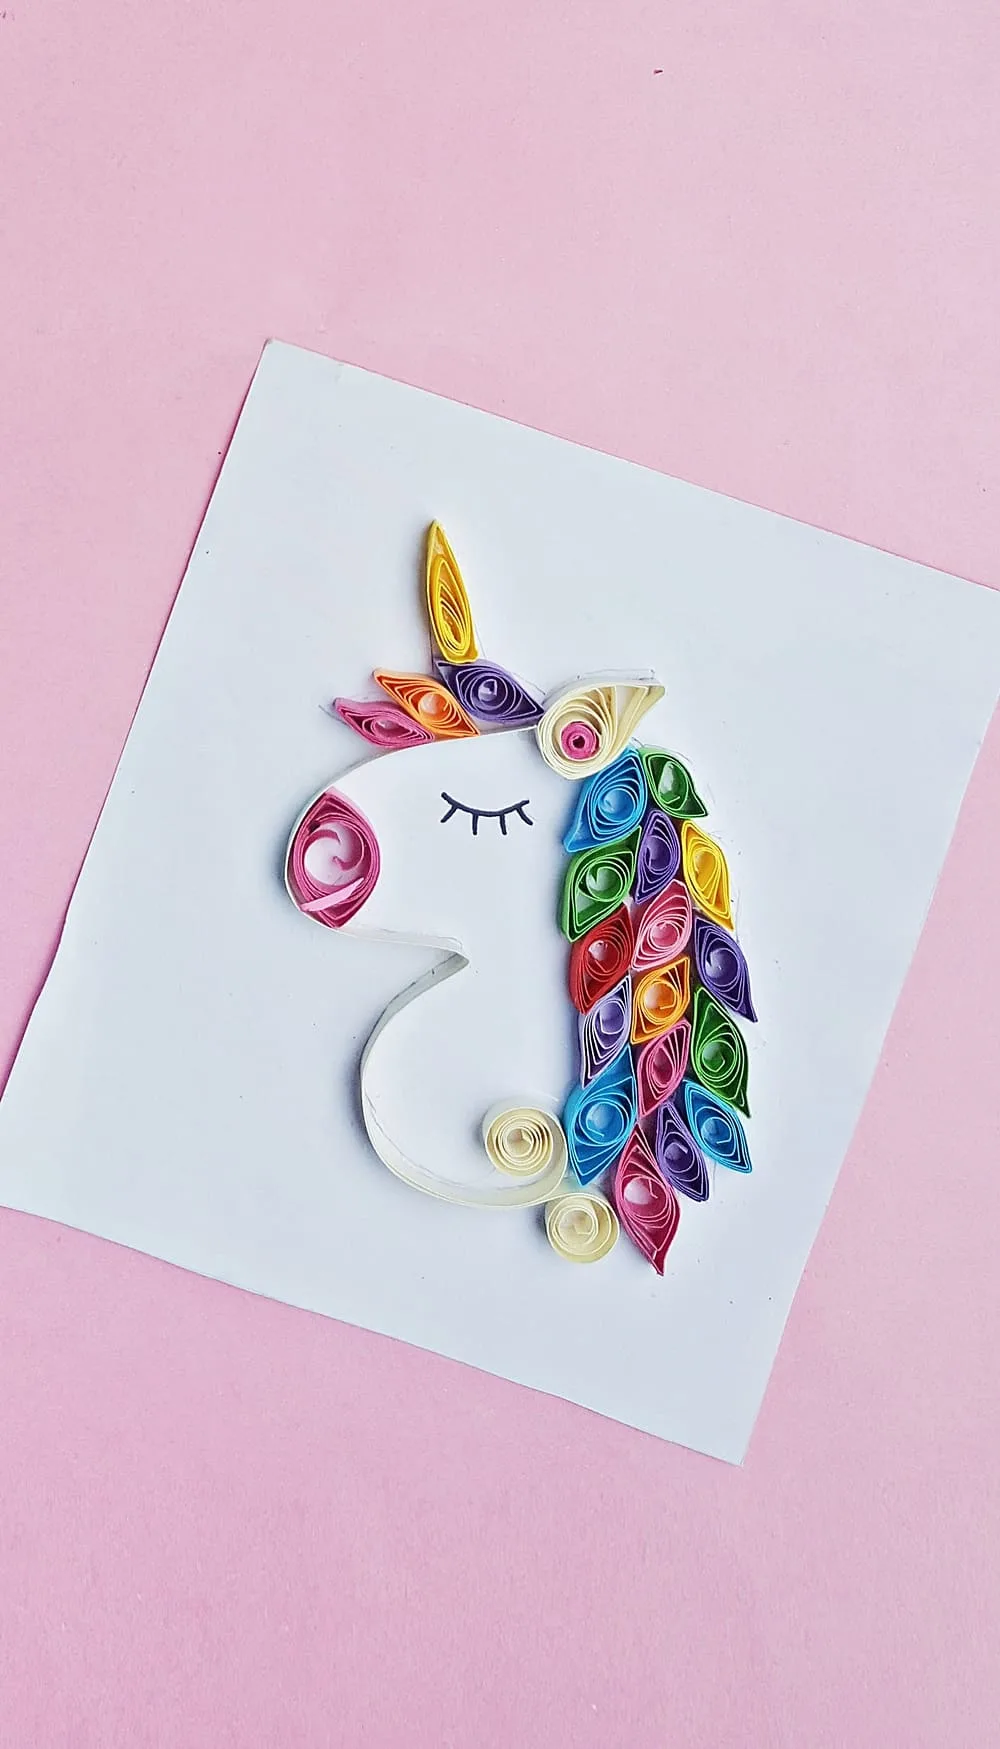
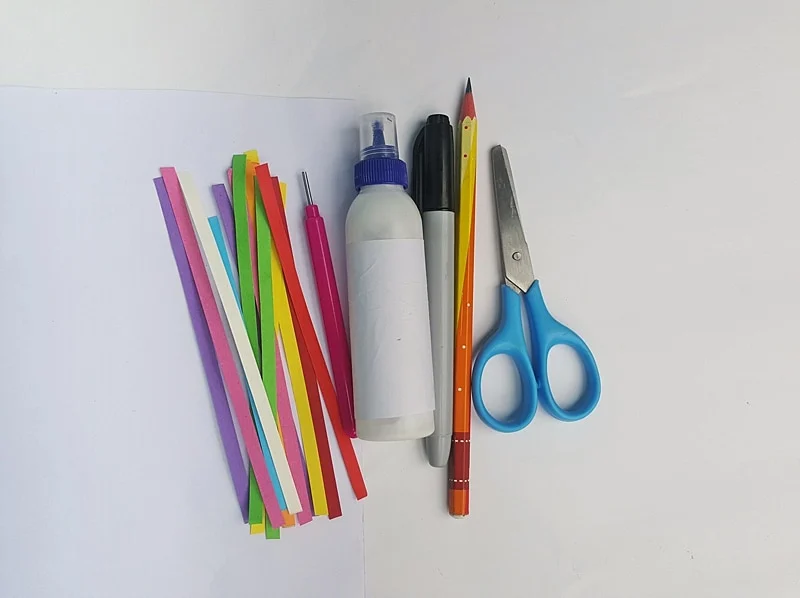
PAPER QUILL UNICORN ART – MATERIALS:
- Unicorn Printable (download right below)
- Quilling paper strips
- White paper (like copier or printer paper)
- Craft glue
- Slotted quilling tool
- Scissors
UNICORN TEMPLATE – DOWNLOAD RIGHT BELOW
Click Here to Get Your Free Printable
INSTRUCTIONS:
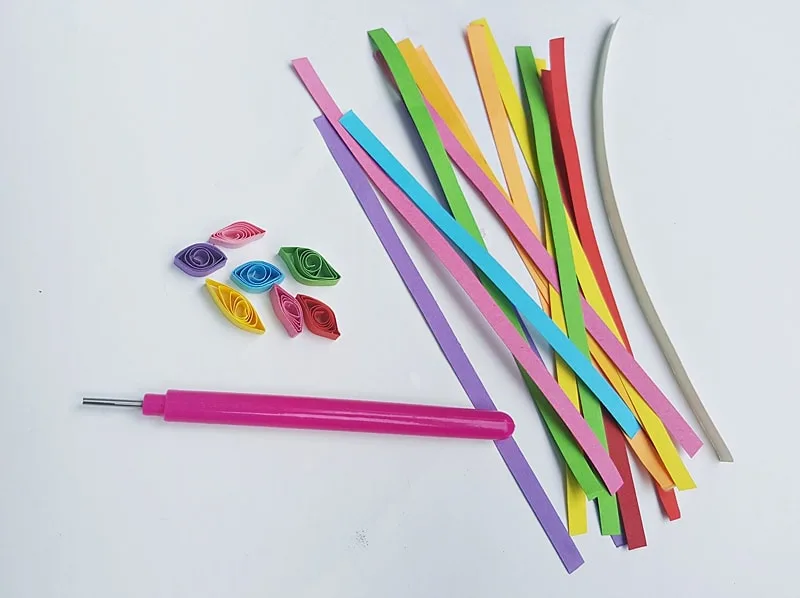
Step 1: Gather bright colored quilling paper strips. Use the slotted quilling tool to create lens shapes. Simply coil the strip around the slotted quilling tool; take out the coil and allow it to loosen up freely. Press 2 opposite ends of the loose coil to form the lens shape.
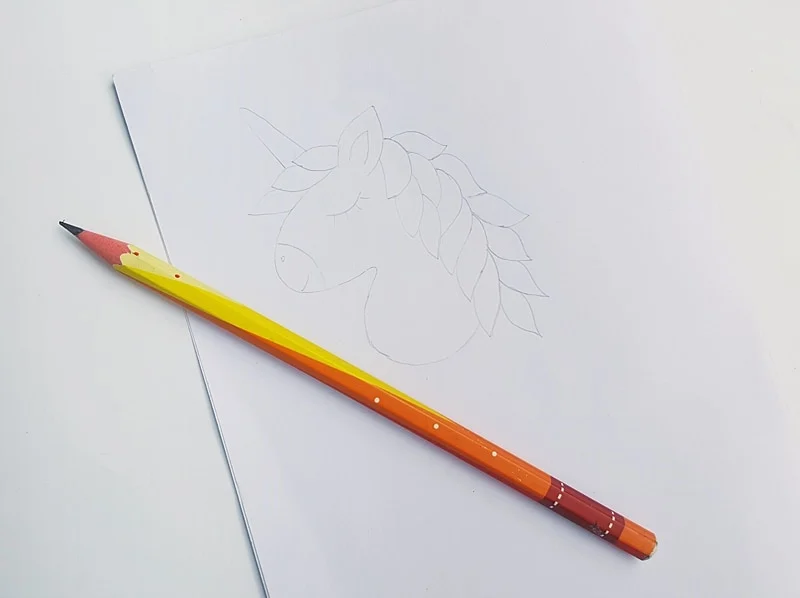
Step 2: Prepare a piece of white stationary paper into any size you prefer. Use a pencil to draw the unicorn head pattern given in the template, on the paper. Trace the pattern lightly.
Step 3: Apply craft glue and trace along the front part of the unicorn head.
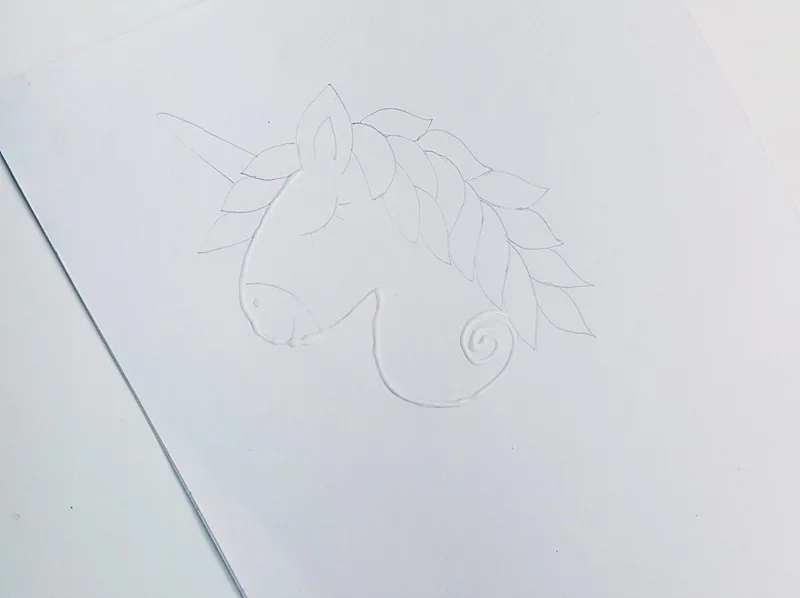
Step 4: Take a long piece of off white (or any color you would prefer for the unicorn) create coil at any one of its ends. Use about 3-4 inches of the strip to create the coil.
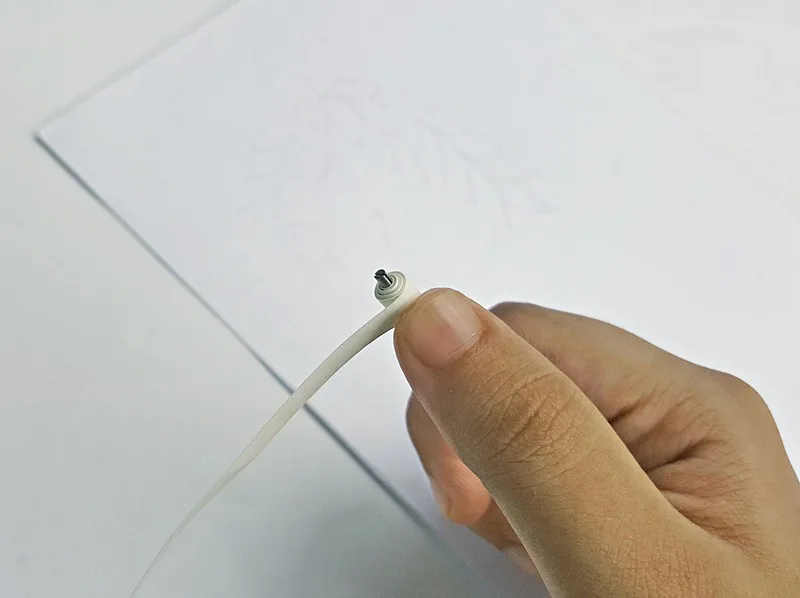
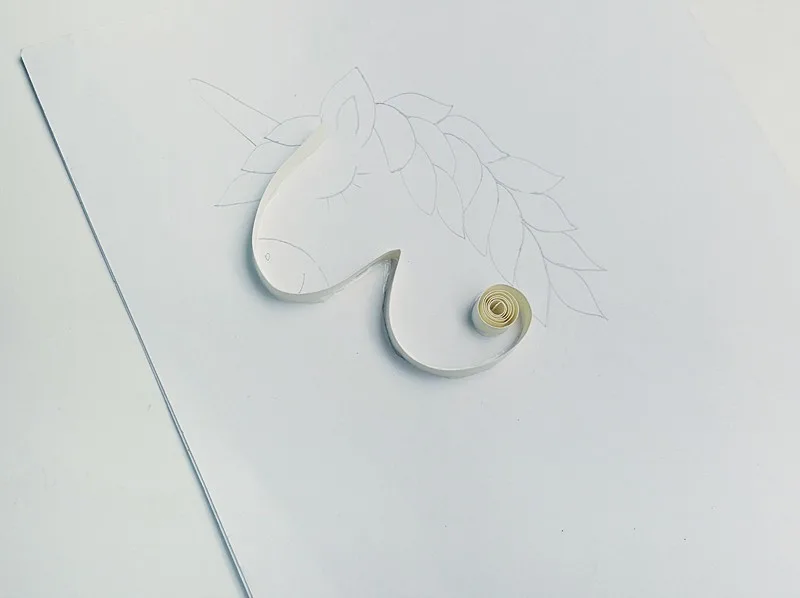
Step 5: Take the coiled strip prepared in the previous step. Place the coiled part on the bottom end of the unicorn head pattern, adjacent to its hair part. Now carefully trace the rest of the strip along the glued part. Once the strip reaches the ear, cut the strip and press the glued strip very gently to make sure that it is glued evenly all along.
Step 6: Use a relatively longer piece of pink colored strip to create a lens shape for the mouth part. Use an off-white colored strip to create a teardrop pattern and insert a tight pink colored coil into the center of the teardrop shape.
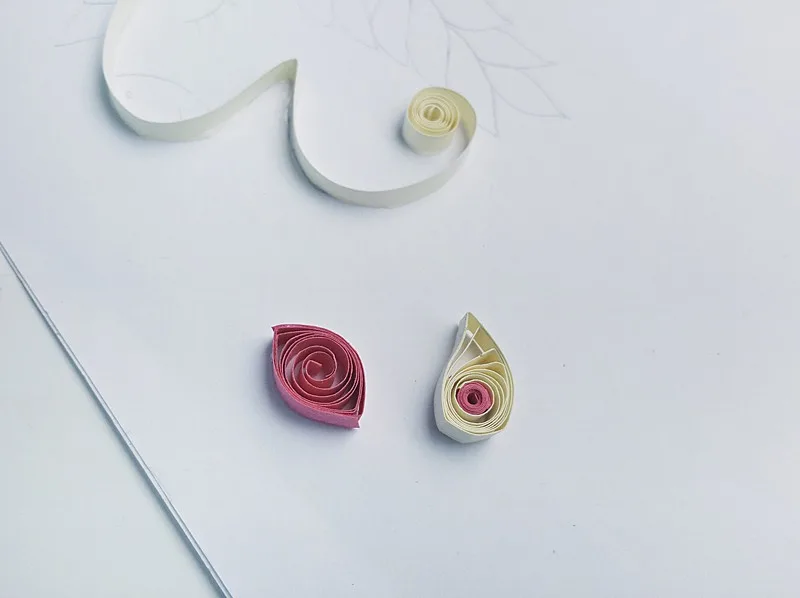
Step 7: Glue the mouth piece and the ear on their places.
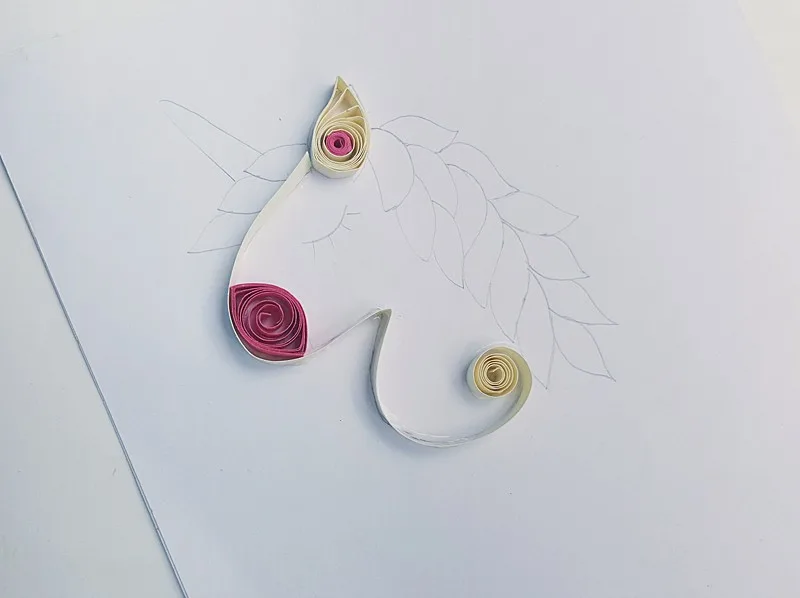
Step 8: Now gather all the colorful lens shapes prepared in step one and start to glue them on the traced hair patterns of the unicorn.
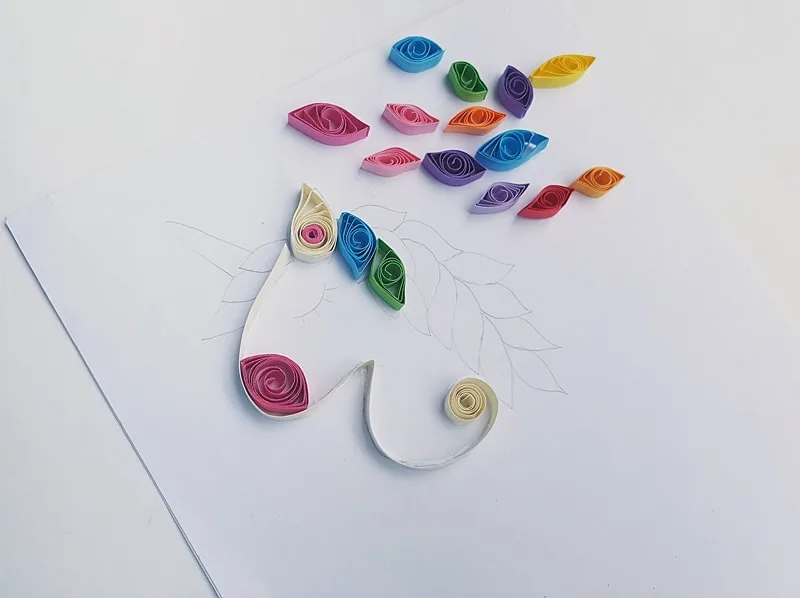
Step 9: Use your fingers to adjust the lens shapes to match them with the traced hair patterns.
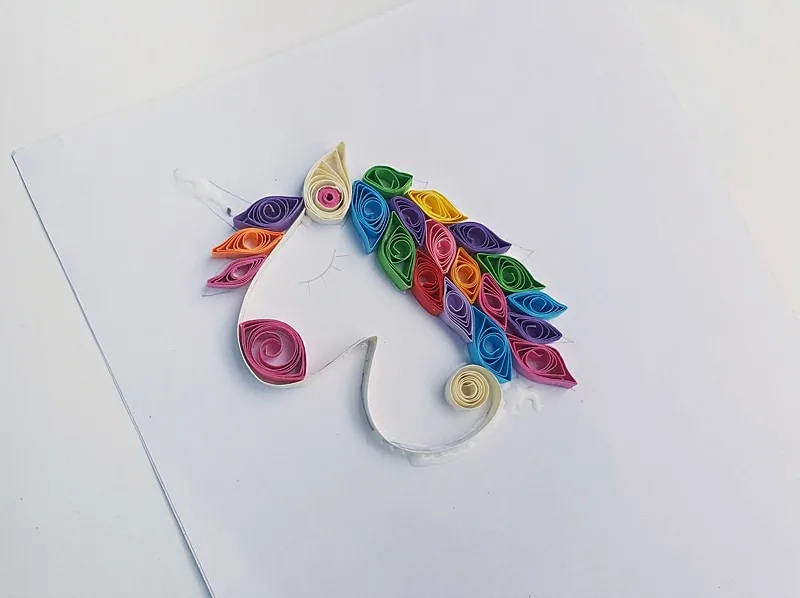
Step 10: Now use a strip to create the horn. Simply create a loose coil and press it from 2 sides to form the horn shape. You may also prepare another strip with a twirled pattern on one end.
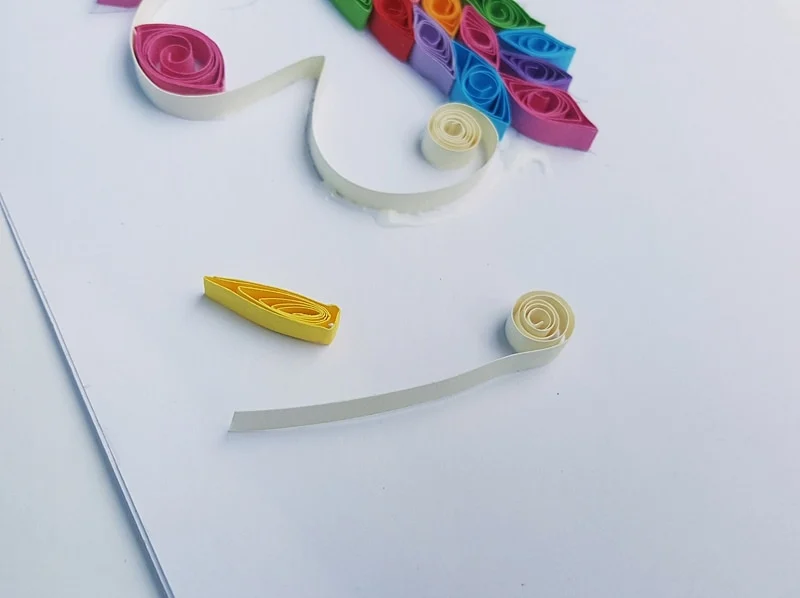
Step 11: Glue the horn on its place and glue the other twirled piece adjacent to the previous one (glued on the front side of the unicorn head).
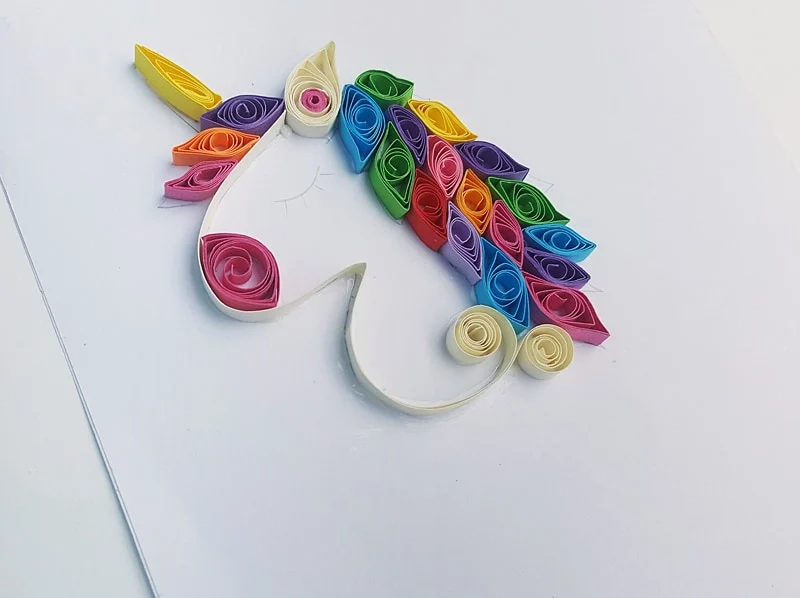
Step 12: Use a black sharpie to trace the eye pattern. Allow the glue to dry completely. Add more details if you want to.
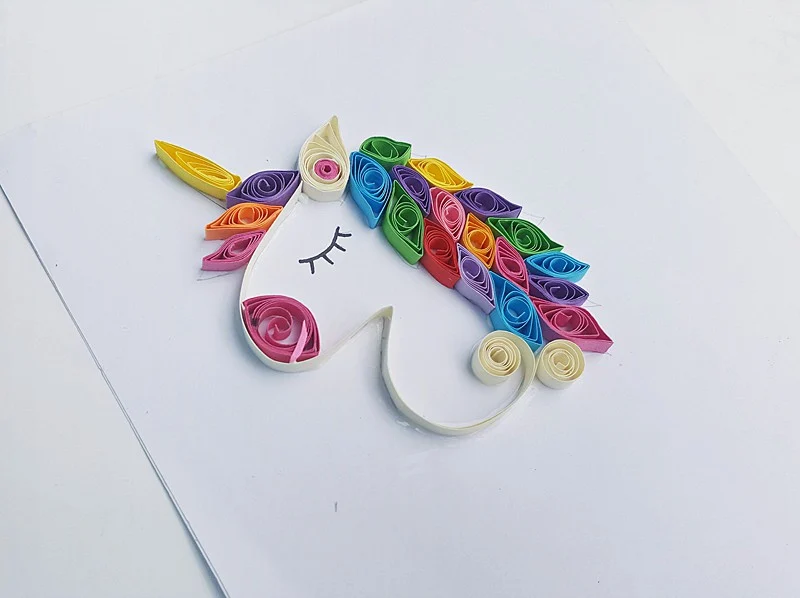
And you are done with your magical and beautiful Paper Quill Unicorn Art!
If you want to adjust this art for younger kids, you can draw out a larger unicorn and cut larger strips of paper.
Have them practice curling it on a pencil (instead of quilling tool) and gluing in place with glue dots.
Try making “unicorn curls” as the hair. Play around with different size paper strips and don’t be afraid to experiment or think outside the box!
Have you tried paper quilling before?
Watch the video below to see our Paper Quill Unicorn Art in action:
_________________________________________________________________________________________
Disclosure: Some of the links in the post above are “affiliate links.” This means if you click on the link and purchase the item, we will receive a small affiliate commission. Regardless, we give our promise that we only recommend products or services we would use personally and believe will add values to our readers.

