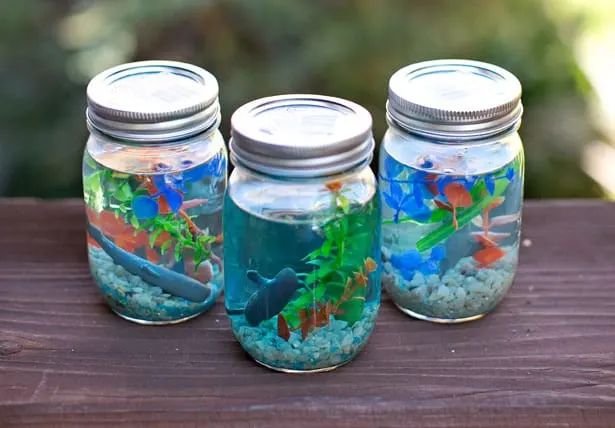
I got the inspiration to make these mason jar aquariums from Delia Creates. She made these adorable baby jar aquarium snow globes as a party favor.
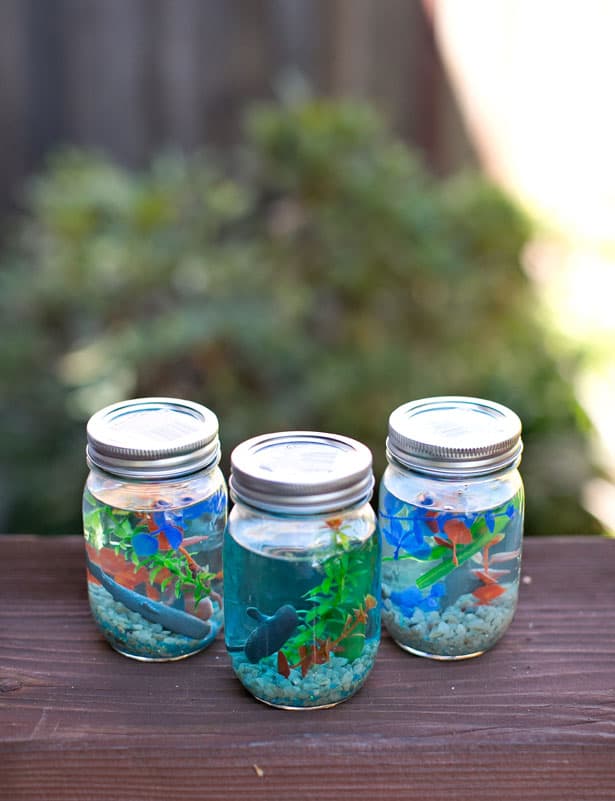
At a recent playdate activity with my daughter’s preschool friends. We decided to make real-looking aquariums by adding plants, rocks, and sea figurines to a mason jar of blue water.
Everyone enjoyed this super fun and easy craft, and it was great to send kids home from a playdate with a treasure they created themselves.
This mason jar aquarium is a fun pretend play toy to make for kids! They will love taking care of their fish without the fuss!
Mason Jar Aquariums – Materials:
1. Mason jars
2. Blue food coloring
3. Filtered water (tap water tends to give a cloudier look, but is totally fine to use)
4. Aquarium plastic figurines or toy fish
5. Aquarium rocks and plastic plants (you can buy these at any fish or pet stores)
6. Blue and white glitter (optional)
7. Glycerin (optional – this makes the glitter move more slowly when you shake the jar)
How to make a Mason Jar Aquarium – Instructions:
Because we made these mini aquariums in mason jars, we didn’t bother sealing the lids (though you could do that with sealing or hot glue). We kept the jars upright to make sure they wouldn’t leak.
The finished aquariums look very pretty and realistic, and the kids were thrilled at the way the glitter and rocks could be swirled around inside the jars.
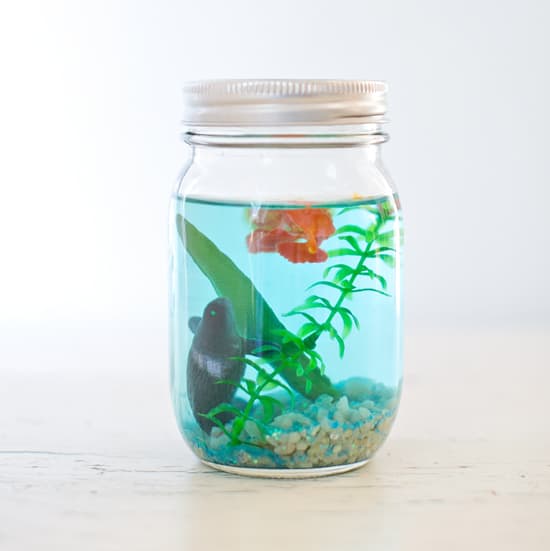
They look just as cute inside the home too 🙂
Have you ever made a snow globe before? Please share your tips!
MAKE A MASON JAR AQUARIUM
This mason jar aquarium is a fun pretend play toy to make for kids! They will love taking care of their fish without the fuss!
Materials
- Mason Jars
- Blue Food Coloring
- Filtered Water
- Aquarium plastic figurines or toy fish
- Blue and white glitter (optional)
- Glycerin (optional, helps water flower more slowly)
- Aquarium rocks and plastic plants
Instructions
Step 1. Add rocks, plants to your mason jar.
Step 2. Fill with water and add some plastic sea creatures.
Step 3. Add some blue food coloring until you are satisfied with the color.
Step 4. Add glitter if using.
Step 5. Add a few drops of glycerin more if you want the water to flow mores slowly and look more viscous.
Step 6. Screw lid shut (at this point you can also glue the lid with some hot glue if you'd like).
Gently swirl to see your sea creatures swim!
Check out more Under The Sea Crafts:
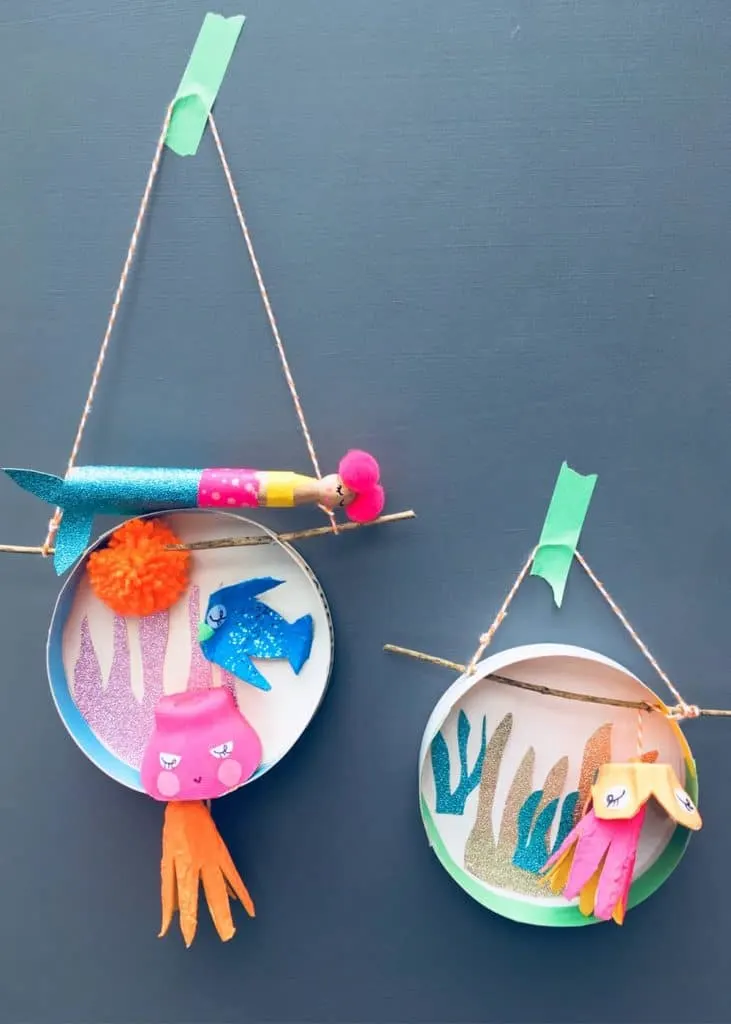
Under the Sea Aquarium Craft
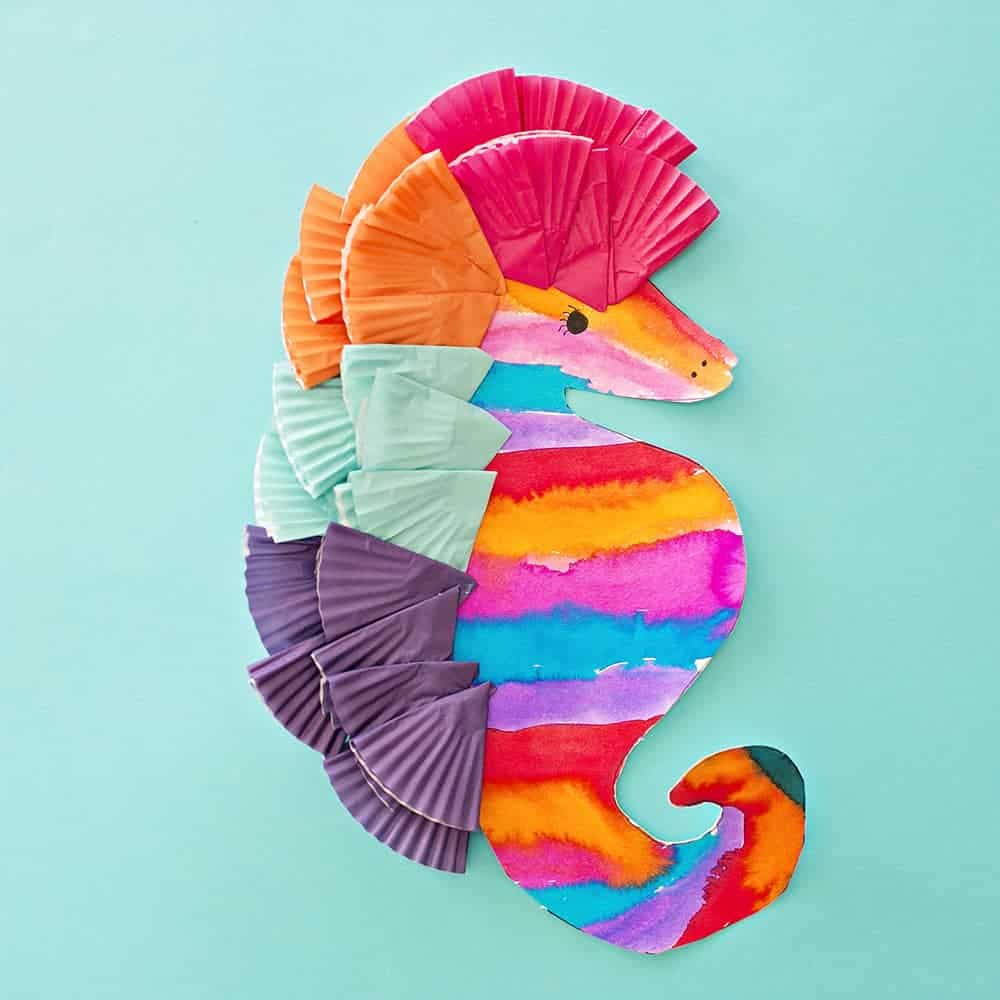
Watercolor Seahorse Art
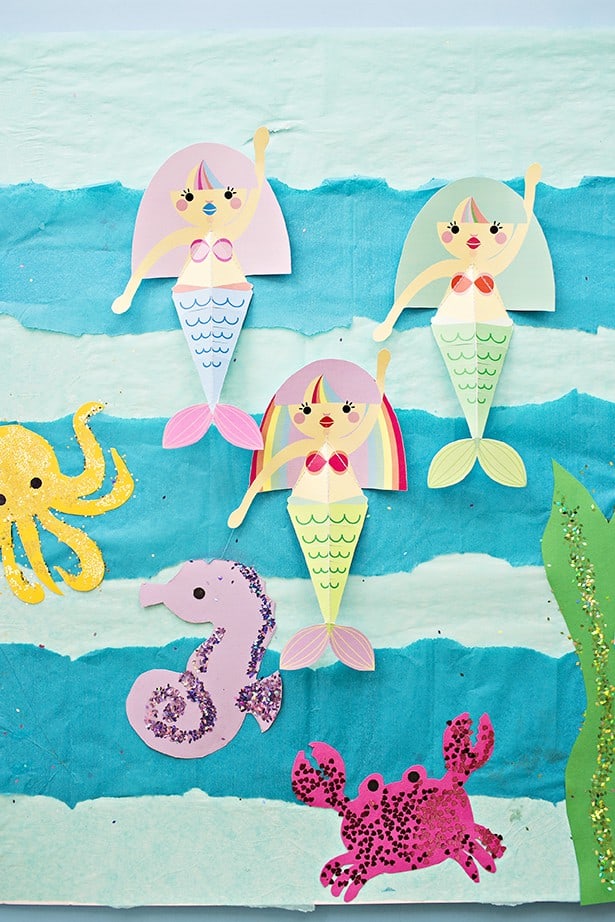
Swimming Mermaid Craft
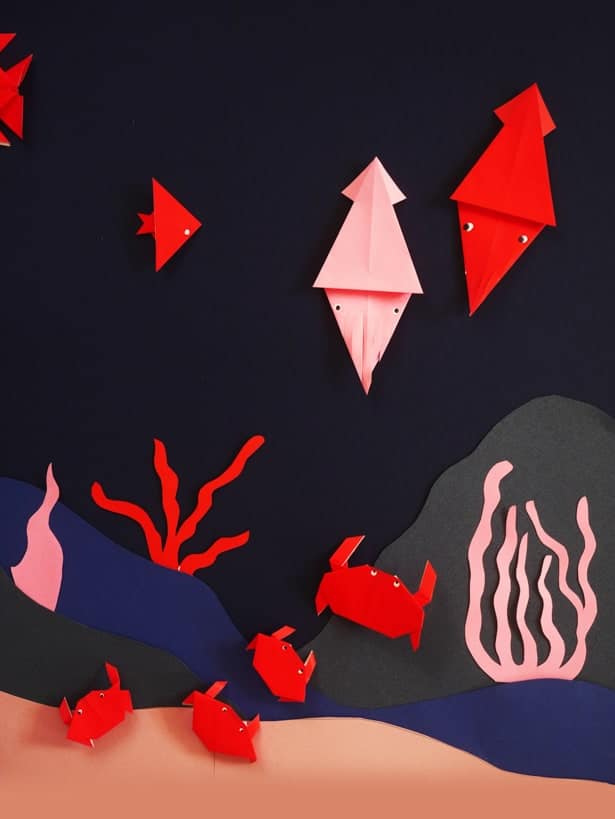
Origami Sea Life Craft
_______________________________________________________________________________________
Disclosure: Some of the links in the post above are “affiliate links.” This means if you click on the link and purchase the item, we will receive a small affiliate commission. Regardless, we give our promise that we only recommend products or services we would use personally and believe will add values to our readers.
Agnes Hsu is a mom of three and has been inspiring parents and kids to get creative with easy activities and family friendly recipes for over 10 years. She shares her love for creative play and kids food to her 2MM+ followers online. Agnes' commitment to playful learning and kindness has not only raised funds for charity but also earned features in prestigious nationwide publications.

