

Follow us on Instagram for more fun ideas for kids!
By using this site, you agree to our Terms of Use. This post may contain affiliate links. Read our disclosure policy. As an Amazon Influencer, I earn from qualifying purchases.
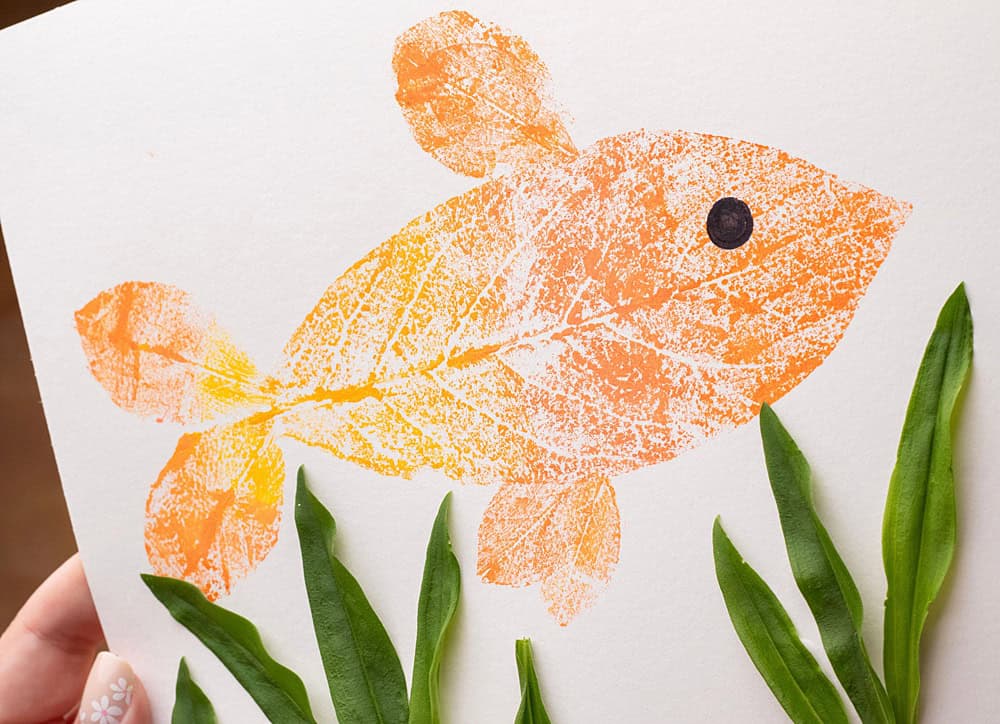
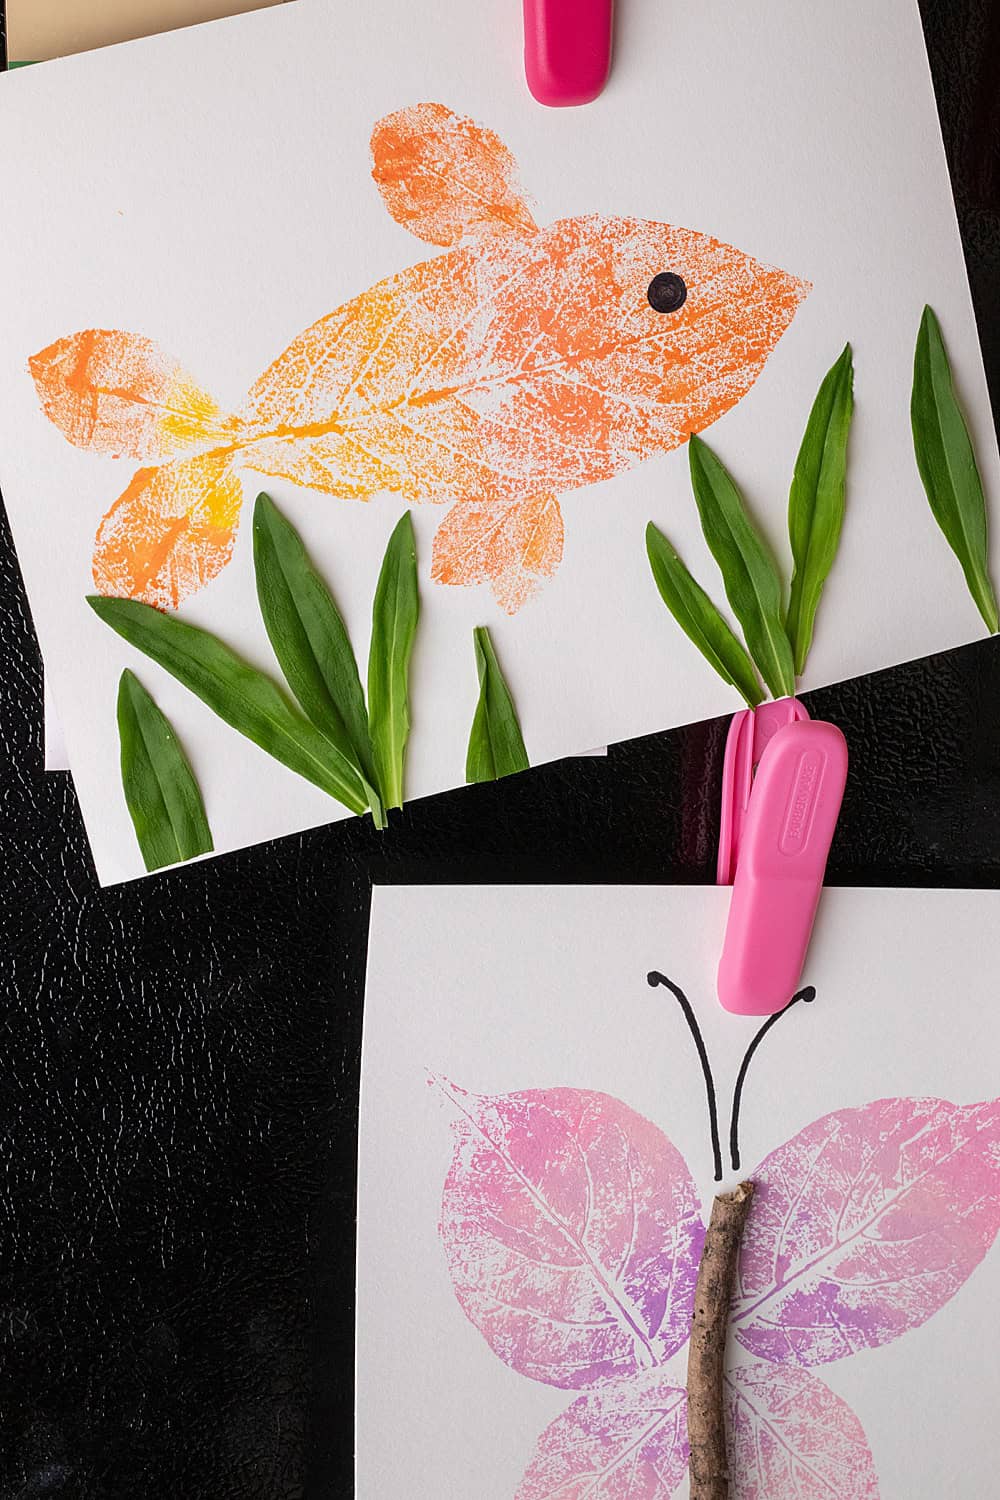
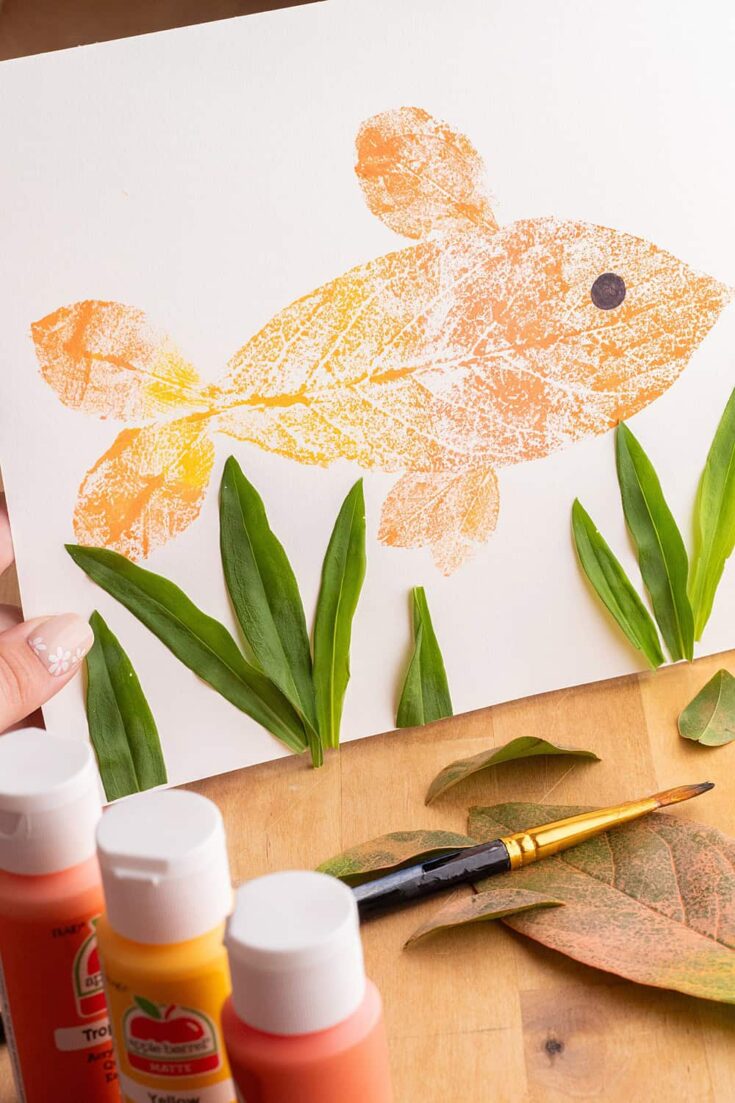
Use simple leaves or greenery and transform them into cute painted fish art! An adorable ocean or summer craft for kids.
Ready for a summer craft that’s as simple as it is fun? This leaf fish art transforms ordinary leaves and greenery into charming fish artwork that your kids will love making!
We were inspired to make this ocean craft from our popular leaf butterfly art!
Making leaf crafts is some of our favorite summer activities. So, gather your leaves, and let’s get crafting!
Leaf Fish Art – Materials:
- Large leaf for the body
- 2 medium-sized leaves for the tail
- 2-3 leaves for the dorsal (top) fin and ventral (bottom) fin
- Acrylic paint in orange tones (or use your favorite shades)
- Paintbrushes
- Paper (cardstock recommended)
- Paper towel
- Glue
- Greenery for “kelp”
- Black marker


How to make this fish leaf ocean craft
Step 1: Gather Your Leaves
Head outdoors and collect a variety of leaves in different shapes and sizes. You’ll need one large leaf for the body of your fish, two medium-sized leaves for the tail, and a few smaller leaves for the dorsal and ventral fins.
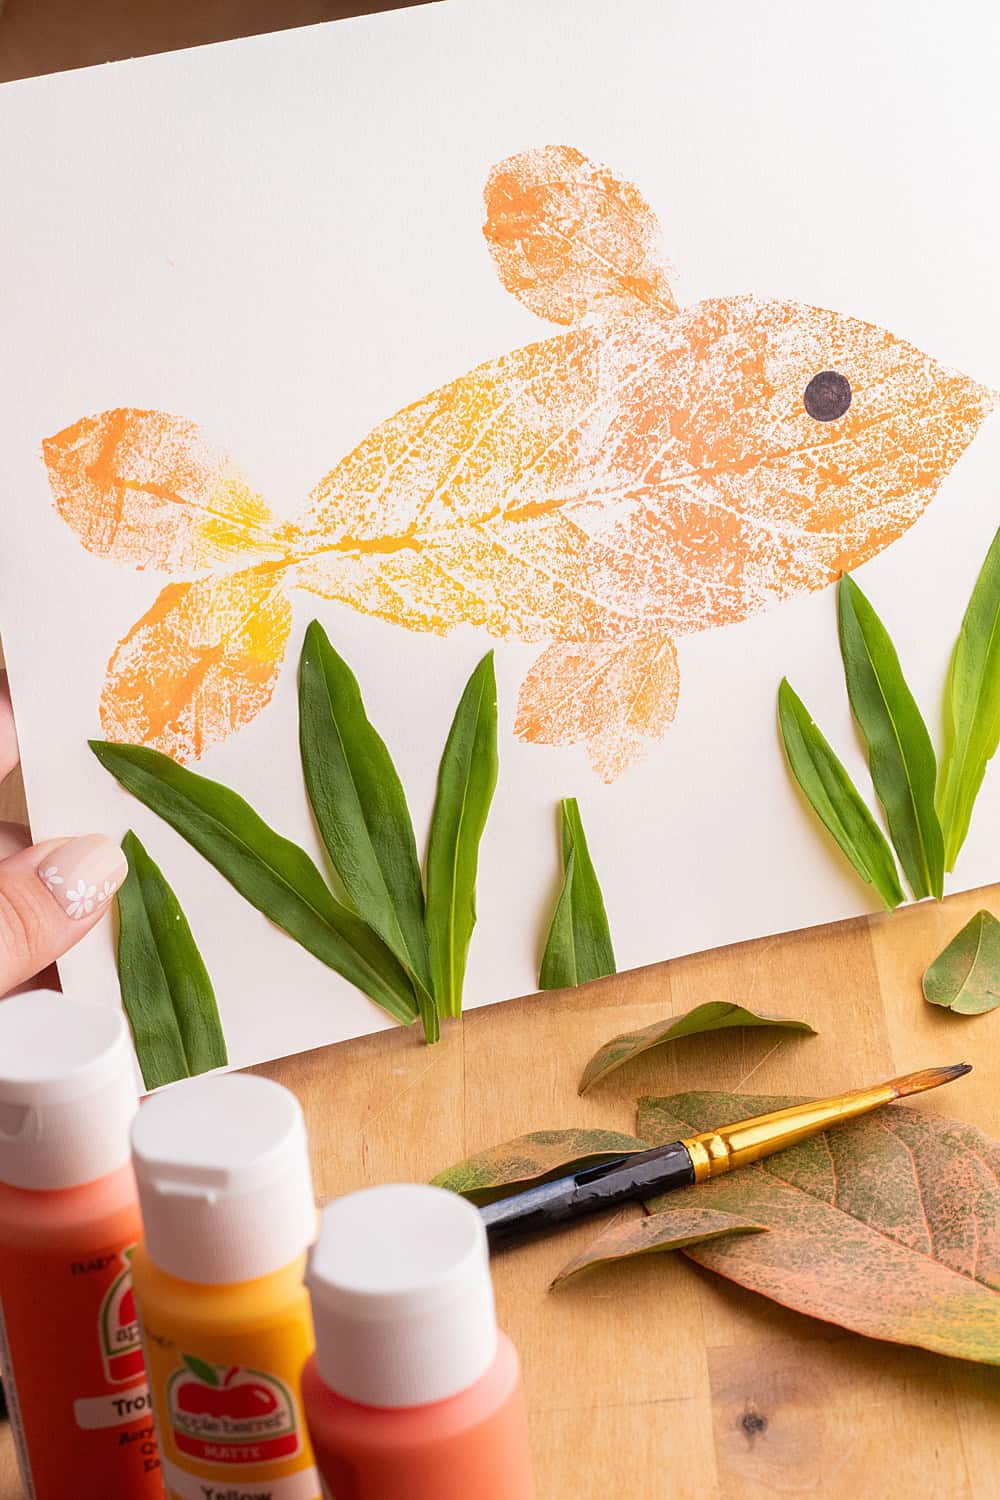
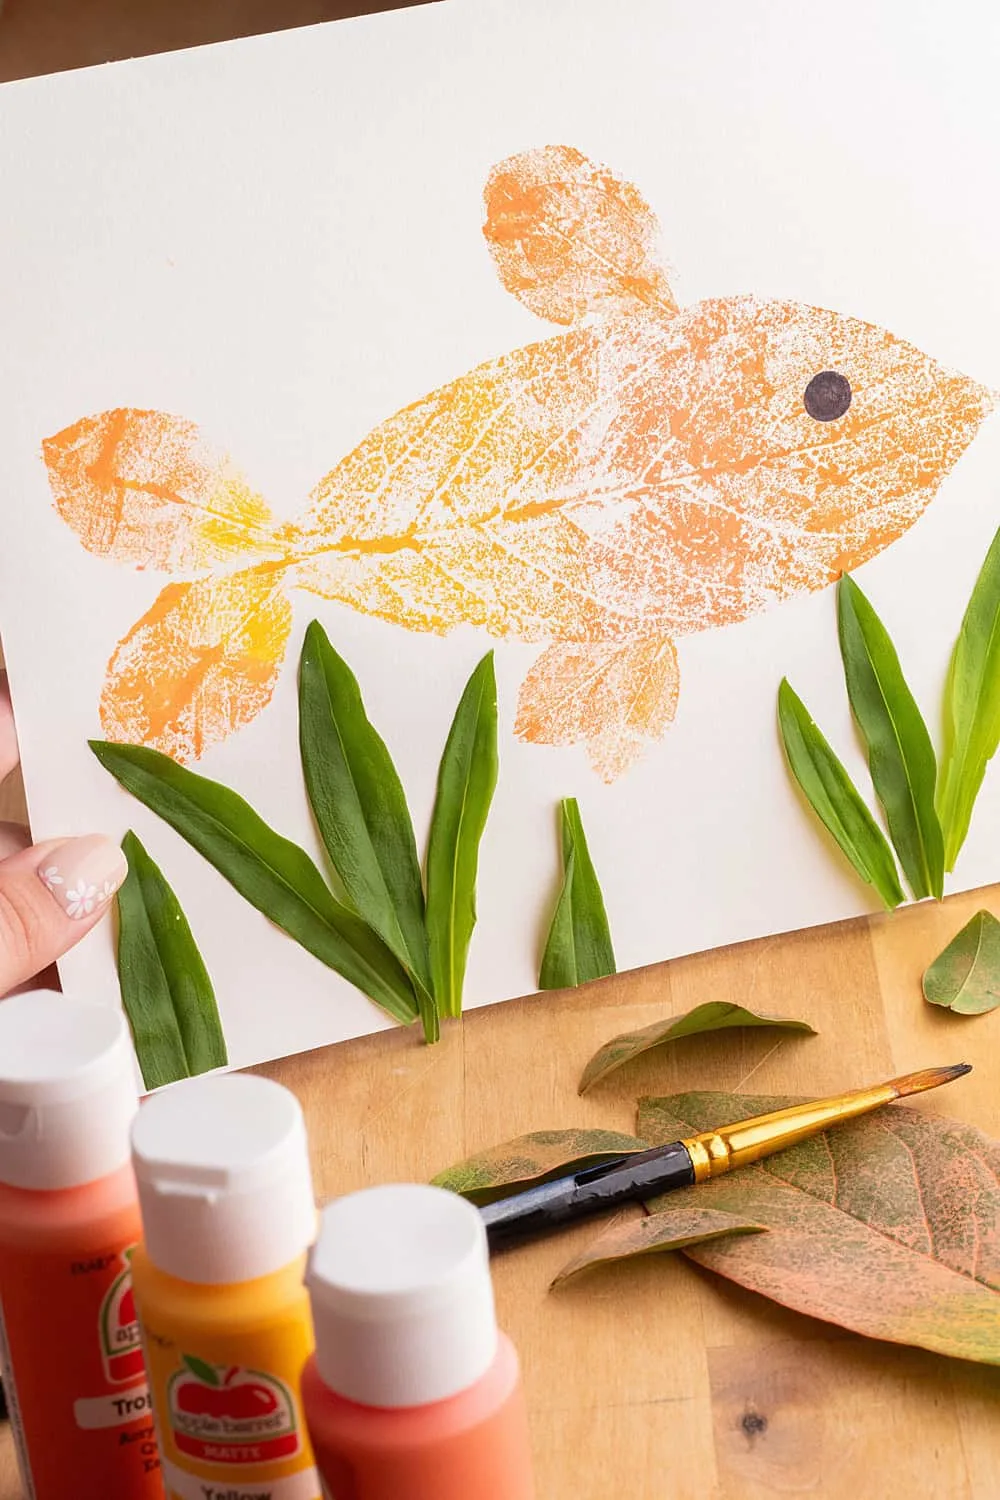
Step 2: Paint a Gradient
Using acrylic paint and a paintbrush, lightly paint a gradient onto each leaf. Get creative with your color choices to bring your fish to life!
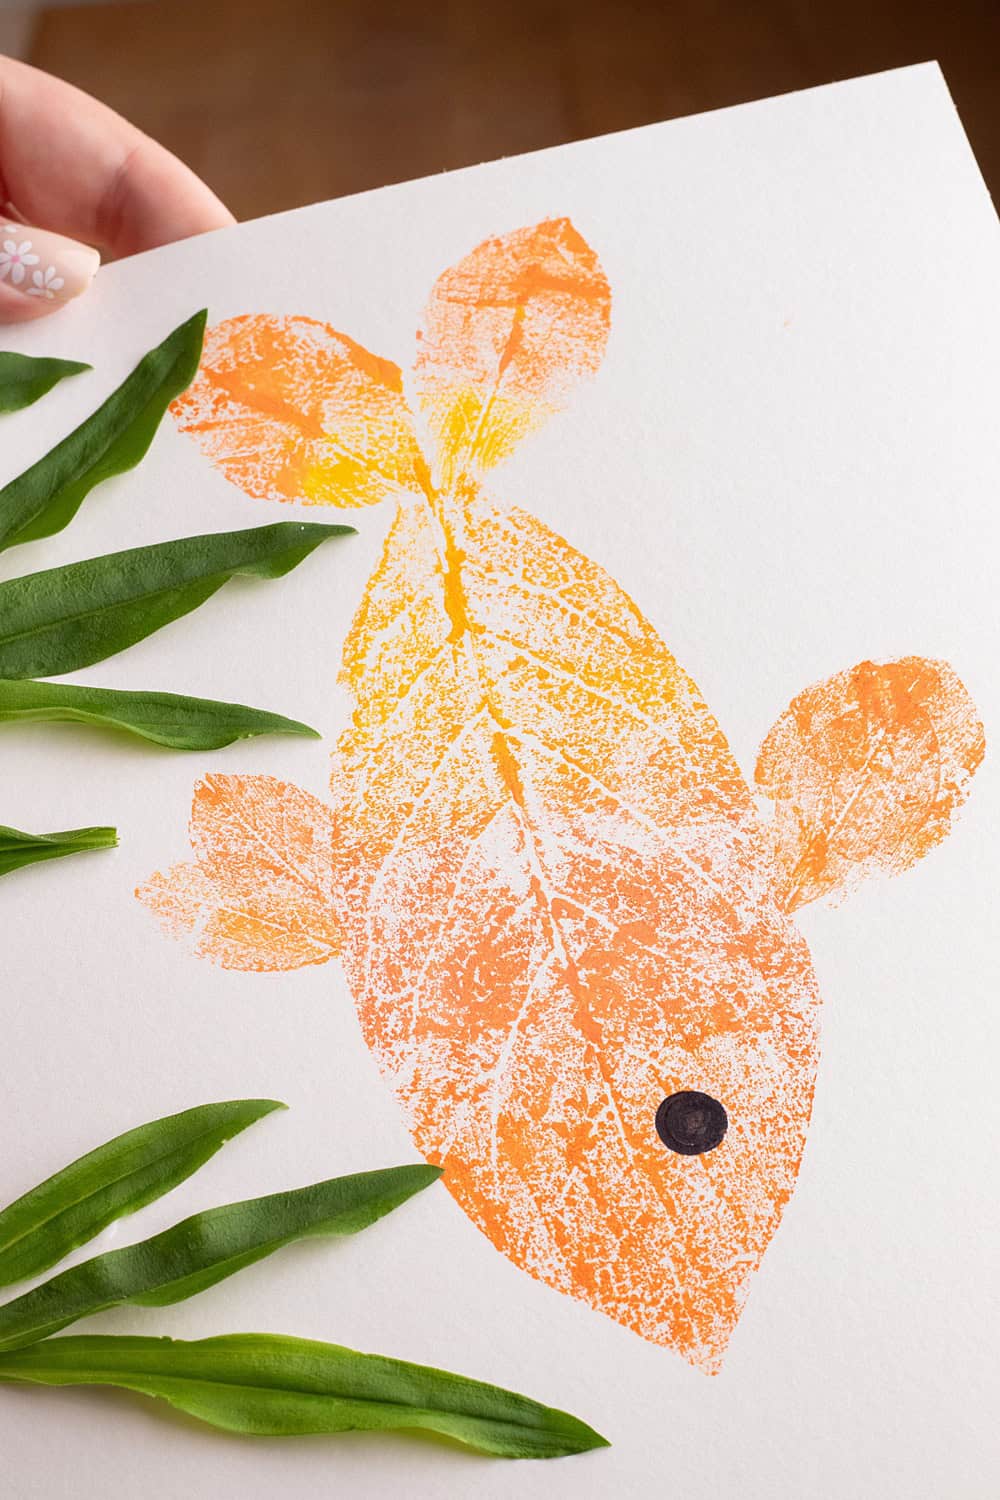
Step 3: Create Your Fish Body
Place the large leaf, paint side down, onto a piece of paper. Use a paper towel to gently press down on the leaf, ensuring that it makes full contact with the paper. This will create the body of your fish.
Step 4: Add the Fins and Tail
Position the medium-sized leaves (painted side down) where the tail should go. Press down gently to stamp the leaf shapes onto the paper. Carefully peel back the leaves to reveal the fins and tail of your fish. Repeat with the smaller leaves to create the dorsal (top) fin, and ventral (bottom fin(s)).
Step 5: Add Kelp
For an extra touch of underwater ambiance, glue greenery along the bottom of the paper to create the illusion of kelp swaying in the ocean currents.
Step 6: Draw the Eye
Once the paint has dried, use a black marker to draw a small dot for the eye of your fish.

Final Thoughts
With your leaf fish art complete, it’s time to step back and admire your masterpiece! Whether you hang it on the wall, display it on the fridge, or give it as a special gift, your leaf fish creation is sure to bring joy and smiles wherever it goes. Remember, the best part of crafting is the journey, so don’t be afraid to let your imagination swim wild and explore different paint colors and leaf shapes.
This Leaf Fish Art Is A Cute Ocean Craft

Materials
- Large leaf for the body
- 2 medium-sized leaves for the tail
- 2-3 leaves for the dorsal (top) fin and ventral (bottom) fin
- Acrylic paint in orange tones (or use your favorite shades)
- Paintbrushes
- Paper (cardstock recommended)
- Paper towel
- Glue
- Greenery for “kelp”
- Black marker
Instructions
Step 1: Gather Your Leaves
- Head outdoors and collect a variety of leaves in different shapes and sizes. You'll need one large leaf for the body of your fish, two medium-sized leaves for the tail, and a few smaller leaves for the dorsal and ventral fins.
Step 2: Paint a Gradient
- Using acrylic paint and a paintbrush, lightly paint a gradient onto each leaf. Get creative with your color choices to bring your fish to life!
Step 3: Create Your Fish Body
- Place the large leaf, paint side down, onto a piece of paper. Use a paper towel to gently press down on the leaf, ensuring that it makes full contact with the paper. This will create the body of your fish.
Step 4: Add the Fins and Tail
- Position the medium-sized leaves (painted side down) where the tail should go. Press down gently to stamp the leaf shapes onto the paper. Carefully peel back the leaves to reveal the fins and tail of your fish. Repeat with the smaller leaves to create the dorsal (top) fin, and ventral (bottom fin(s)).
Step 5: Add Kelp
- For an extra touch of underwater ambiance, glue greenery along the bottom of the paper to create the illusion of kelp swaying in the ocean currents.
Step 6: Draw the Eye
- Once the paint has dried, use a black marker to draw a small dot for the eye of your fish


Agnes Hsu is a mom of three and has been inspiring parents and kids to get creative with easy activities and family friendly recipes for over 10 years. She shares her love for creative play and kids food to her 2MM+ followers online. Agnes' commitment to playful learning and kindness has not only raised funds for charity but also earned features in prestigious nationwide publications.