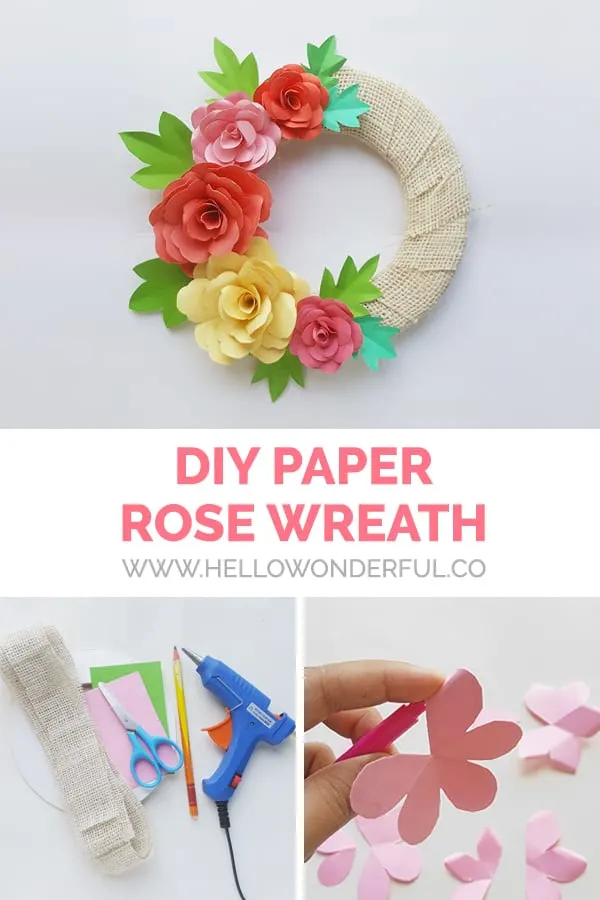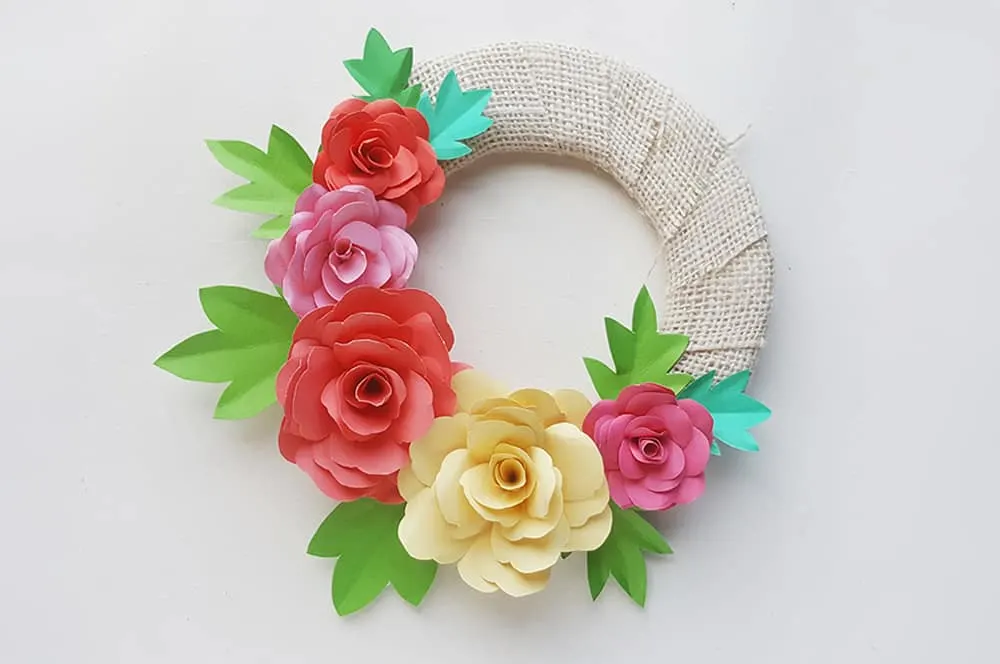
How to make a paper rose wreath to celebrate spring.
Follow us on Instagram for more fun ideas for kids!
With spring in full bloom, I’m looking for new ways to bring the beauty of spring flowers inside by making this paper rose wreath.
Like so many of our past flower art projects, this gorgeous paper flower wreath is an easy DIY, and lovely way to decorate for spring (or summer!) with flowers that will last forever.
It’s a gorgeous addition to making DIY Paper Roses.
Both of these paper rose DIY’s come with a FREE template so anyone can start making beautiful paper flowers. Get this one down below in the DIY How-to printable card.
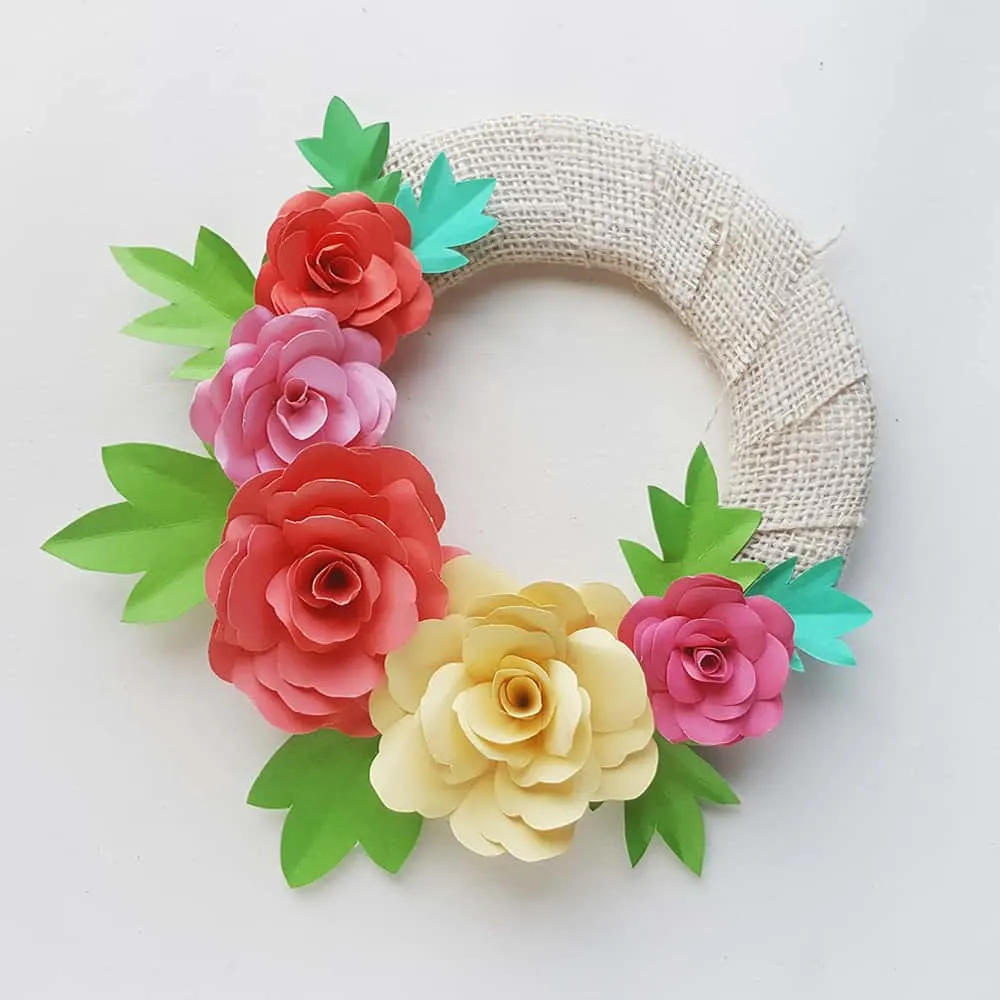
Better yet, it makes the perfect handmade Mother’s Day keepsake! We love finding creative & unique ways to gift mom flowers on Mother’s Day, and this pretty wreath is sure to wow.
For bonus points, pair these with a free printable paper flower Mother’s Day card.
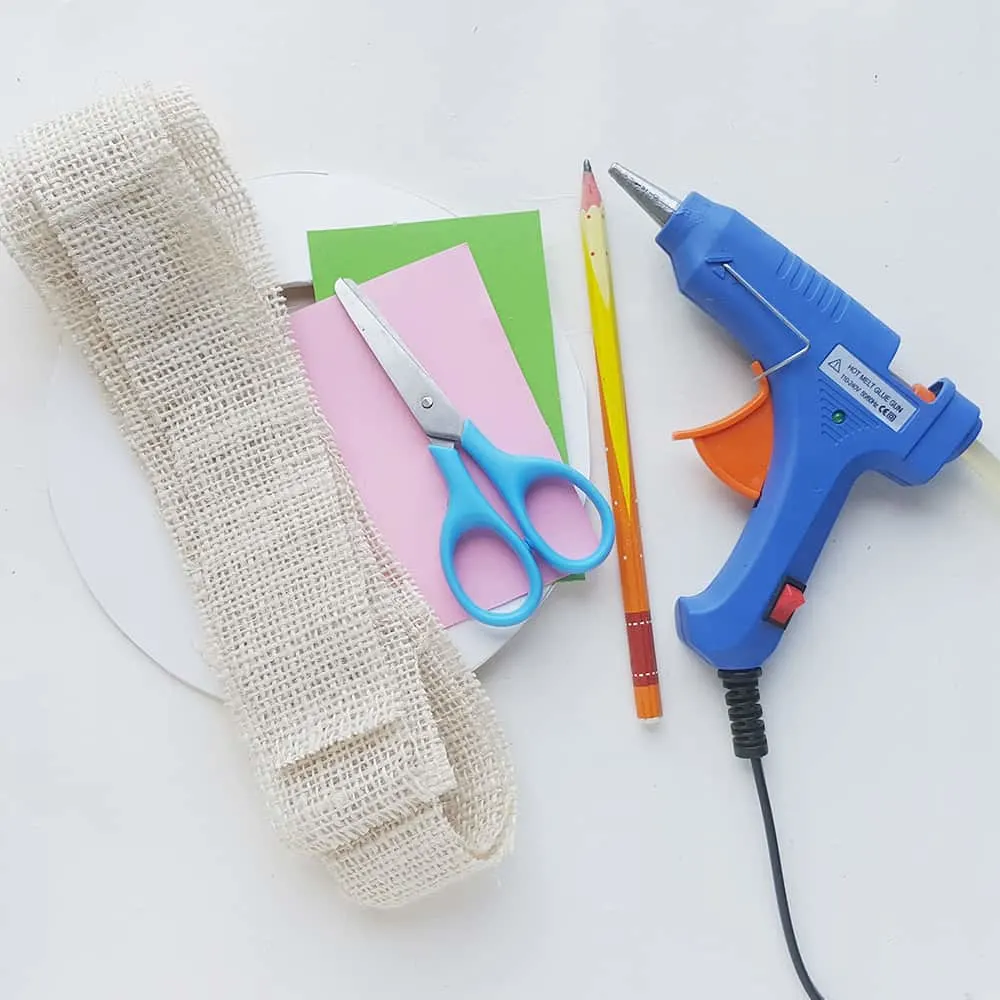
PAPER ROSE WREATH – MATERIALS:
- Colored cardstock paper
- Pencil
- Burlap fabric
- Round base for wreath
- Hot glue gun
- Scissors
- Free printable rose wreath (scroll down below to get it in the DIY printable instruction card)
INSTRUCTIONS:
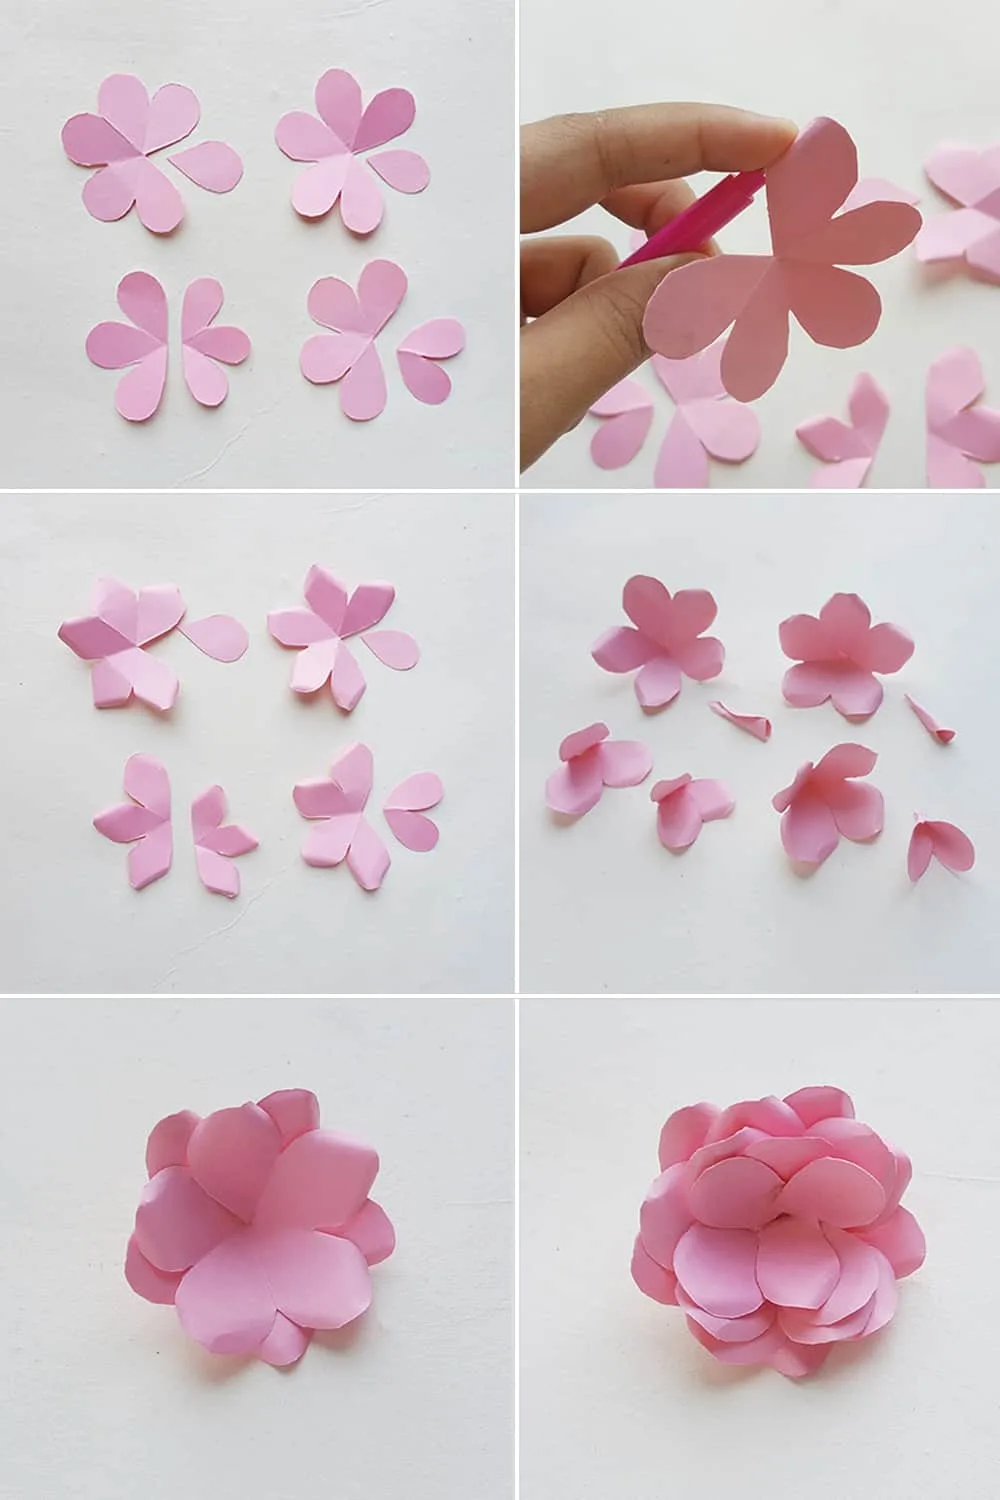
Step 1: You can either fold and cut the patterns for this flower or simply trace the patterns from the template. Go for the pattern tracing from the template given with this tutorial.
Step 2: Use a small paint brush or any small round object to create curves on the open ends of the petals.
Step 3:You can leave the two petaled and the 2 one petals without curves. Create curves on the rest of the cut out patterns.
Step 4: Take any one of the patterns and apply glue on one side of it; join it with the other side. Take each of the patterns one by one and do the same, join their two open sides.
Step 5: Now take the 2 5 petaled patterns and glue them together; one on the top of the other one.
Step 6: Arrange the patterns nicely to create a beautiful pattern.
Step 7: The ones with more petals should be on the bottom and the ones with fewer petals should be on the top.
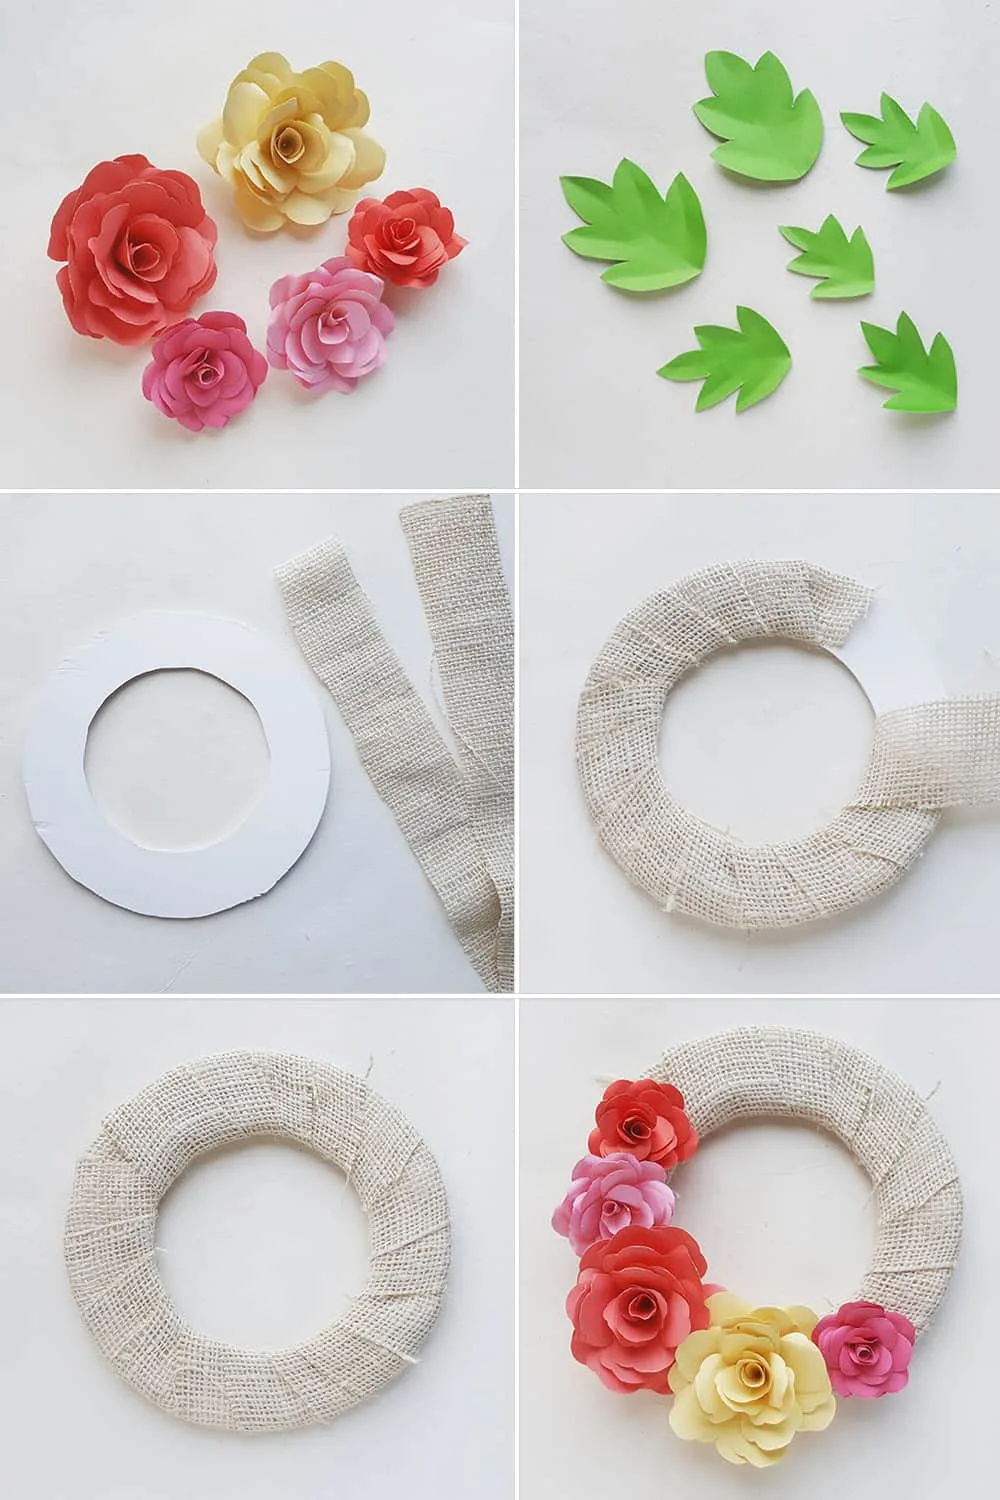
Step 8: Similarly create 4 or 5 more of these paper roses of different sizes for the wreath.
Step 9: Trace and cut out the leaf patterns from green colored cardstock paper. Create vertical and horizontal creases on the leaves to give them a 3d look.
Step 10: Take the round base wreath and prepare a long strip of burlap fabric or you can also use burlap ribbon.
Step 11: Apply hot glue on the open end of the burlap strip and attach it with the base. Start to wrap the burlap strip around the base.
Step 12: Keep wrapping the strip until the whole base is covered.
Step 13: Take the paper roses and glue them on the wreath using hot glue. I kept the flowers on one side.
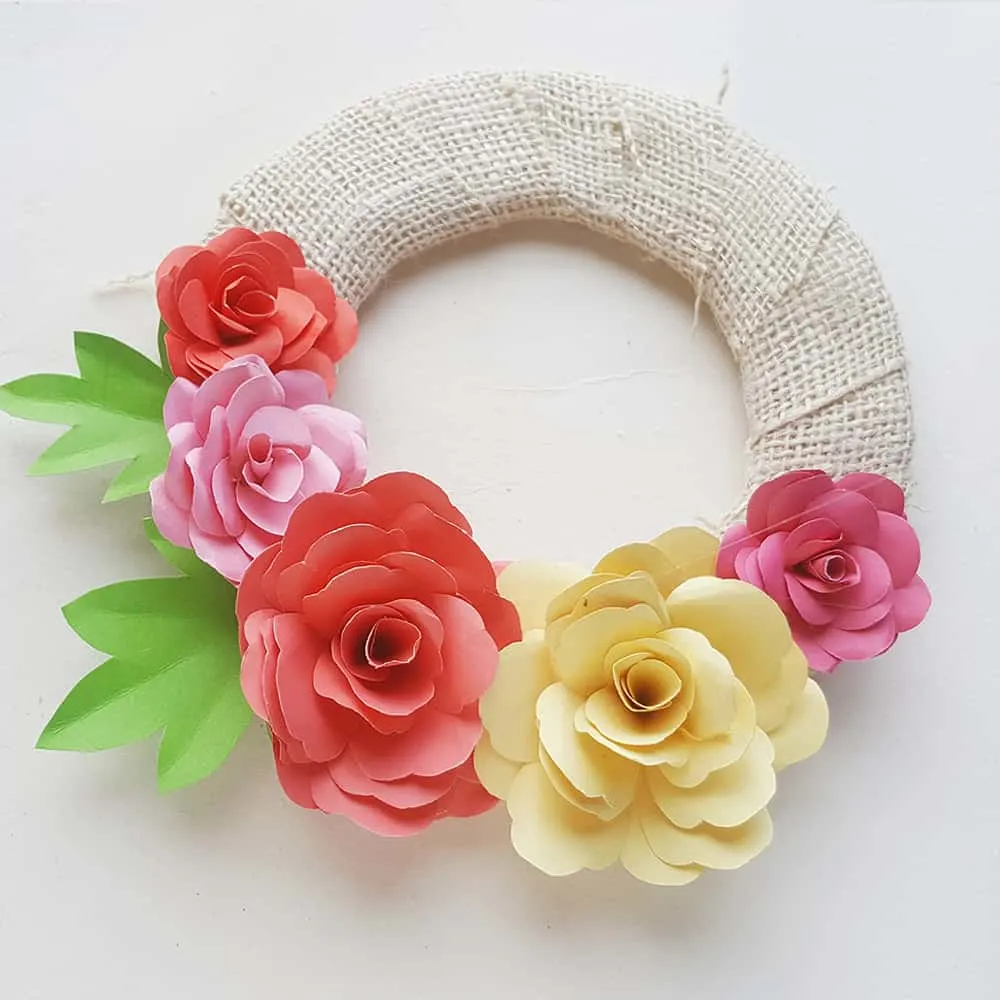
Step 14: After attaching all the flowers start to glue the leaves between the flowers.
Step 15: Once you are satisfied with the wreath pattern attach a hanging mechanism on the back side of the base and done!
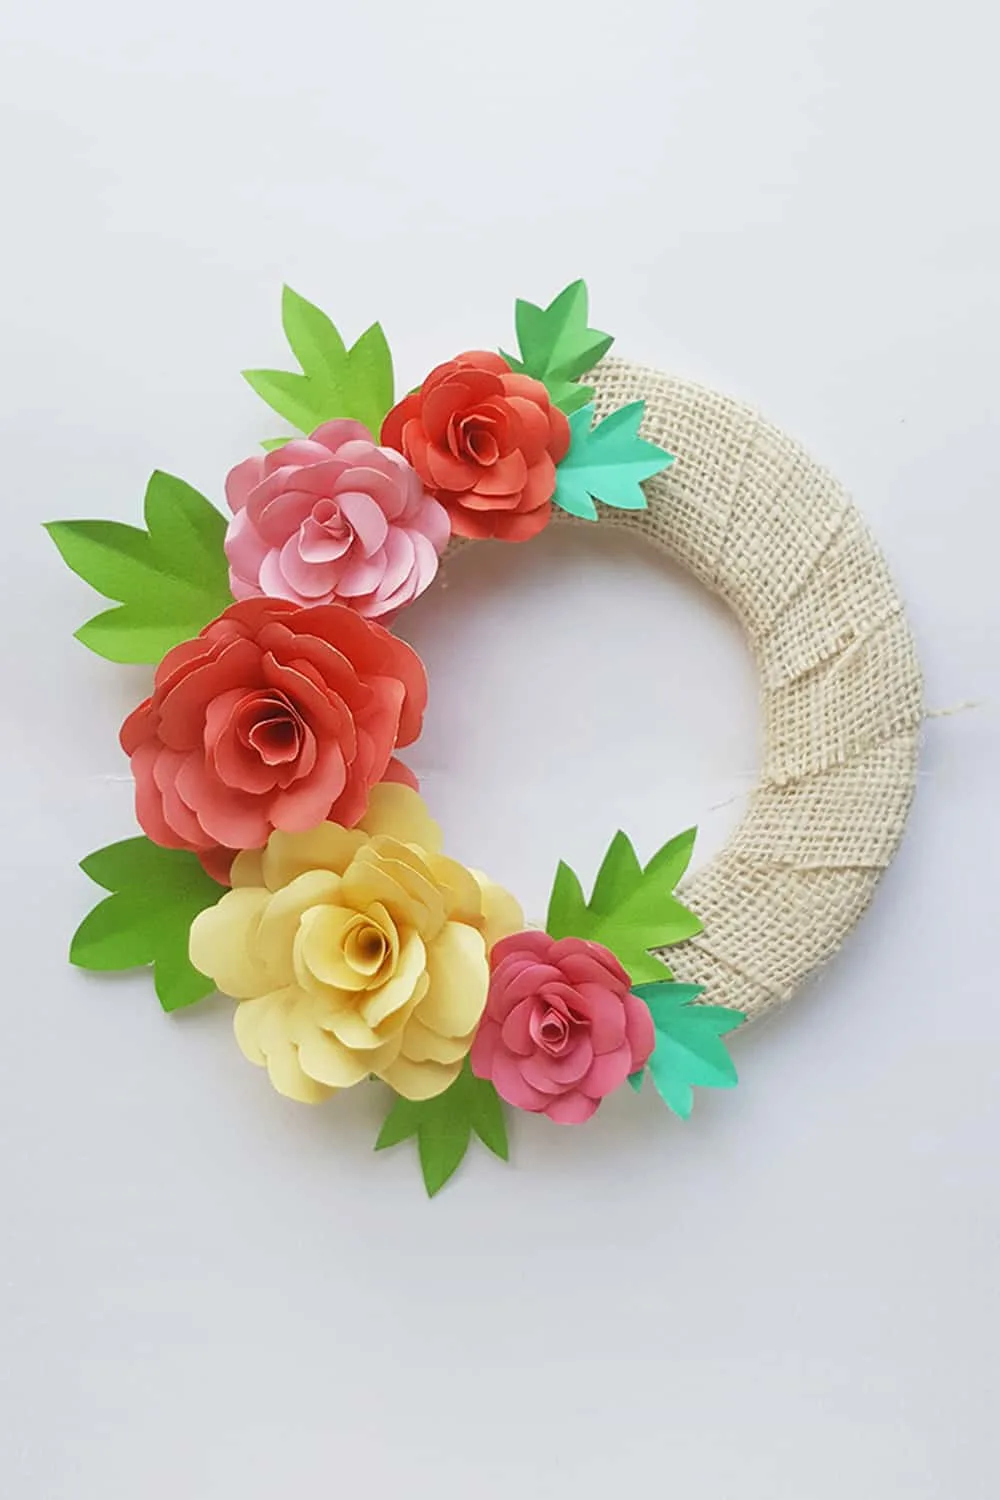
Whether paper or real, spring flowers are a burst of joy! If paper flowers are just your style, try making a bouquet of paper hydrangeas, or these gorgeous recycled egg carton watercolor flowers.
PAPER ROSE WREATH
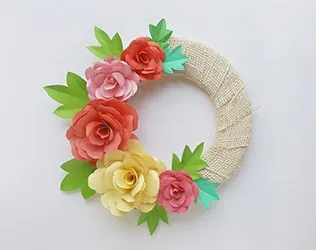
This lovely DIY wreath is simple to make and a great kid-made Mother's Day gift!
Materials
- Colored cardstock
- Pencil
- Burlap fabric
- Round base for wreath
- Hot glue gun
- Scissors
- Free printable rose wreath
Instructions
Step 1: You can either fold and cut the patterns for this flower or simply trace the patterns from the template. Go for the pattern tracing from the template given with this tutorial.
Step 2: Use a small paint brush or any small round object to create curves on the open ends of the petals.
Step 3:You can leave the two petaled and the 2 one petals without curves. Create curves on the rest of the cut out patterns.
Step 4: Take any one of the patterns and apply glue on one side of it; join it with the other side. Take each of the patterns one by one and do the same, join their two open sides.
Step 5: Now take the 2 5 petaled patterns and glue them together; one on the top of the other one.
Step 6: Arrange the patterns nicely to create a beautiful pattern.
Step 7: The ones with more petals should be on the bottom and the ones with fewer petals should be on the top.
Step 8: Similarly create 4 or 5 more of these paper roses of different sizes for the wreath.
Step 9: Trace and cut out the leaf patterns from green colored cardstock paper. Create vertical and horizontal creases on the leaves to give them a 3d look.
Step 10: Take the round base wreath and prepare a long strip of burlap fabric or you can also use burlap ribbon.
Step 11: Apply hot glue on the open end of the burlap strip and attach it with the base. Start to wrap the burlap strip around the base.
Step 12: Keep wrapping the strip until the whole base is covered.
Step 13:Take the paper roses and glue them on the wreath using hot glue. I kept the flowers on one side.
Step 14: After attaching all the flowers start to glue the leaves between the flowers.
Step 15: Once you are satisfied with the wreath pattern attach a hanging mechanism on the back side of the base and done!
Disclosure: Some of the links in the post above are “affiliate links.” This means if you click on the link and purchase the item, we will receive a small affiliate commission. Regardless, we give our promise that we only recommend products or services we would use personally and believe will add values to our readers.
Agnes Hsu is a mom of three and has been inspiring parents and kids to get creative with easy activities and family friendly recipes for over 10 years. She shares her love for creative play and kids food to her 2MM+ followers online. Agnes' commitment to playful learning and kindness has not only raised funds for charity but also earned features in prestigious nationwide publications.

