
Follow us on Instagram for more fun ideas for kids!
Scroll all the way down to watch the video below for the step-by-step video on How to Make a No-Sew T-Shirt Monster Softie. Make sure to subscribe to our YouTube channel for more fun videos!
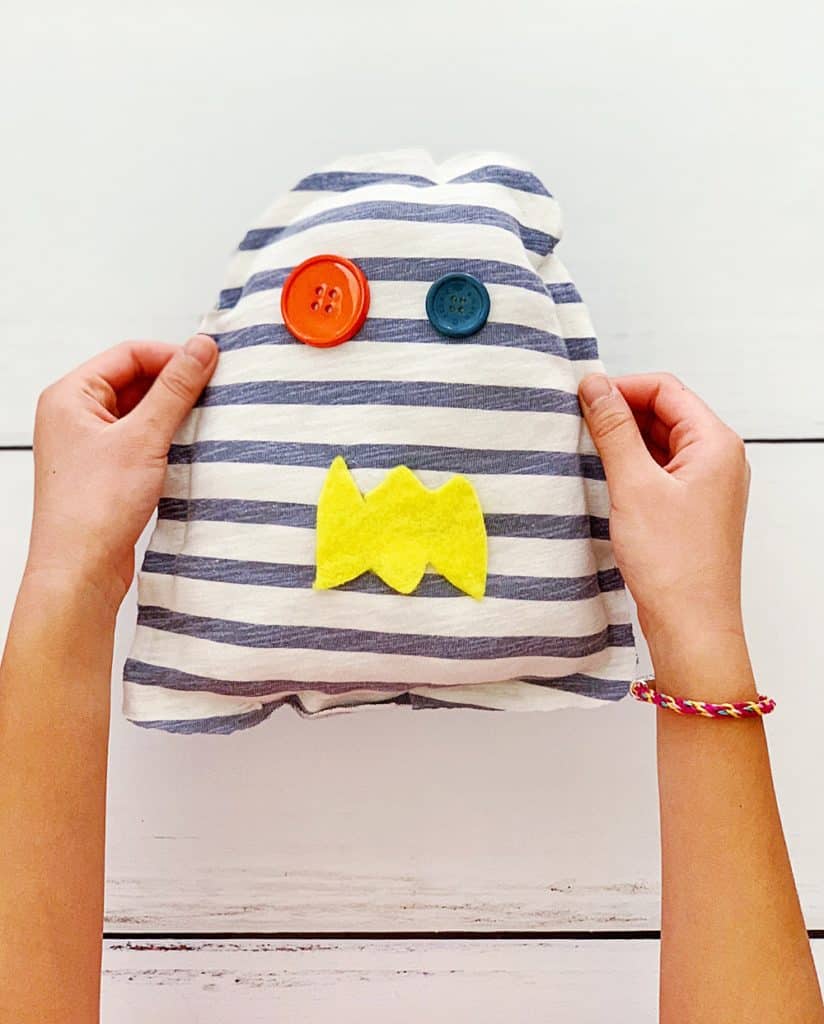
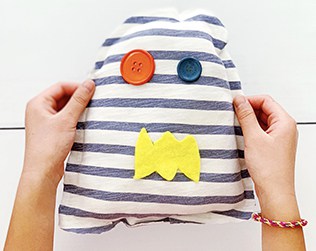
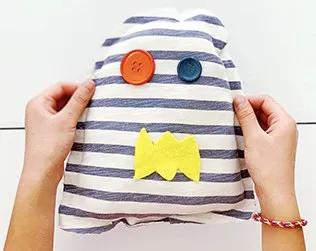
If your kids are like mine they have a million softies and stuffed animals on their bed and play area. Get kids excited about making their own softies with this easy tutorial on How to Make a No-Sew T-Shirt Monster Softie.
We kept it simple and no-sew like our No-Sew Mini Me Stuffed Dolls, but you can always opt to sew it if your kids are older or interested in sewing like these Kids Art Pillows we made a while back.
If you are looking for hands-on sewing tutorials for kids, we highly recommend checking out sewing with kids expert, Trixi from Coloured Buttons and her Sew a Softie initiative. Trixi was the one who made us our My Color Is Rainbow Softie!
This easy monster softie is a fun step into sewing project for kids and a great way to use up an old scrap t-shirt!
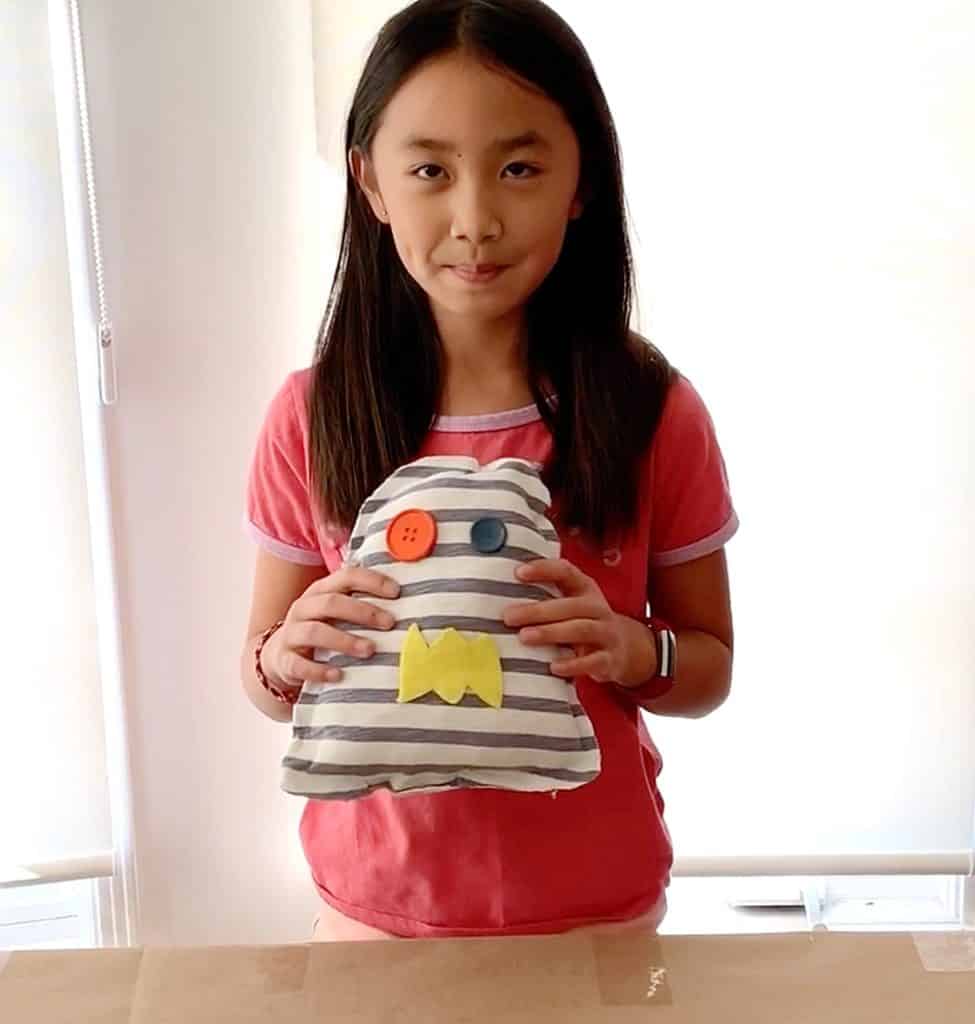
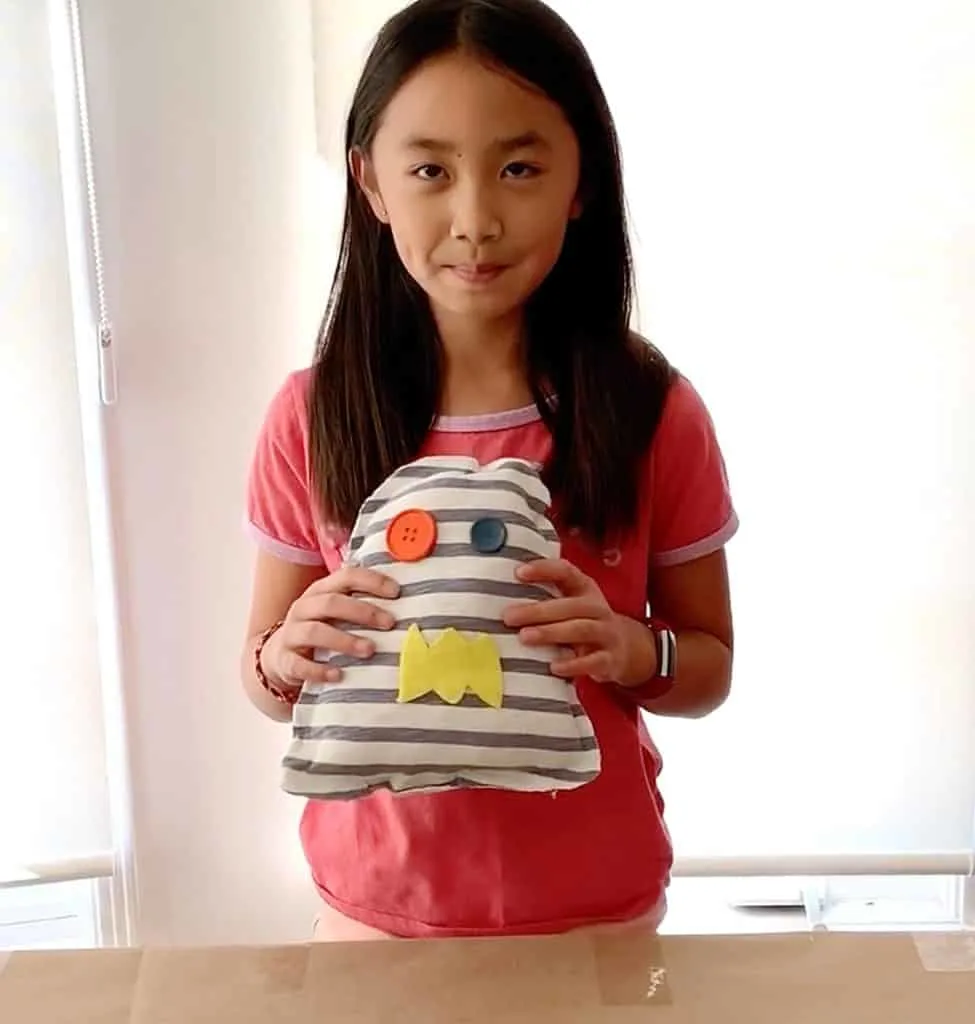
If you scroll all the way down, my 9 year old daughter shows you step-by-step in the video how to transform an old tee into a cute stuffed monster.
NO-SEW MONSTER T-SHIRT SOFTIE – MATERIALS:
- An old t-shirt
- Buttons (large buttons are great)
- Scrap piece of felt
- Hot glue gun (a low temp one is great for kids)
- Polyfill stuffing
- Scissors
- Paper
- Pencil or light black marker
- Pins
INSTRUCTIONS:
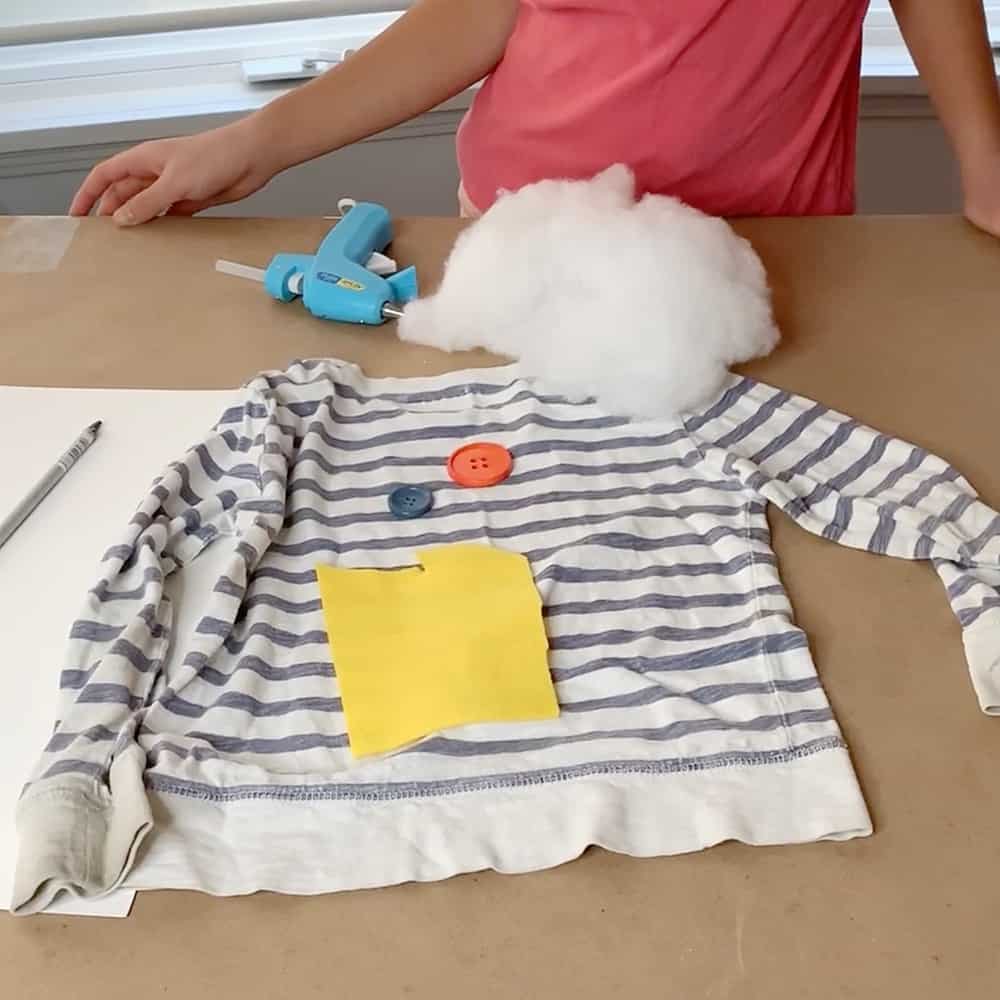
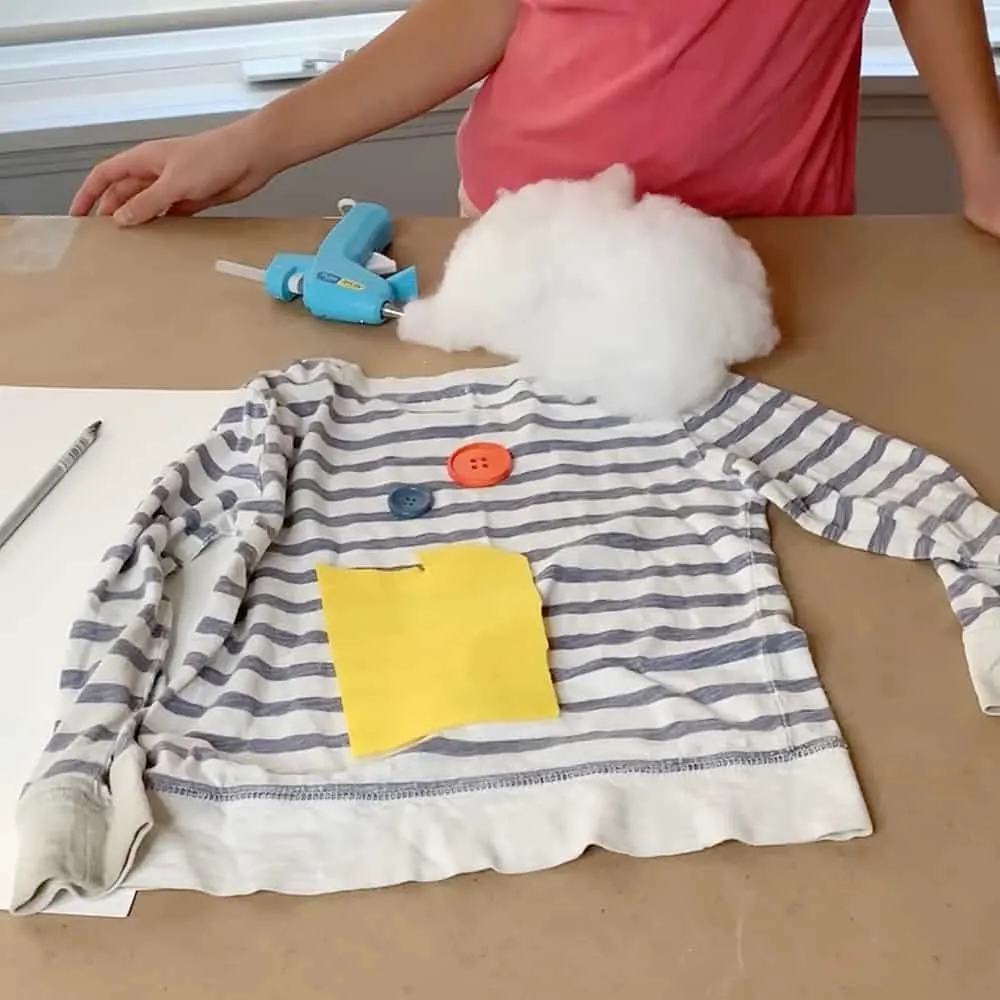
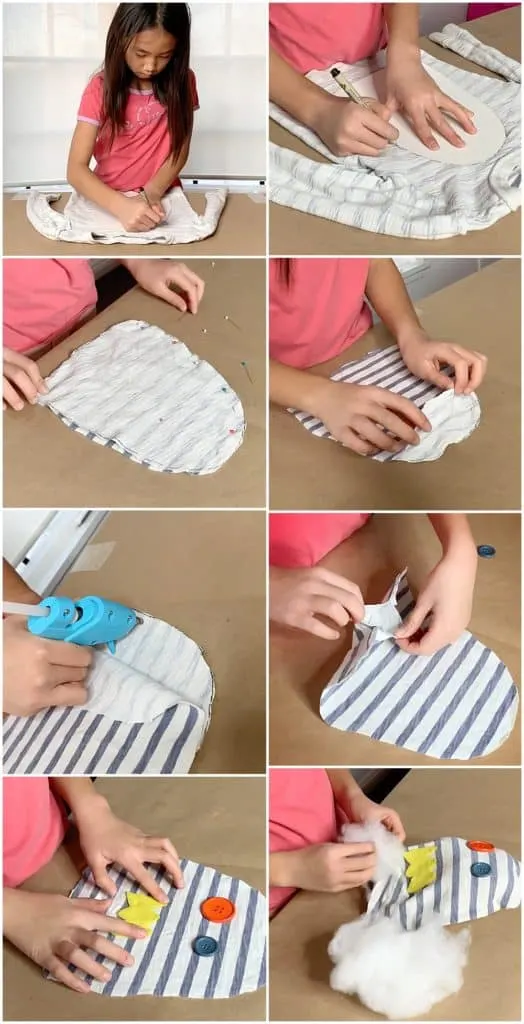
Step 1. Draw a monster-like shape on your piece of paper but make sure it fits within your t-shirt size. We recommend a blob-like shape without difficult corners so it’s easier to glue.
Step 2. Cut your shape out; that will become your template.
Step 3. . Turn your t-shirt inside out. Use your pencil or light marker to trace the template onto the t-shirt.
Step 4. Pin down the shape, then cut it out.
Step 5. Take out the pins. Reverse the t-shirt right side up, and lay both pieces on top of each other.
Step 6. Start gluing small sections about 1/2″ away from the edges, pressing down firmly in small sections.
Step 7. Leave a small hole for your stuffing.
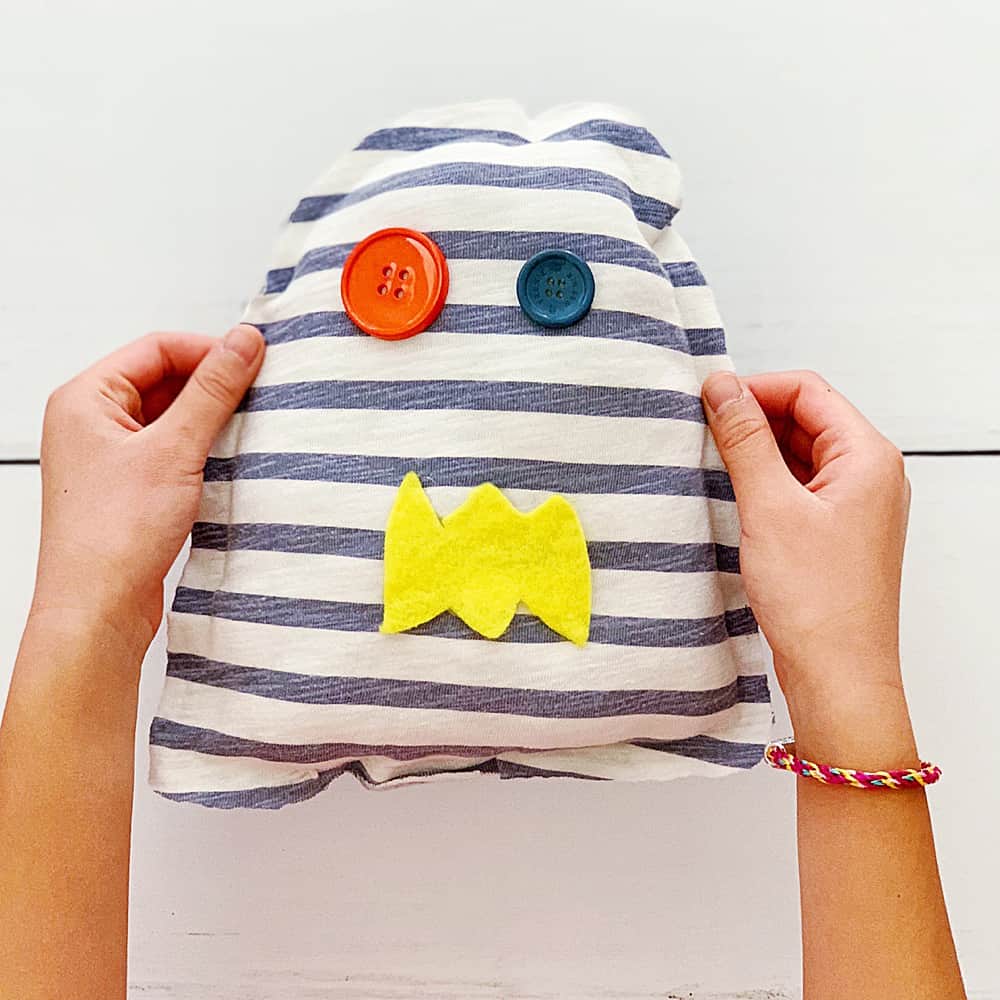
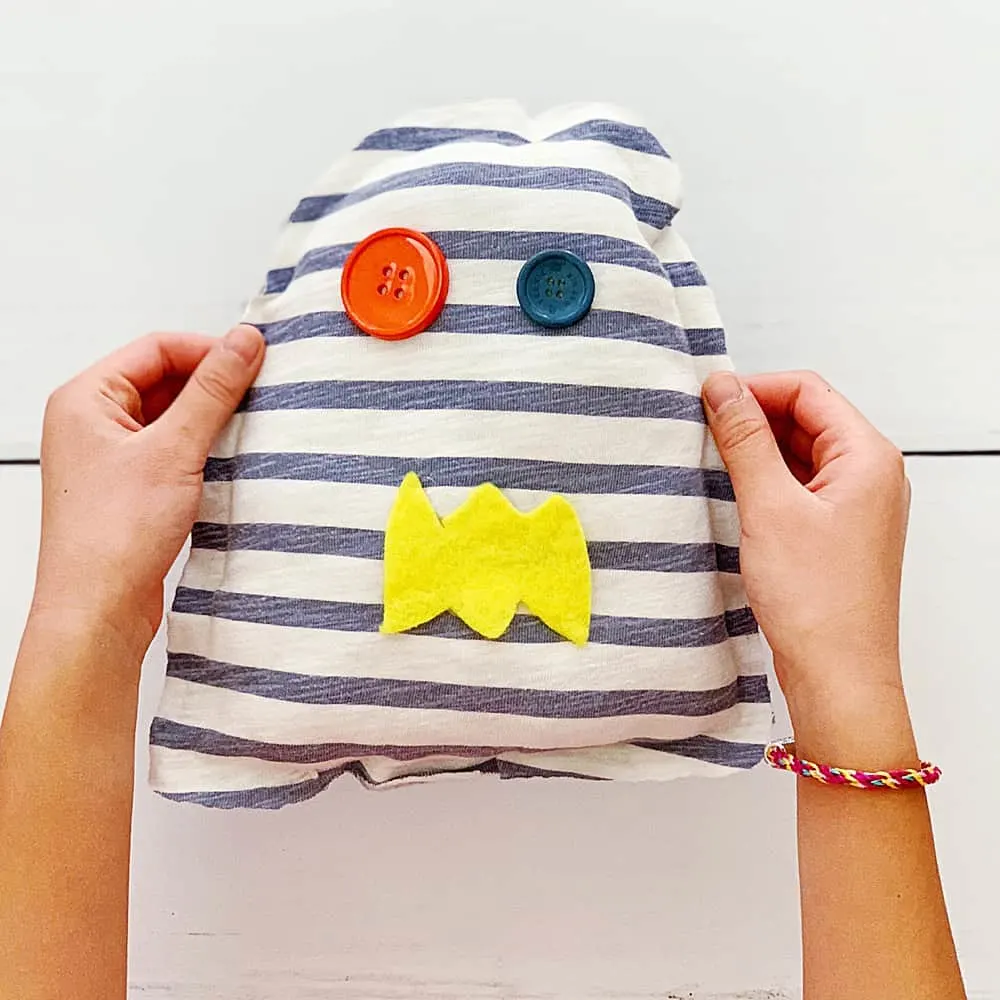
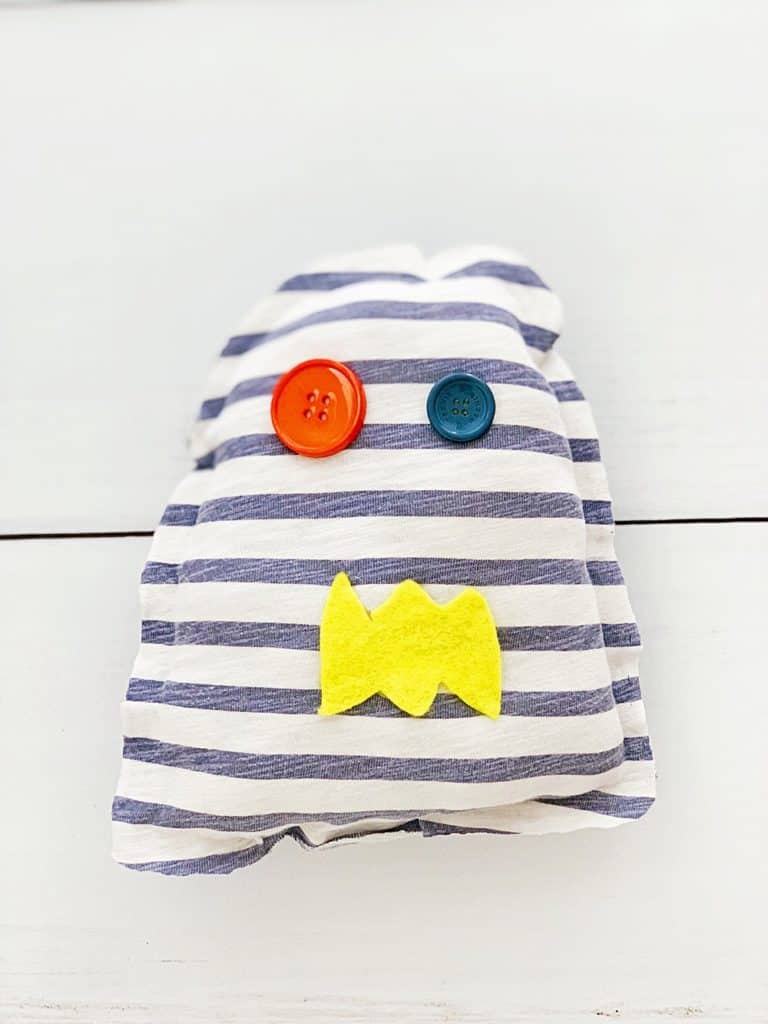
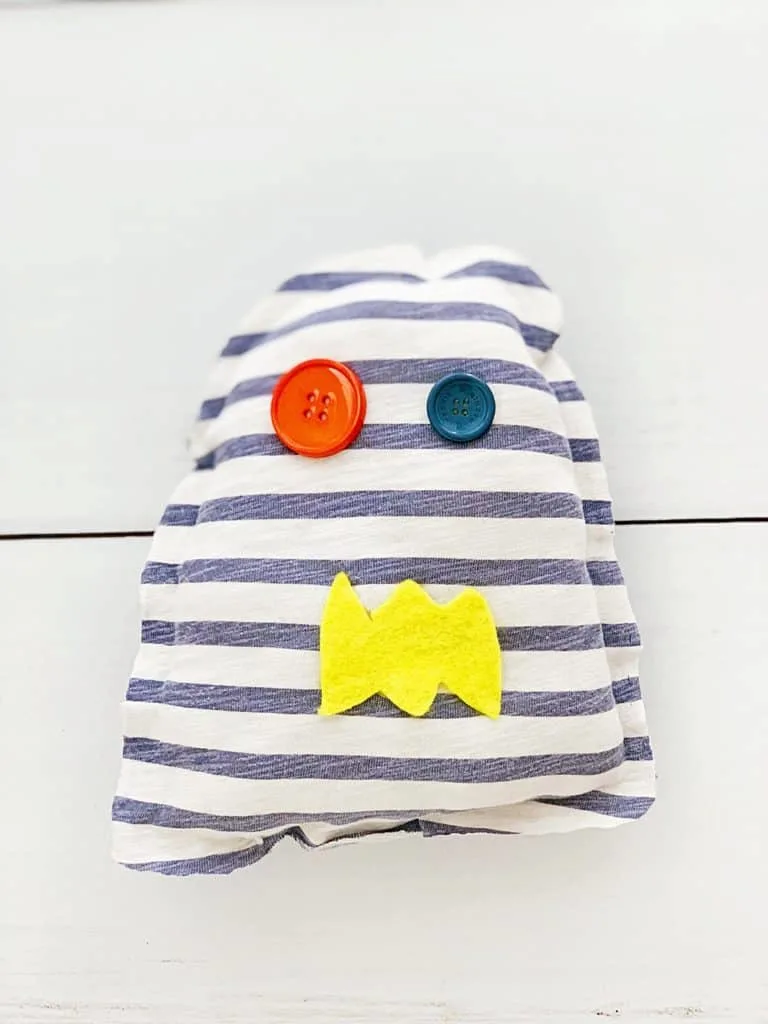
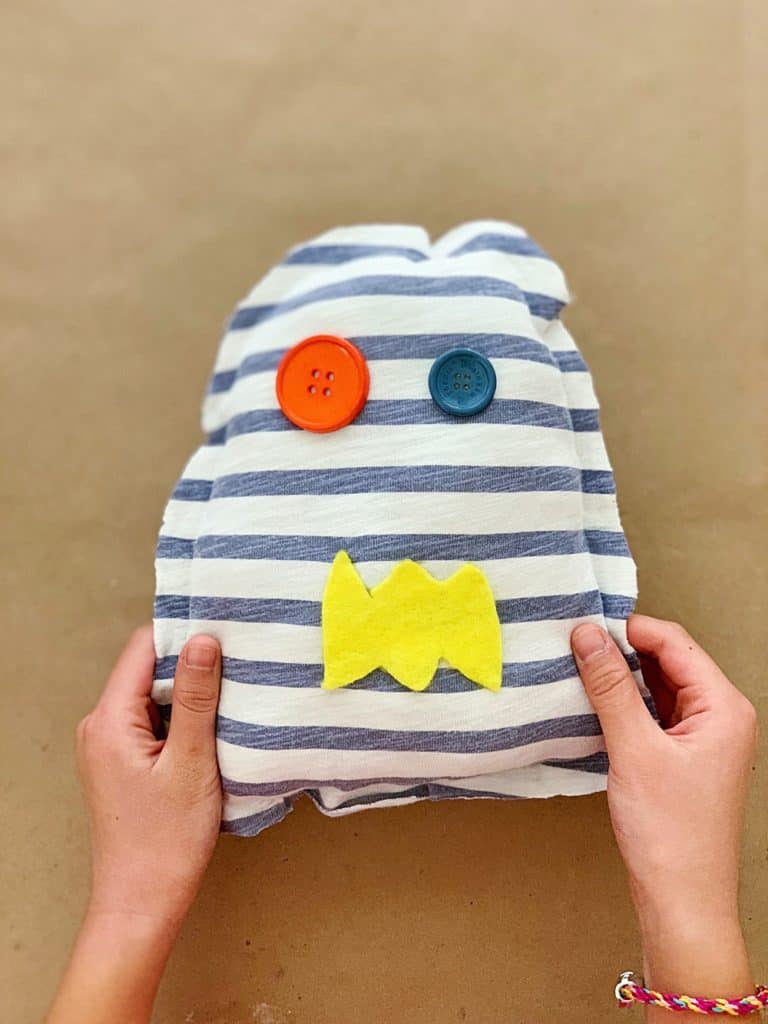
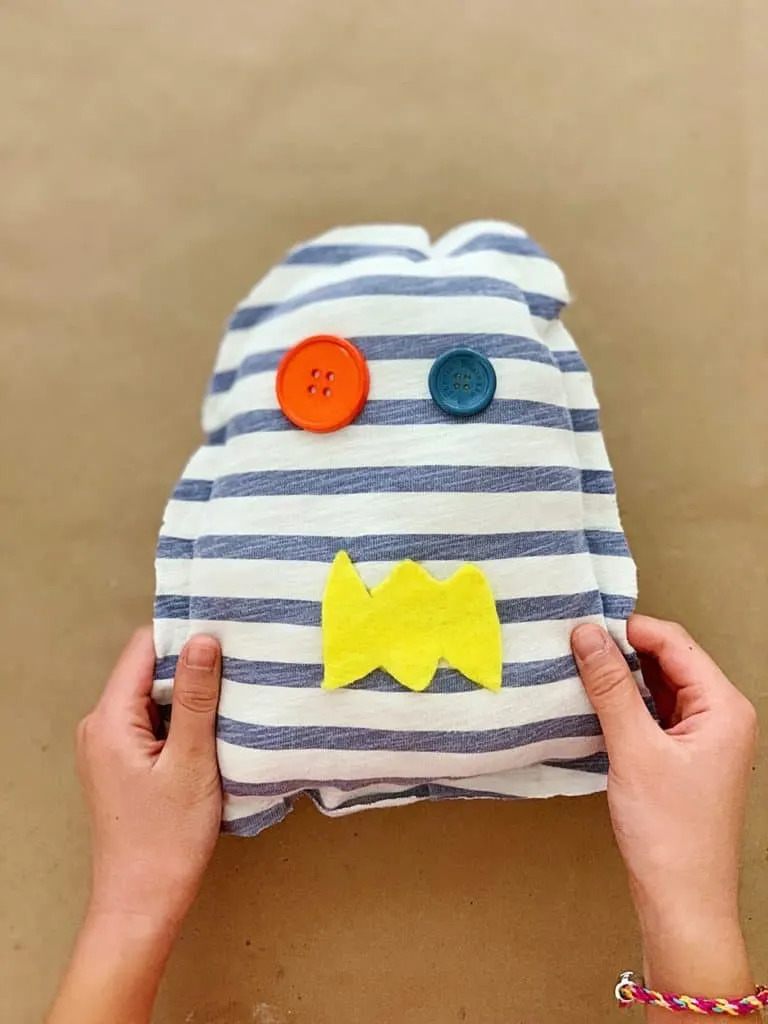
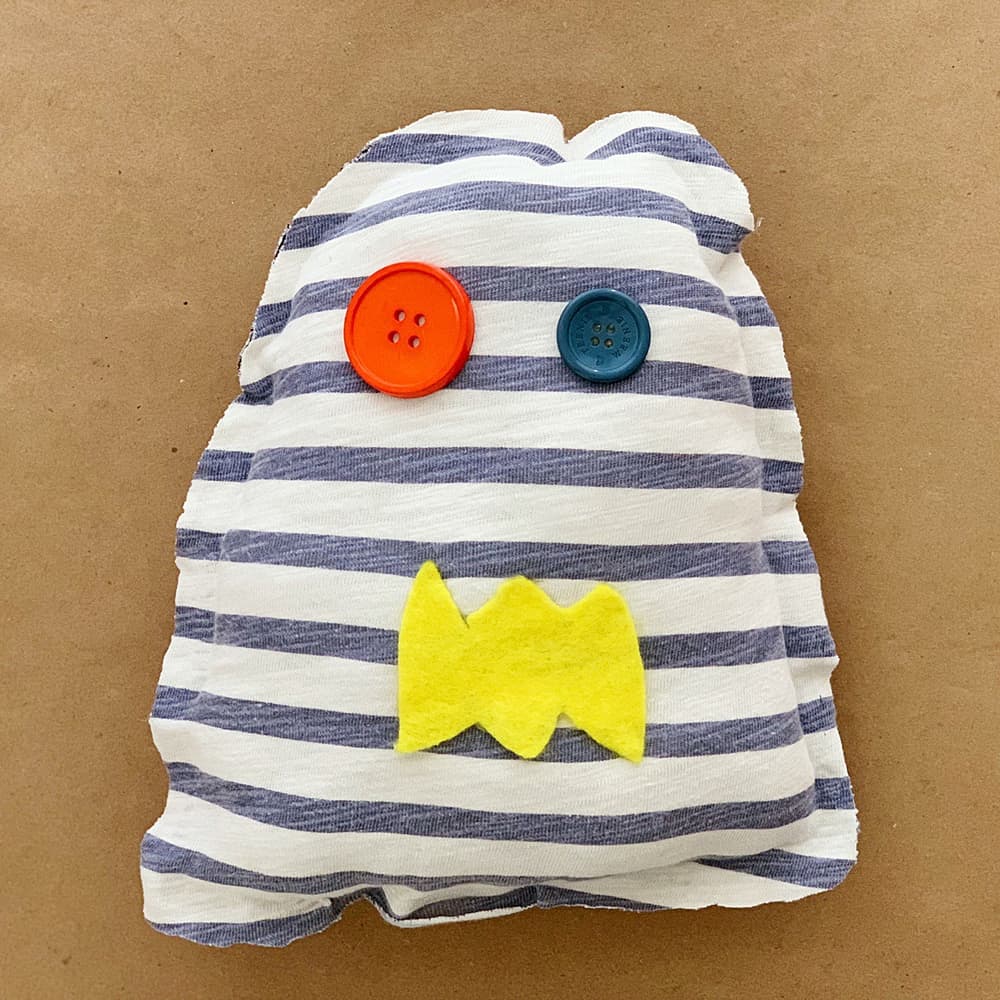
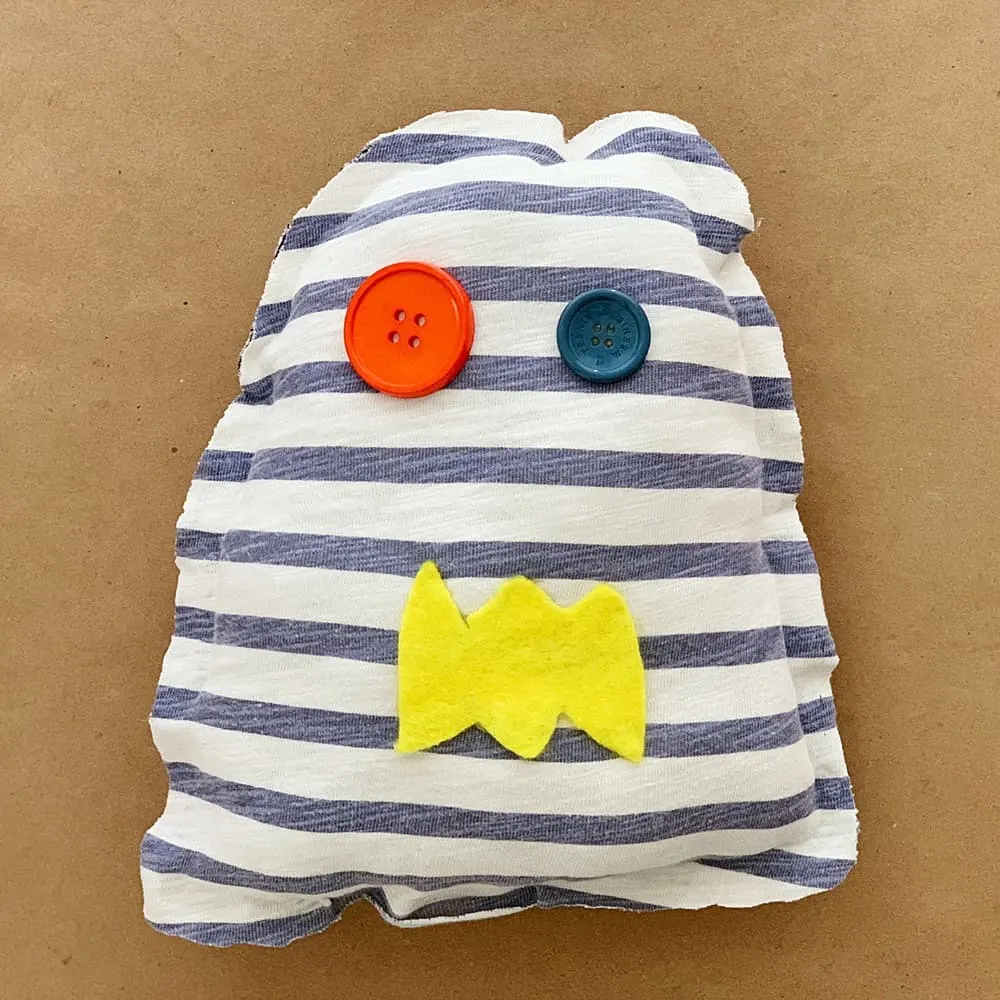
Step 8. Glue your button eyes. Cut out a mouth from a scrap piece of felt and glue that down too.
*NOTE: if you will be giving the softie to a toddler or young child, please stitch the buttons as glue is not secured, the buttons can come off and become a choking hazard.
Step 9. Start filling your softie with polyfill stuffing.
Step 10. Once stuffed, glue and press down the small hole opening.

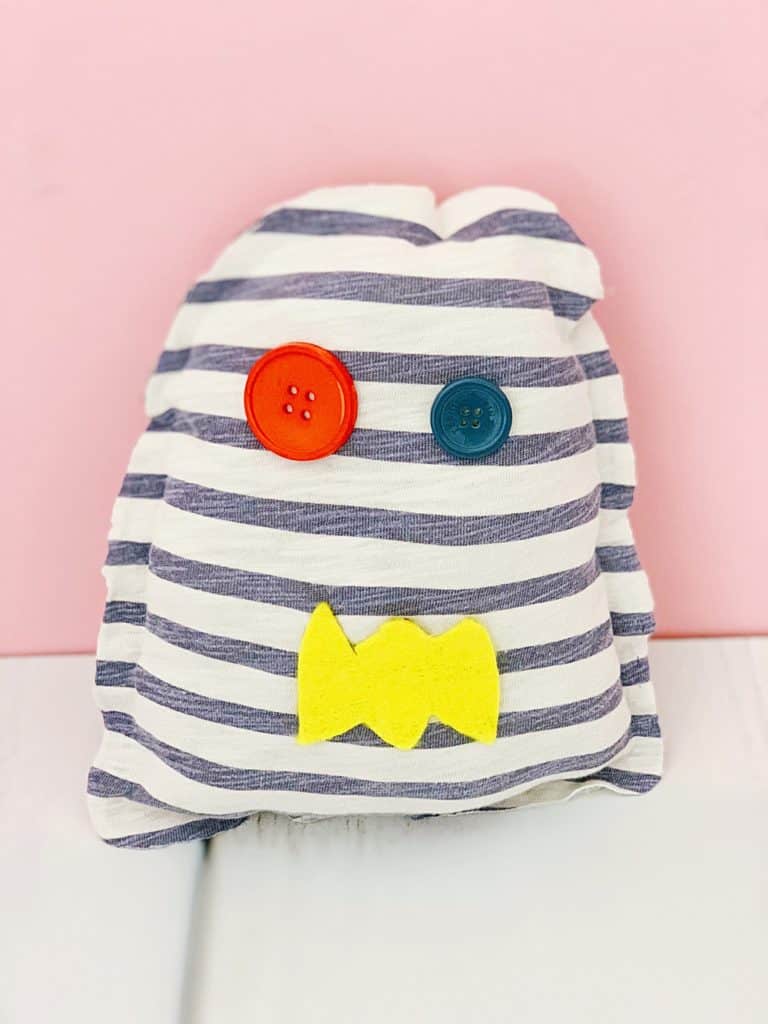
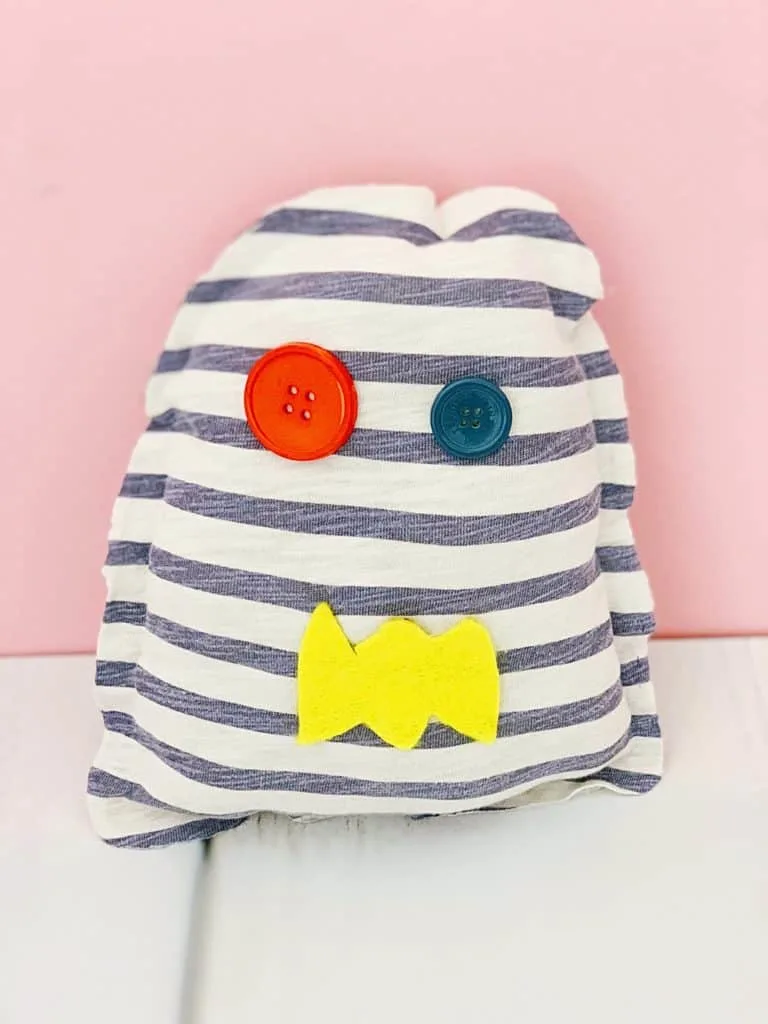
How easy was that? You can customize these softies in so many different ways with various patterned tees, colored buttons, and felt colors. This would be a great activity to set up for a classroom, playdate or art session with all the materials laid out.
Remember, you can always skip the hot glue and have kids sew the softie instead! Sewing is a wonderful skill for kids to have and builds fine motor skills too.
Another tip if you have a beginner sewer is to use the glue method, but then stitch around by practicing hand sewing with kids. That way they can focus on the stitching while the softie is held intact. We’ve done that with other stuffed toy project with the kids.

Watch my daughter show you the step by step video of how to make a No-Sew T-Shirt Monster Softie right below.
Check out more fun sewing with kids tutorials!
Recycle an old t-shirt to make this easy no-sew monster softie with kids! Step 1. Draw a monster-like shape on your piece of paper but make sure it fits within your t-shirt size. We recommend a blob-like shape without difficult corners so it’s easier to glue. Step 2. Cut your shape out; that will become your template. Step 3. Turn your t-shirt inside out. Use your pencil or light marker to trace the template onto the t-shirt. Step 4. Pin down the shape, then cut it out. Step 5. Take out the pins. Reverse the t-shirt right side up, and lay both pieces on top of each other. Step 6. Start gluing small sections about 1/2″ away from the edges, pressing down firmly in small sections. Step 7. Leave a small hole for your stuffing. Step 8. Glue your button eyes. Cut out a mouth from a scrap piece of felt and glue that down too. Step 9. Start filling your softie with polyfill stuffing. Step 10. Once stuffed, glue and press down the small hole opening. *NOTE: if you will be giving the softie to a toddler or young child, please stitch the buttons as glue is not secured, the buttons can come off and become a choking hazard. HOW TO MAKE A NO-SEW T-SHIRT MONSTER SOFTIE WITH KIDS
Materials
Instructions
Notes


Agnes Hsu is a mom of three and has been inspiring parents and kids to get creative with easy activities and family friendly recipes for over 10 years. She shares her love for creative play and kids food to her 2MM+ followers online. Agnes' commitment to playful learning and kindness has not only raised funds for charity but also earned features in prestigious nationwide publications.