

Follow us on Instagram for more fun ideas for kids!
By using this site, you agree to our Terms of Use. This post may contain affiliate links. Read our disclosure policy. As an Amazon Influencer, I earn from qualifying purchases.
Create beautiful suncatcher decor using colored glass beads, clear glue and a lid. Great recycled craft for kids!
Looking for a fun and creative way to brighten up your space? Why not try making your own glass bead suncatcher! This is a perfect summer craft for catching those sun rays. Suncatchers are some of our favorite summer DIYs!
This simple and delightful project is perfect for kids and adults alike, combining colorful beads and clear Elmer’s glue to create a sparkling decoration that catches the light beautifully.
Using a yogurt lid as the mold adds an eco-friendly twist, making it both easy and environmentally conscious for a recycled craft. Here’s how to get started:


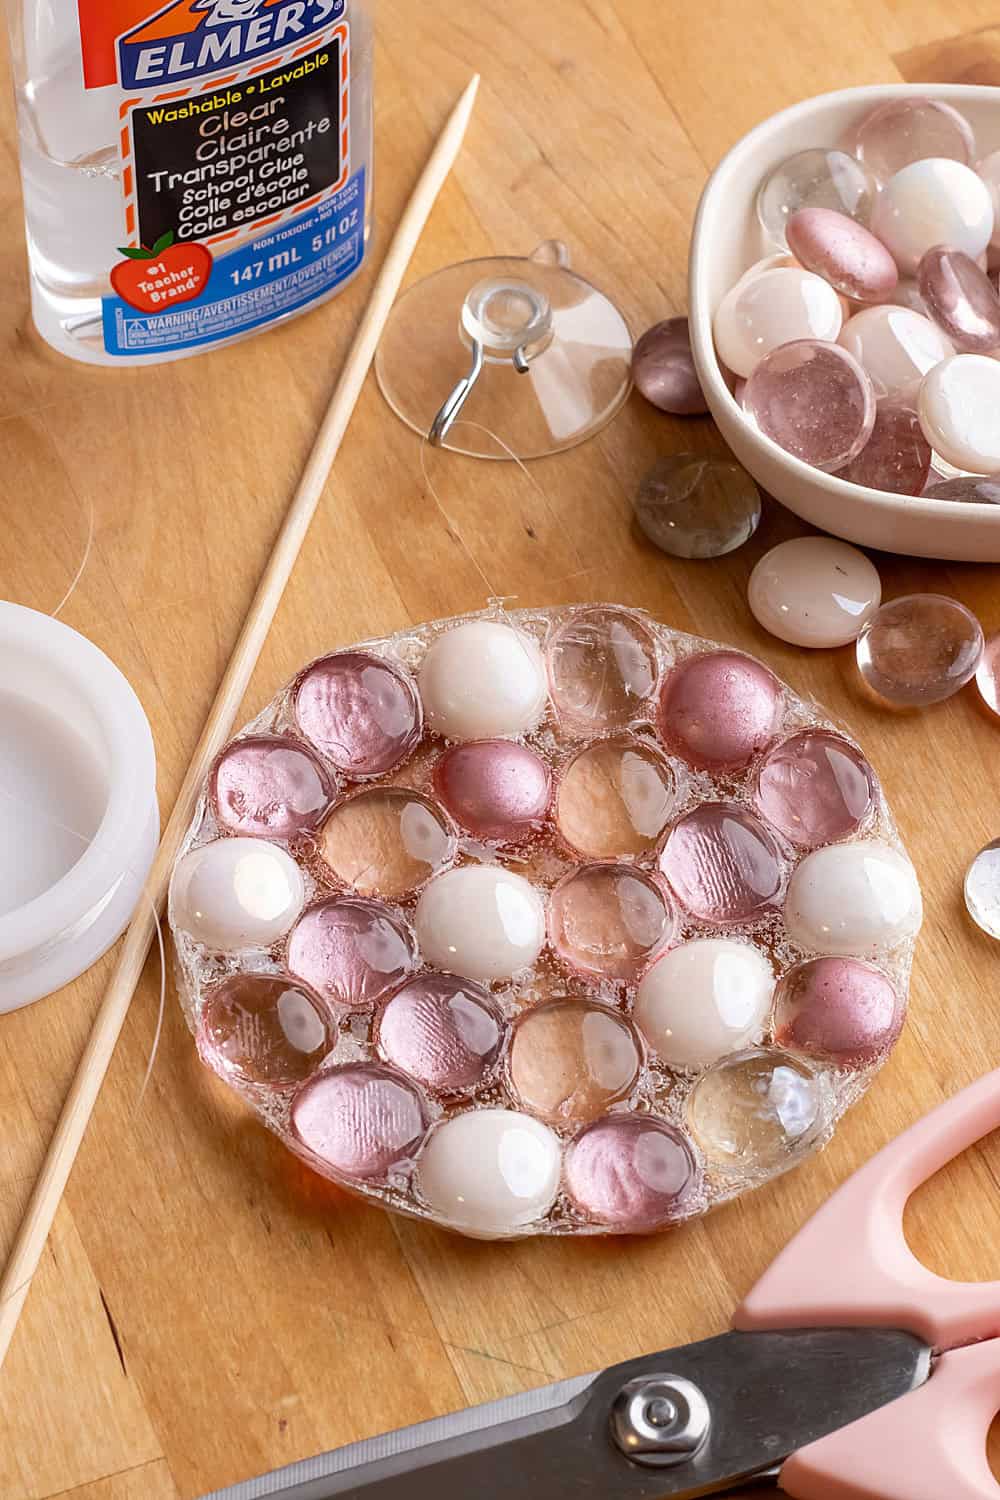
DIY Glass Bead Suncatcher – Materials:
– Assorted glass beads like these (choose colors and sizes you love)
– Yogurt or sour cream lid (cleaned and dried)
– Clear nylon string (non-stretchy)
– Scissors
– Toothpick or skewer

How to make glass bead suncatchers
Watch the video in this post
Step 1: Prepare Your Workspace
Find a clean and flat surface to work on. Lay down a sheet of newspaper or a crafting mat to protect your table from any glue spills.
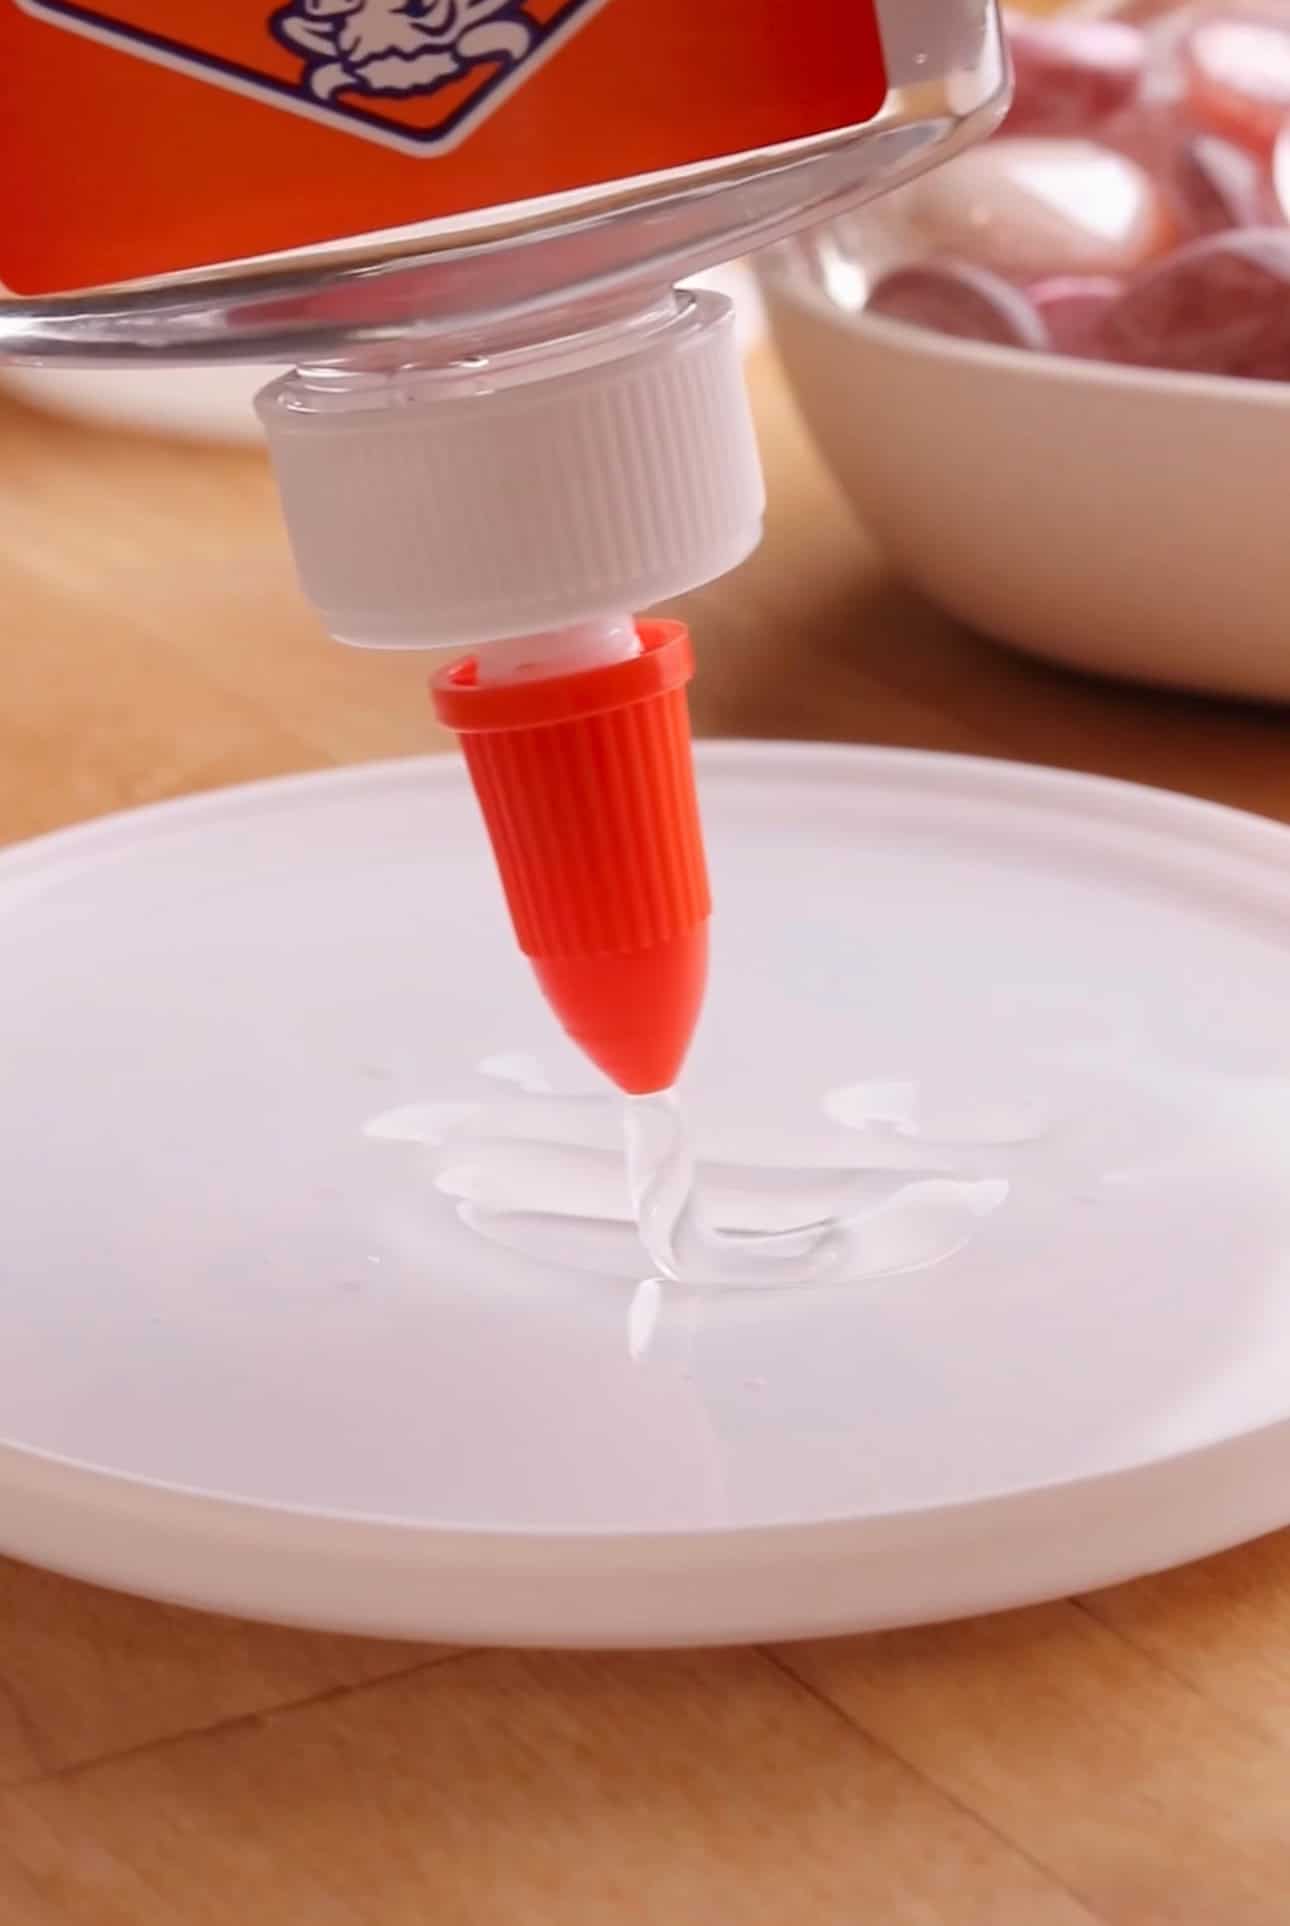
Step 2: Prepare the Yogurt Lid
Take your cleaned yogurt lid and ensure it’s completely dry. This will serve as the mold for your suncatcher. Fill about halfway full with the clear Elmer’s glue.
Step 3: Arrange Your Beads
Place the beads directly into the glue in the yogurt lid, arranging as desired to create a pretty design.
Step 4: Let It Dry
Allow your suncatcher to dry completely. This may take several days depending on the temperature and humidity of your home. We placed ours in a dehydrator on 150°F to speed up the process.
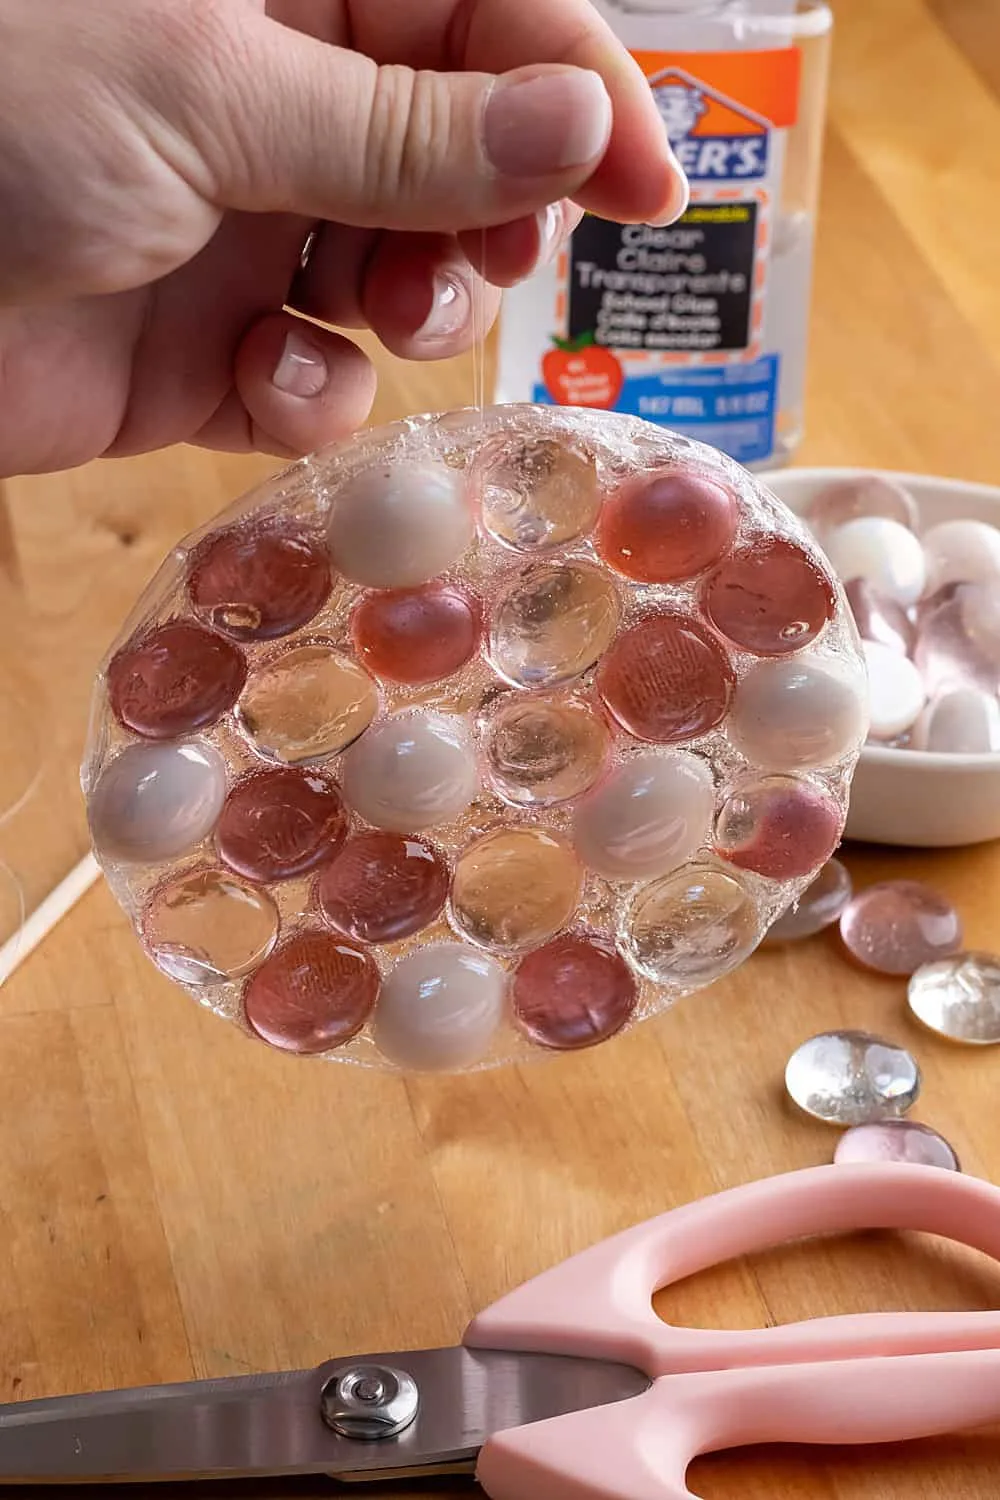
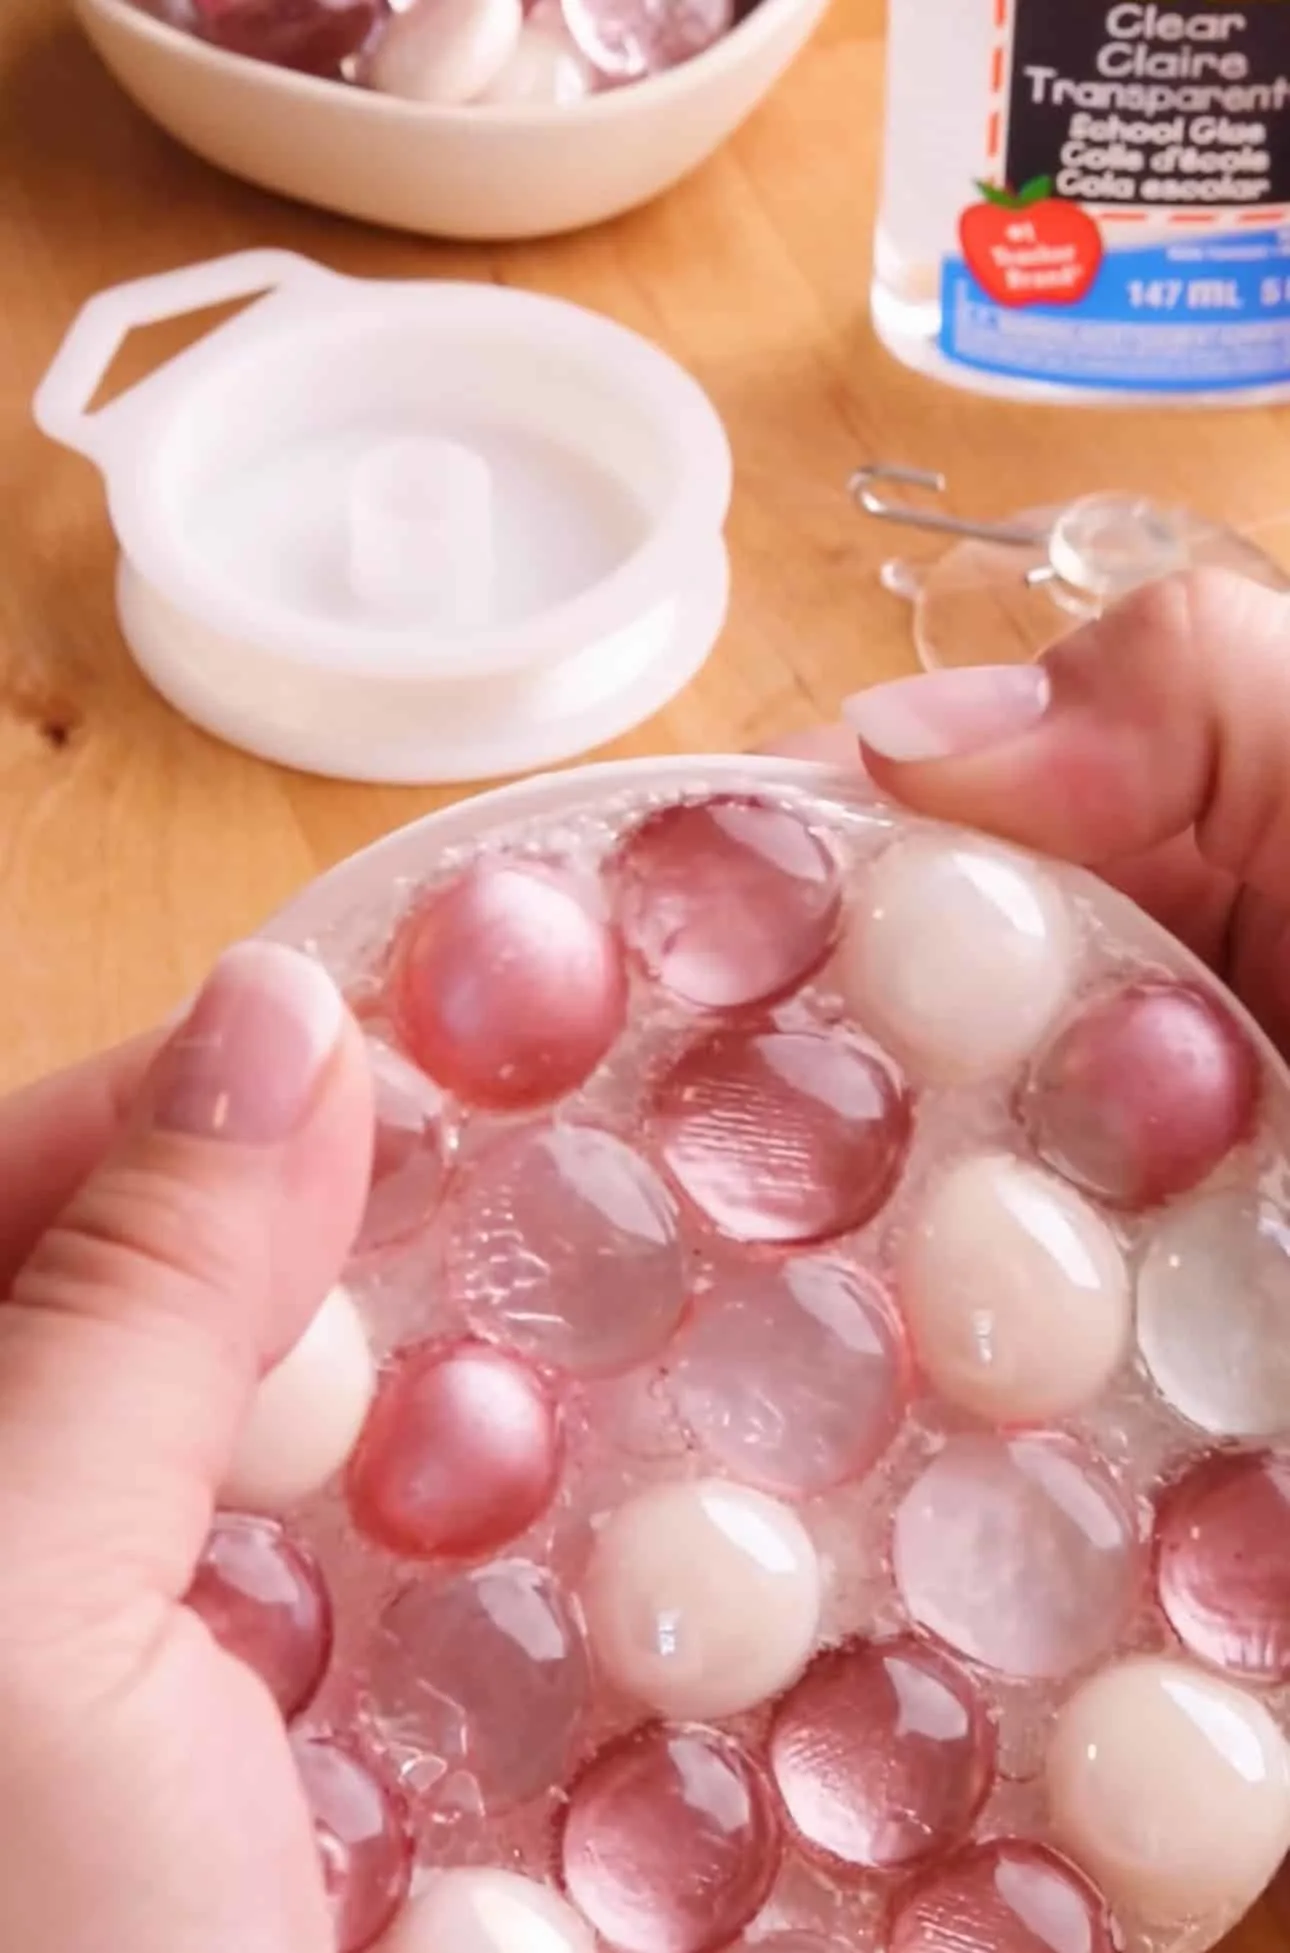
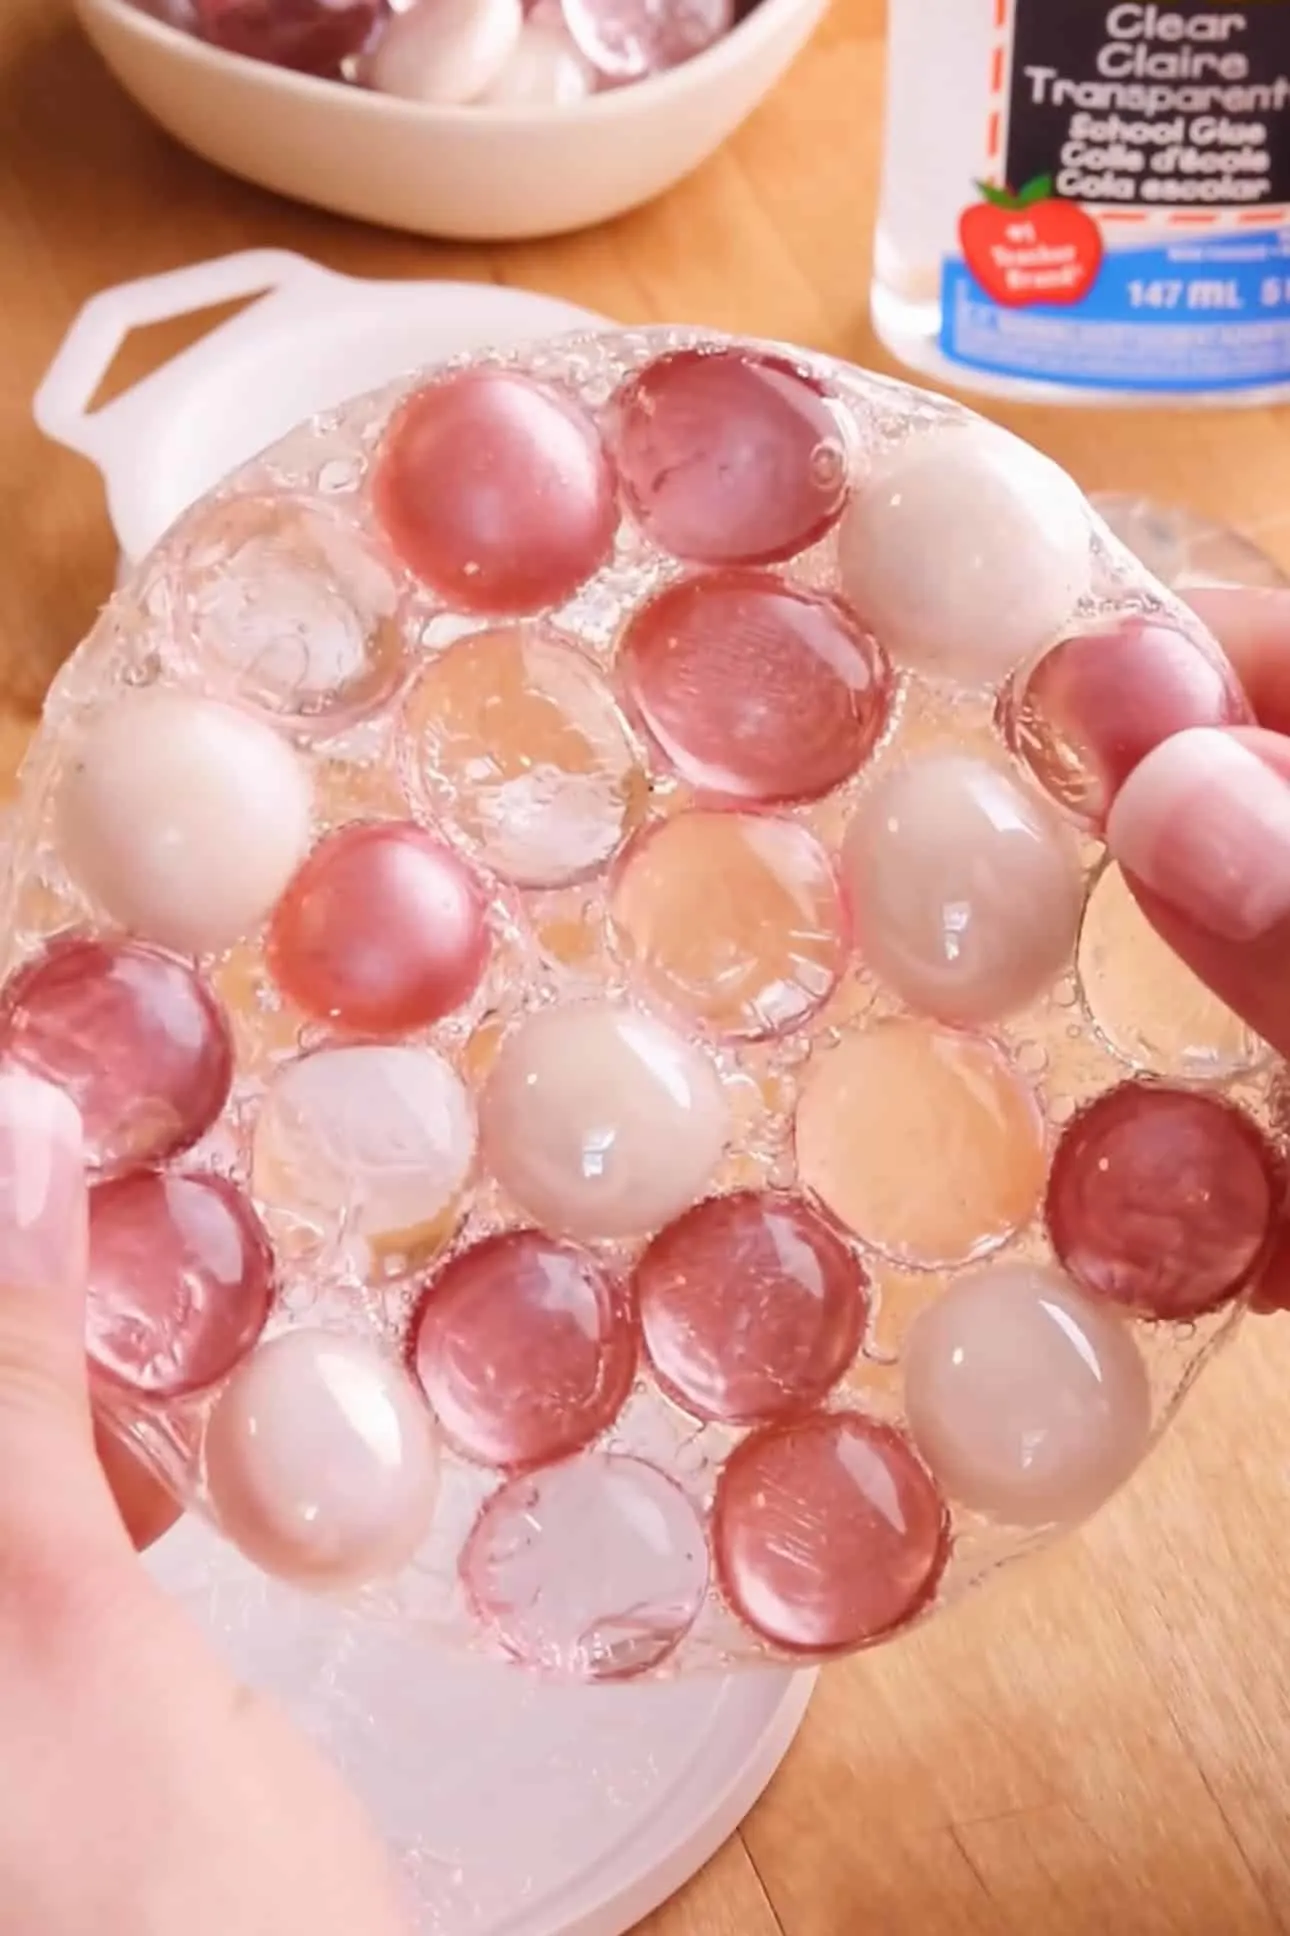
Step 5: Remove from Mold
Once the glue is completely dry and solid, carefully peel the suncatcher from the yogurt lid mold.
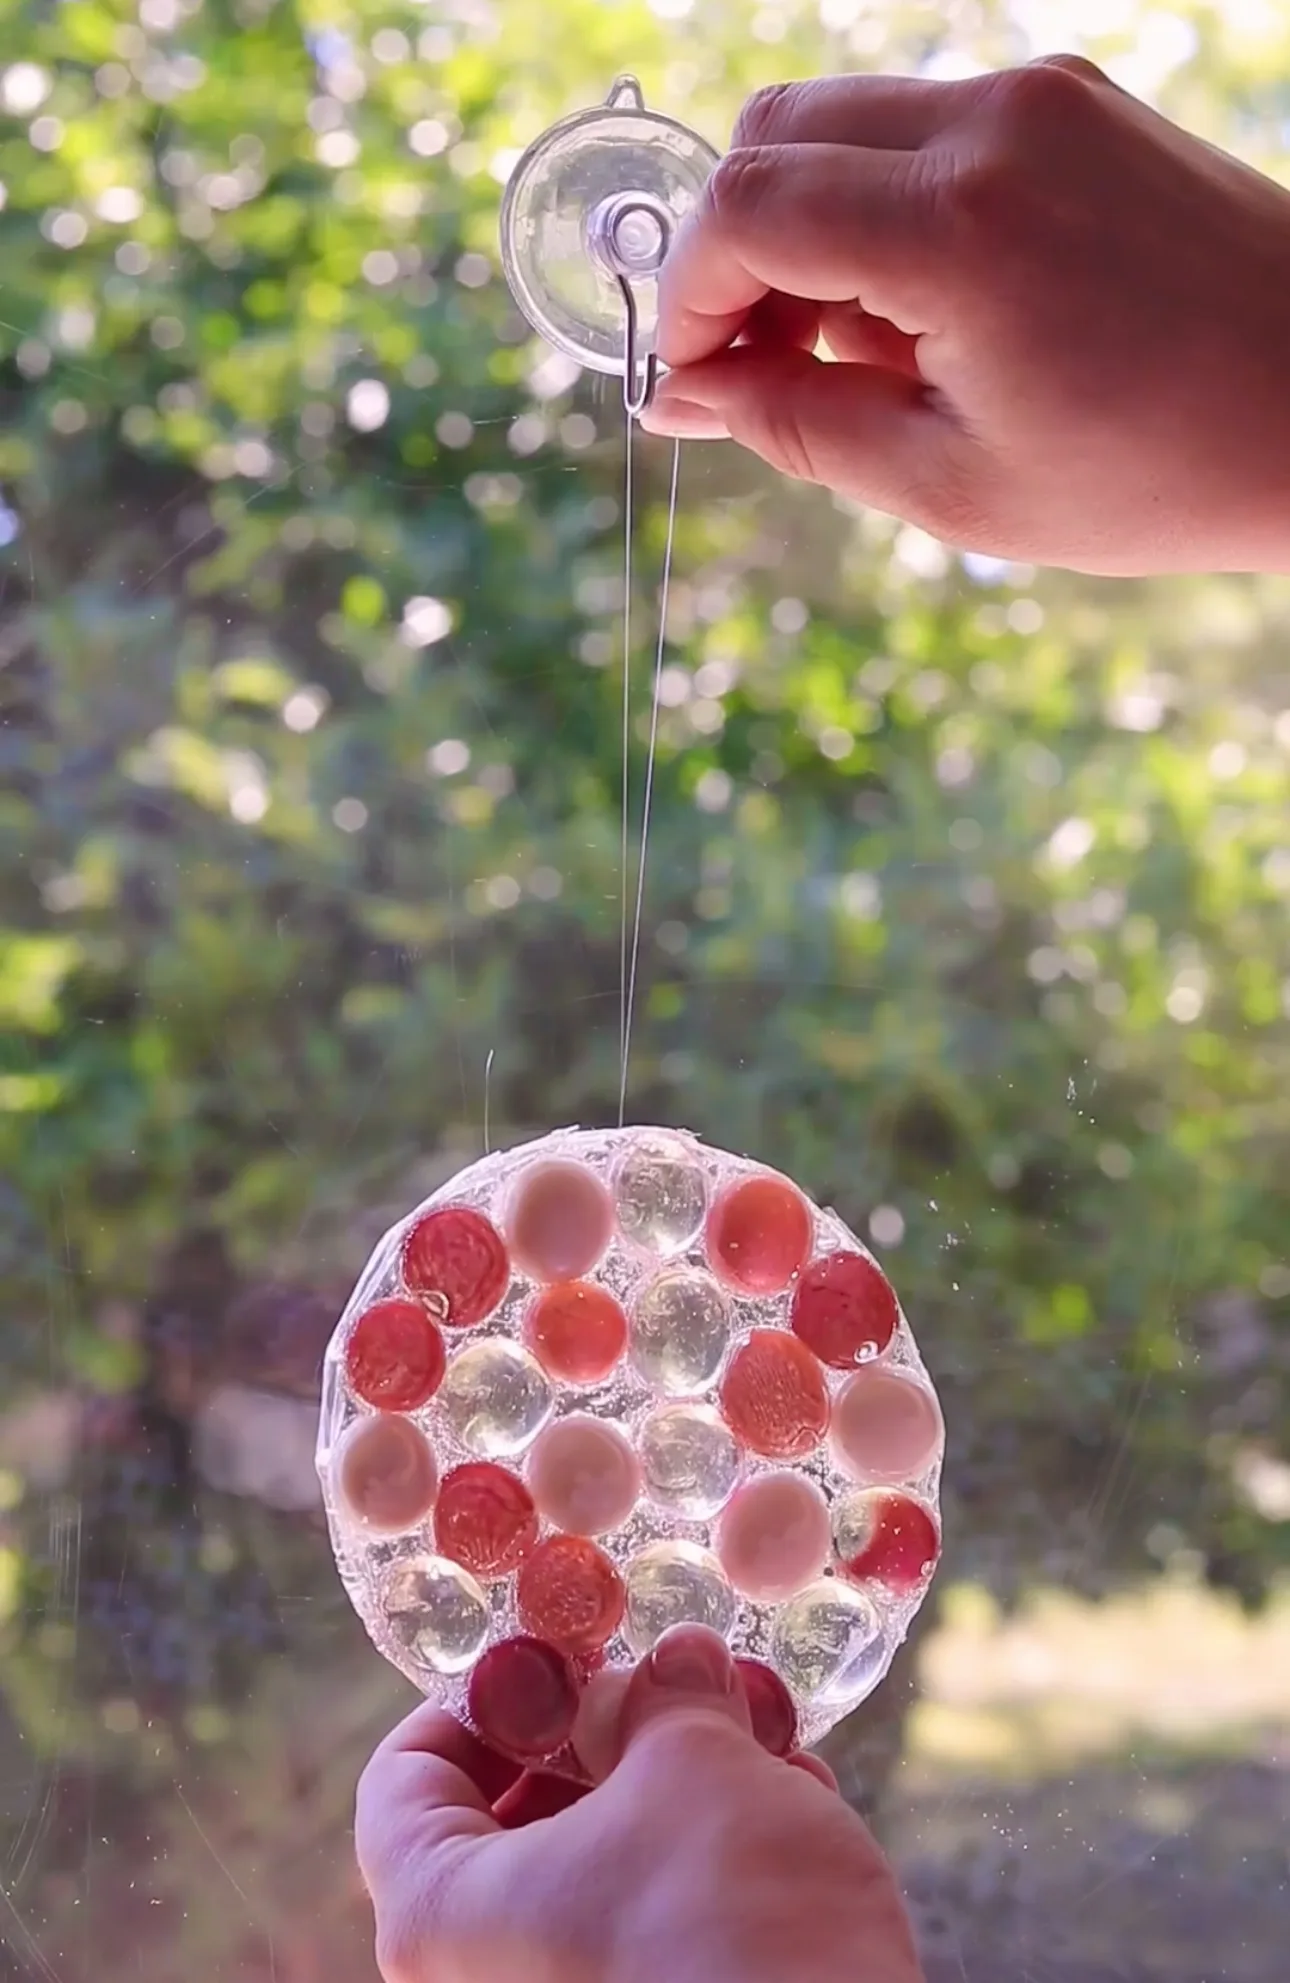
Step 6: Attach Hanging String
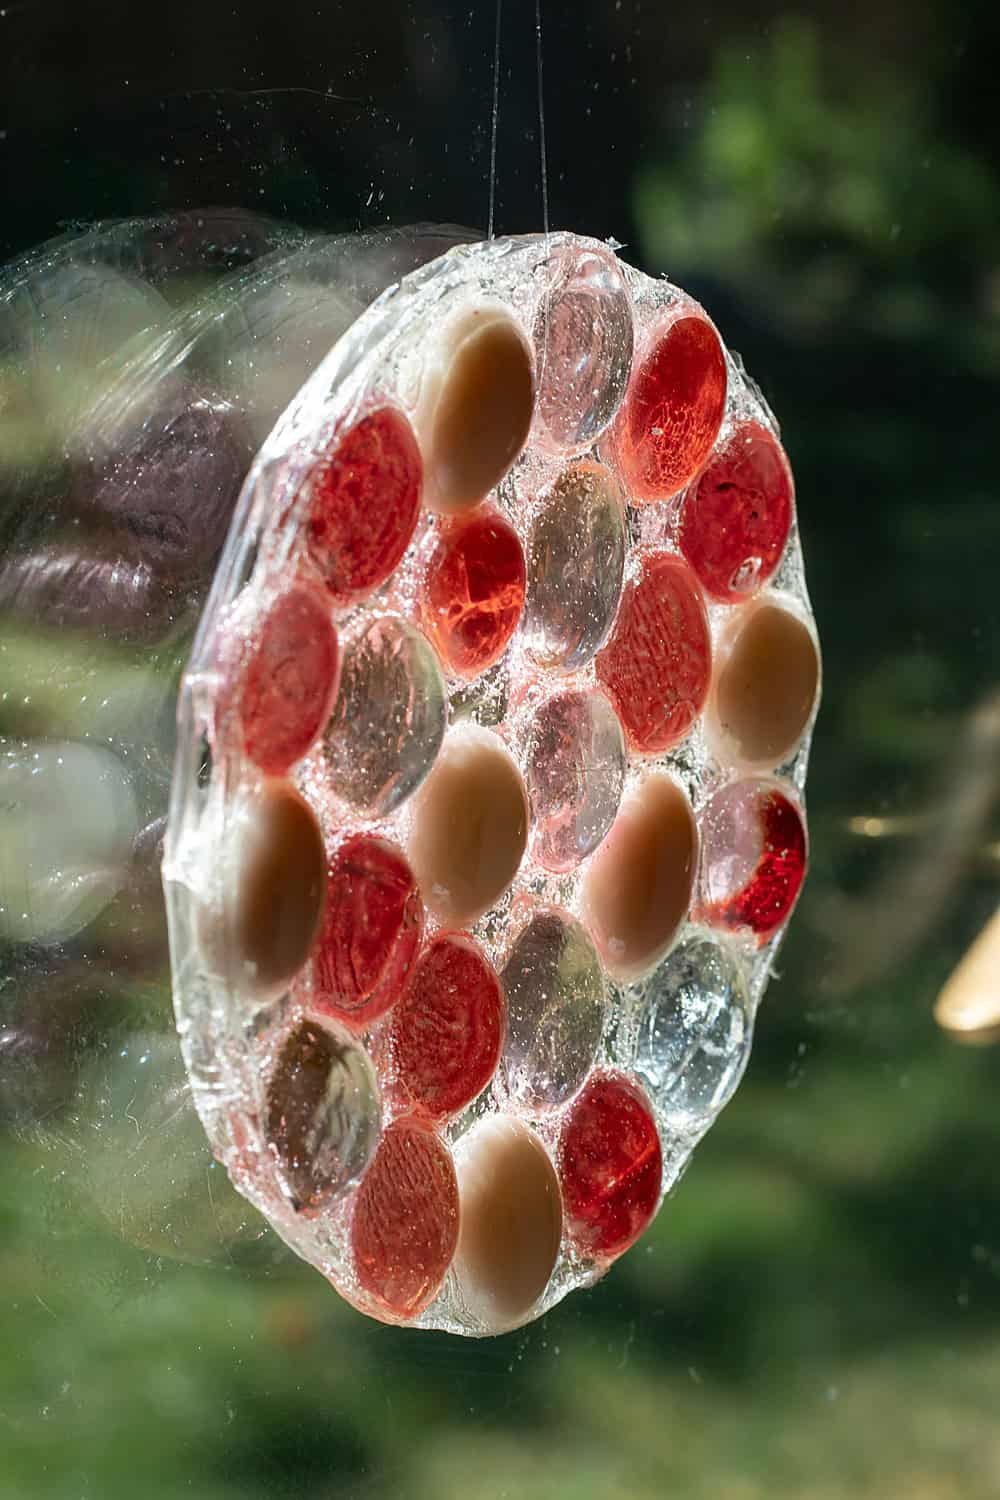
Use a toothpick or skewer to poke a hole through one of the gaps in the beads. Thread a piece of clear nylon string through the hole and knot it. Then you’re ready to hang it on the window! Place the suction cup with a hook on your window wherever you’d like to hang your beautiful new suncatcher!


Final Thoughts
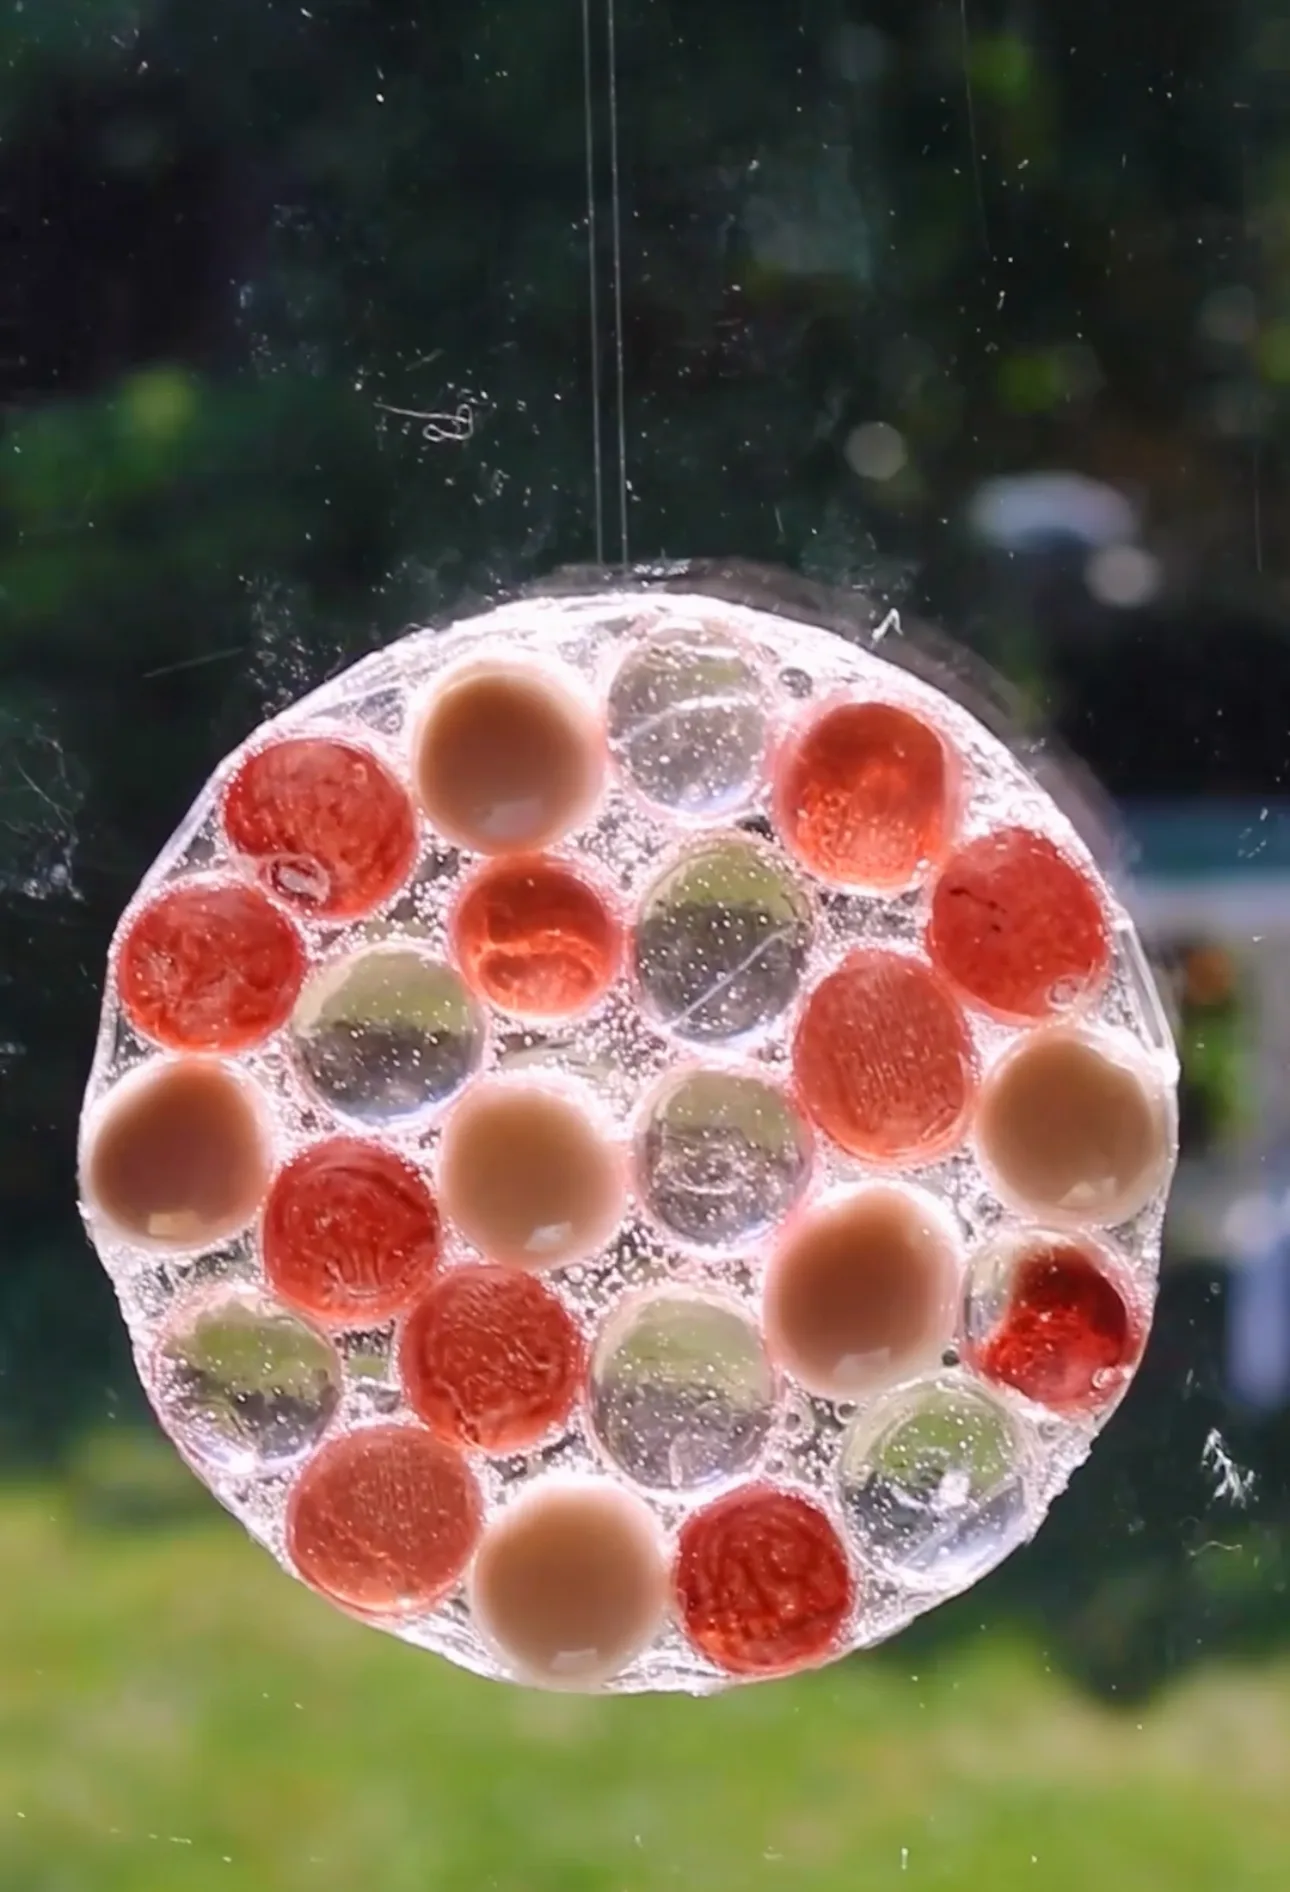
This beaded suncatcher project is a fun way to spend an afternoon crafting with your kids and is a beautiful addition to your windows!
The combination of colorful beads and clear glue creates a stunning effect when sunlight shines through, casting vibrant patterns across your space.
Whether you’re making it with kids as a summer activity or enjoying some solo crafting time, this DIY suncatcher will bring a smile to your face every time you see it catching the sun’s rays.
How To Make Beautiful Glass Bead Suncatchers


Materials
- - Assorted glass beads like these (choose colors and sizes you love)
- - Clear Elmer's glue
- - Yogurt or sour cream lid (cleaned and dried)
- - Clear nylon string (non-stretchy)
- - Suction cup with hook
- - Scissors
- - Toothpick or skewer
Instructions
Step 1: Prepare Your Workspace
Find a clean and flat surface to work on. Lay down a sheet of newspaper or a crafting mat to protect your table from any glue spills.
Step 2: Prepare the Yogurt Lid
Take your cleaned yogurt lid and ensure it’s completely dry. This will serve as the mold for your suncatcher. Fill about halfway full with the clear Elmer’s glue.
Step 3: Arrange Your Beads
Place the beads directly into the glue in the yogurt lid, arranging as desired to create a pretty design.
Step 4: Let It Dry
Allow your suncatcher to dry completely. This may take several days depending on the temperature and humidity of your home. We placed ours in a dehydrator on 150°F to speed up the process.
Step 5: Remove from Mold
Once the glue is completely dry and solid, carefully peel the suncatcher from the yogurt lid mold.
Step 6: Attach Hanging String
Use a toothpick or skewer to poke a hole through one of the gaps in the beads. Thread a piece of clear nylon string through the hole and knot it. Then you’re ready to hang it on the window! Place the suction cup with a hook on your window wherever you’d like to hang your beautiful new suncatcher!


Agnes Hsu is a mom of three and has been inspiring parents and kids to get creative with easy activities and family friendly recipes for over 10 years. She shares her love for creative play and kids food to her 2MM+ followers online. Agnes' commitment to playful learning and kindness has not only raised funds for charity but also earned features in prestigious nationwide publications.