

Follow us on Instagram for more fun ideas for kids!
By using this site, you agree to our Terms of Use. This post may contain affiliate links. Read our disclosure policy. As an Amazon Influencer, I earn from qualifying purchases.
Make a flying bat craft with our printable template, and simple materials like paper, straw and string! Kids will love flapping the bat’s wing to head right into celebrating Halloween!
Do your kids love injecting a little STEM into their crafting? This fun flying bat craft has a simple engineering design using a straw and string to pull the bat’s wings back and forth! This spooky activity combines the fun of Halloween crafting with a little Halloween science!
The bat craft couldn’t be easier with our printable template! Read the full instructions below to make your own flying bat!

Flying Bat Craft – Materials:
- Wide Straw
- String or yarn
- Hot glue or tape (tape is recommended for ease it’s just not as nice looking!)
- Two googly eyes
- White and black cardstock paper
- Scissors
- Printable Bat Template **(this one is on my Etsy and helps support my free site here where you can get hundreds of free craft ideas at no cost ❤️)

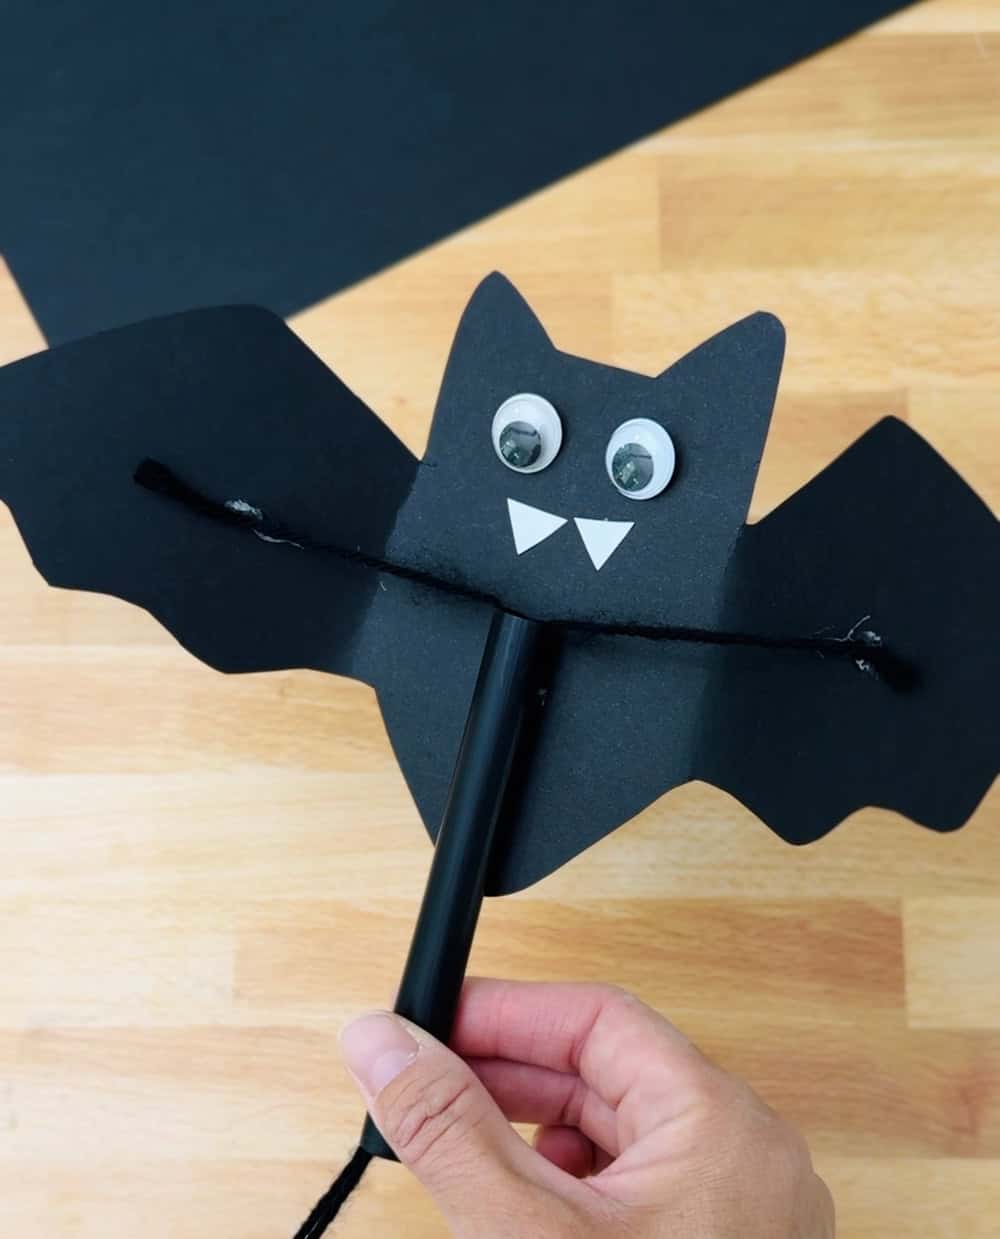
Why do you add the straw in front of the bat?
Yes, I know the straw and string would look better on the back of the bat, but when bats flap their wings, they mostly move them down and forward.
Unlike birds, which often flap straight up and down, bats push their wings down and slightly forward. This motion helps lift them up and move them forward at the same time.
So, the main flapping motion is a downward and forward movement, which helps them fly efficiently and move quickly!

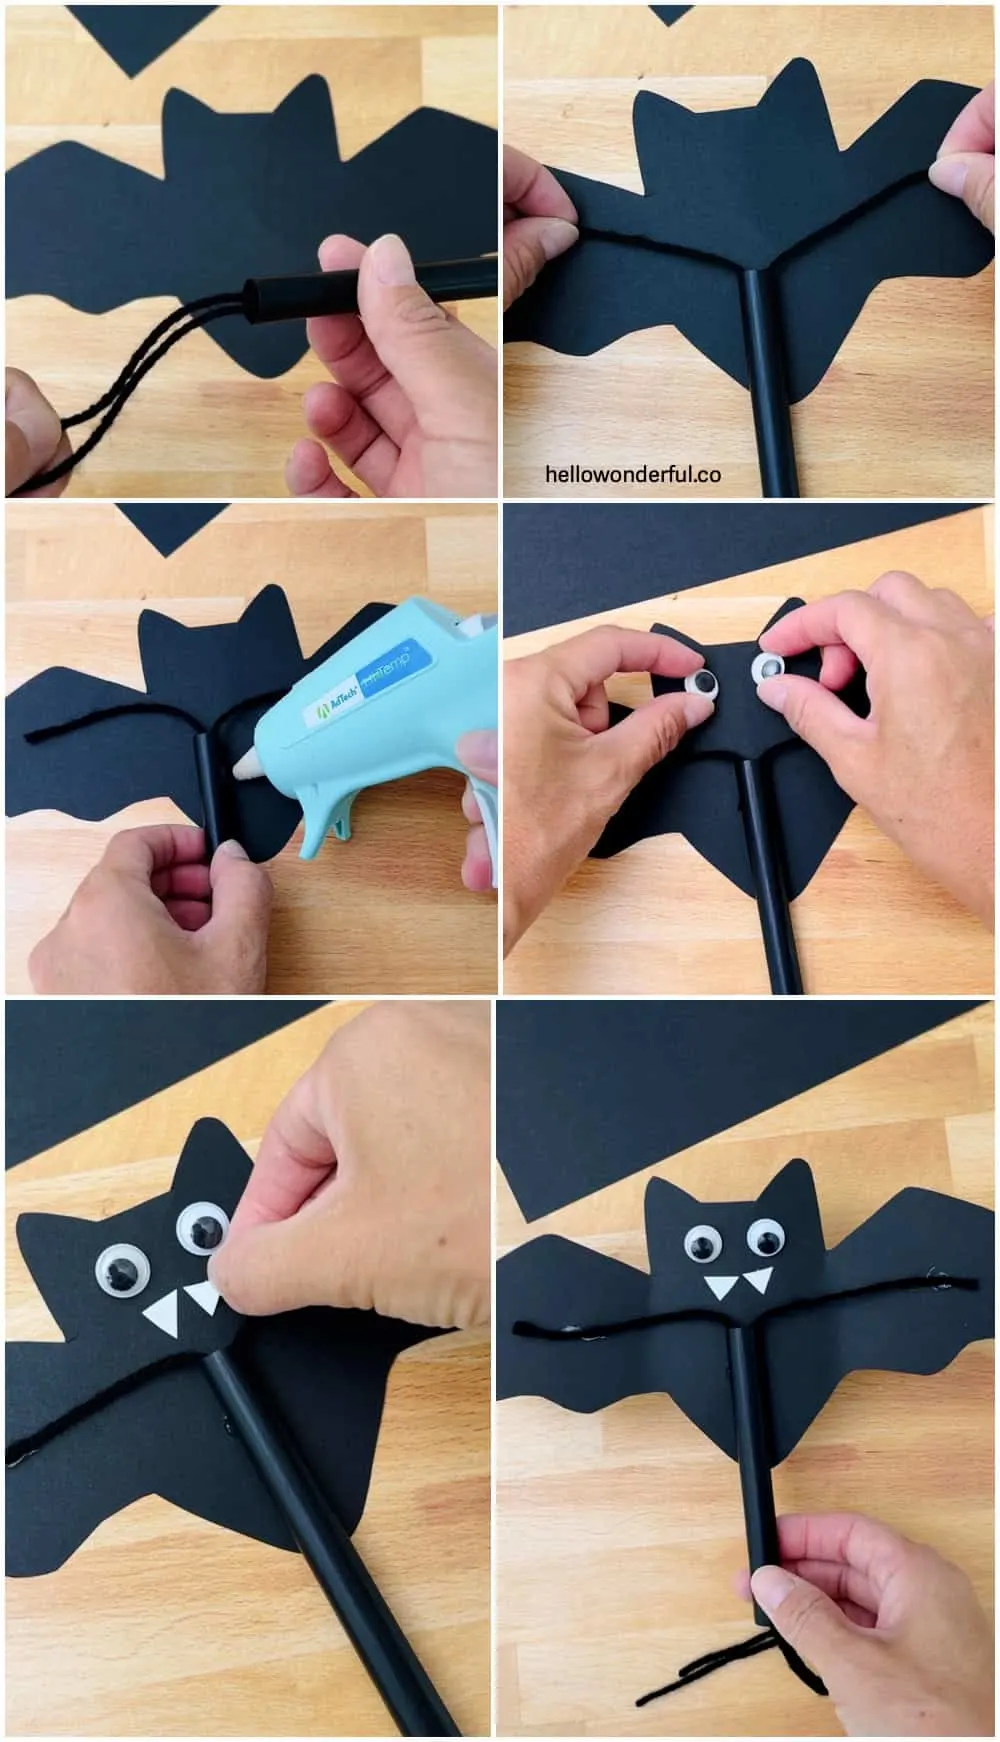
How to make a flying bat – Instructions
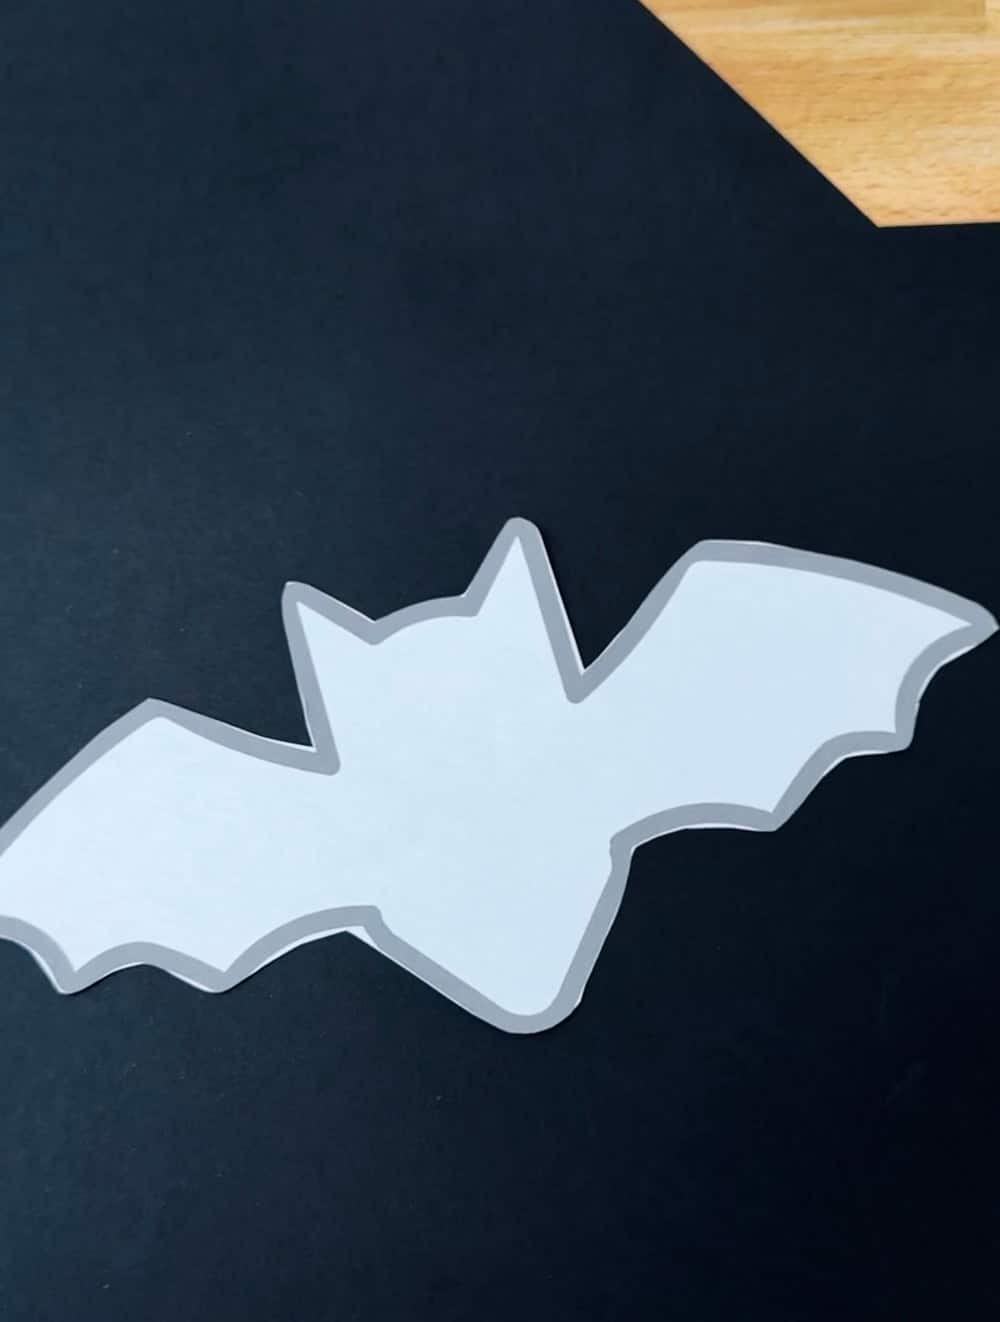
- Print out the bat template and cut out the bat shape.
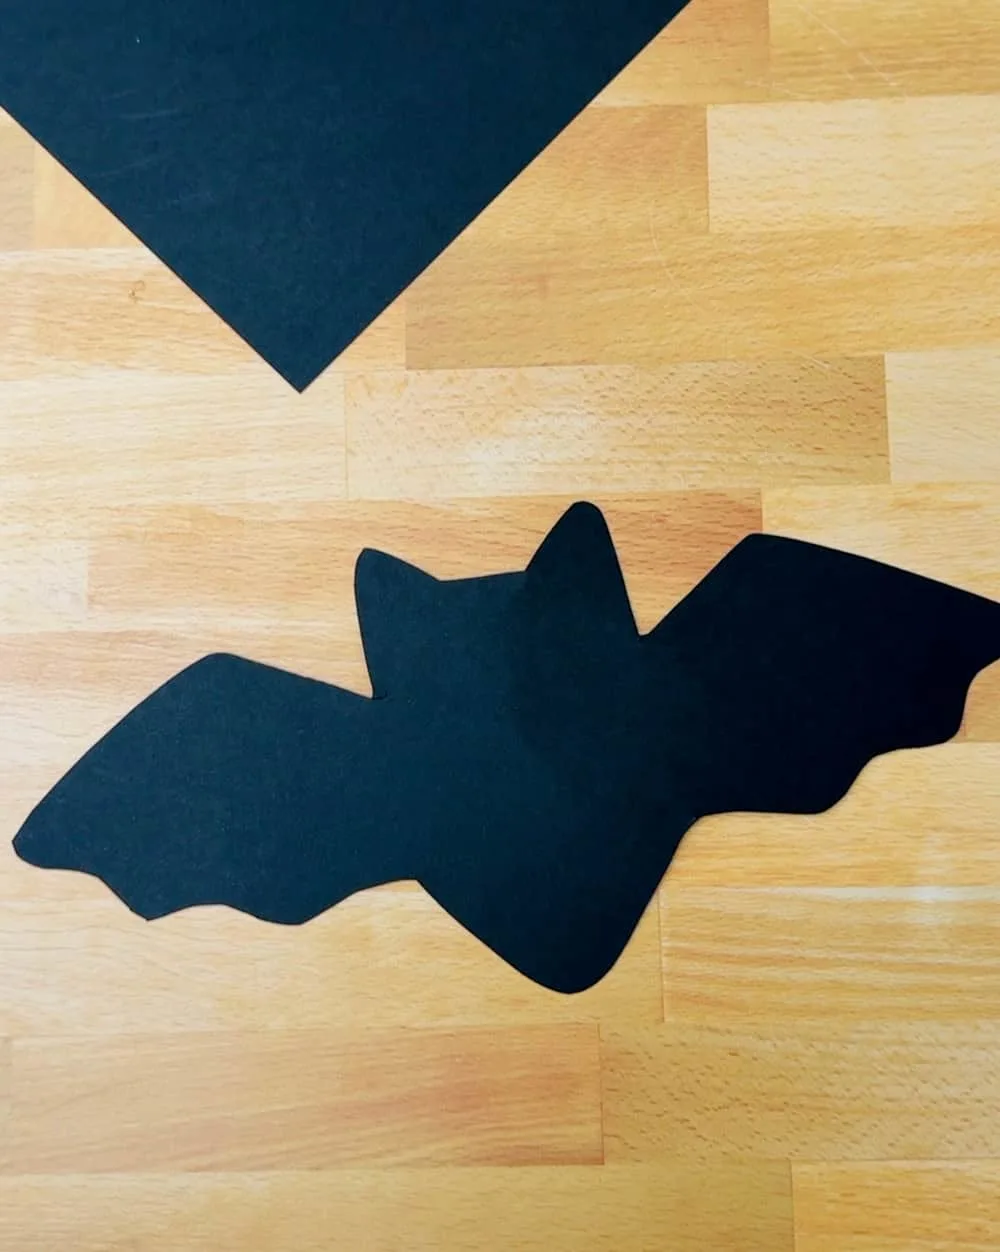
- Trace the template onto black paper and cut out.
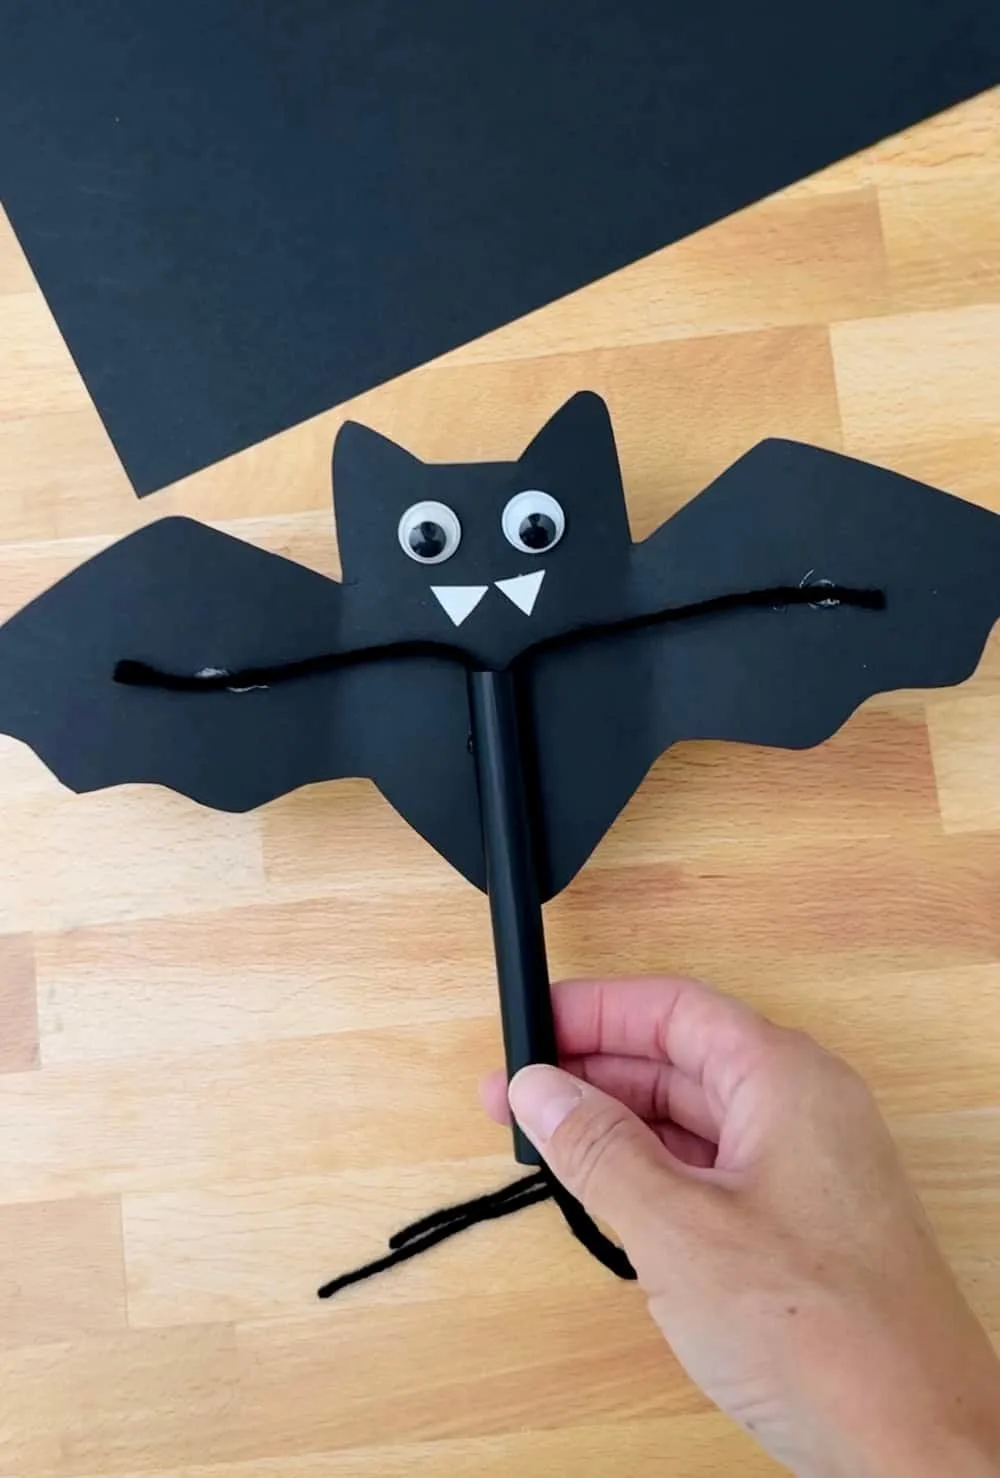
- Take two pieces of string that will be long enough to span the middle of the wing past the body. Thread both strings through the straw.
- Secure the straw and strings to the body using tape or hot glue.
- Glue two googly eyes on the bat face.
- Cut two small white triangles and glue as fangs.
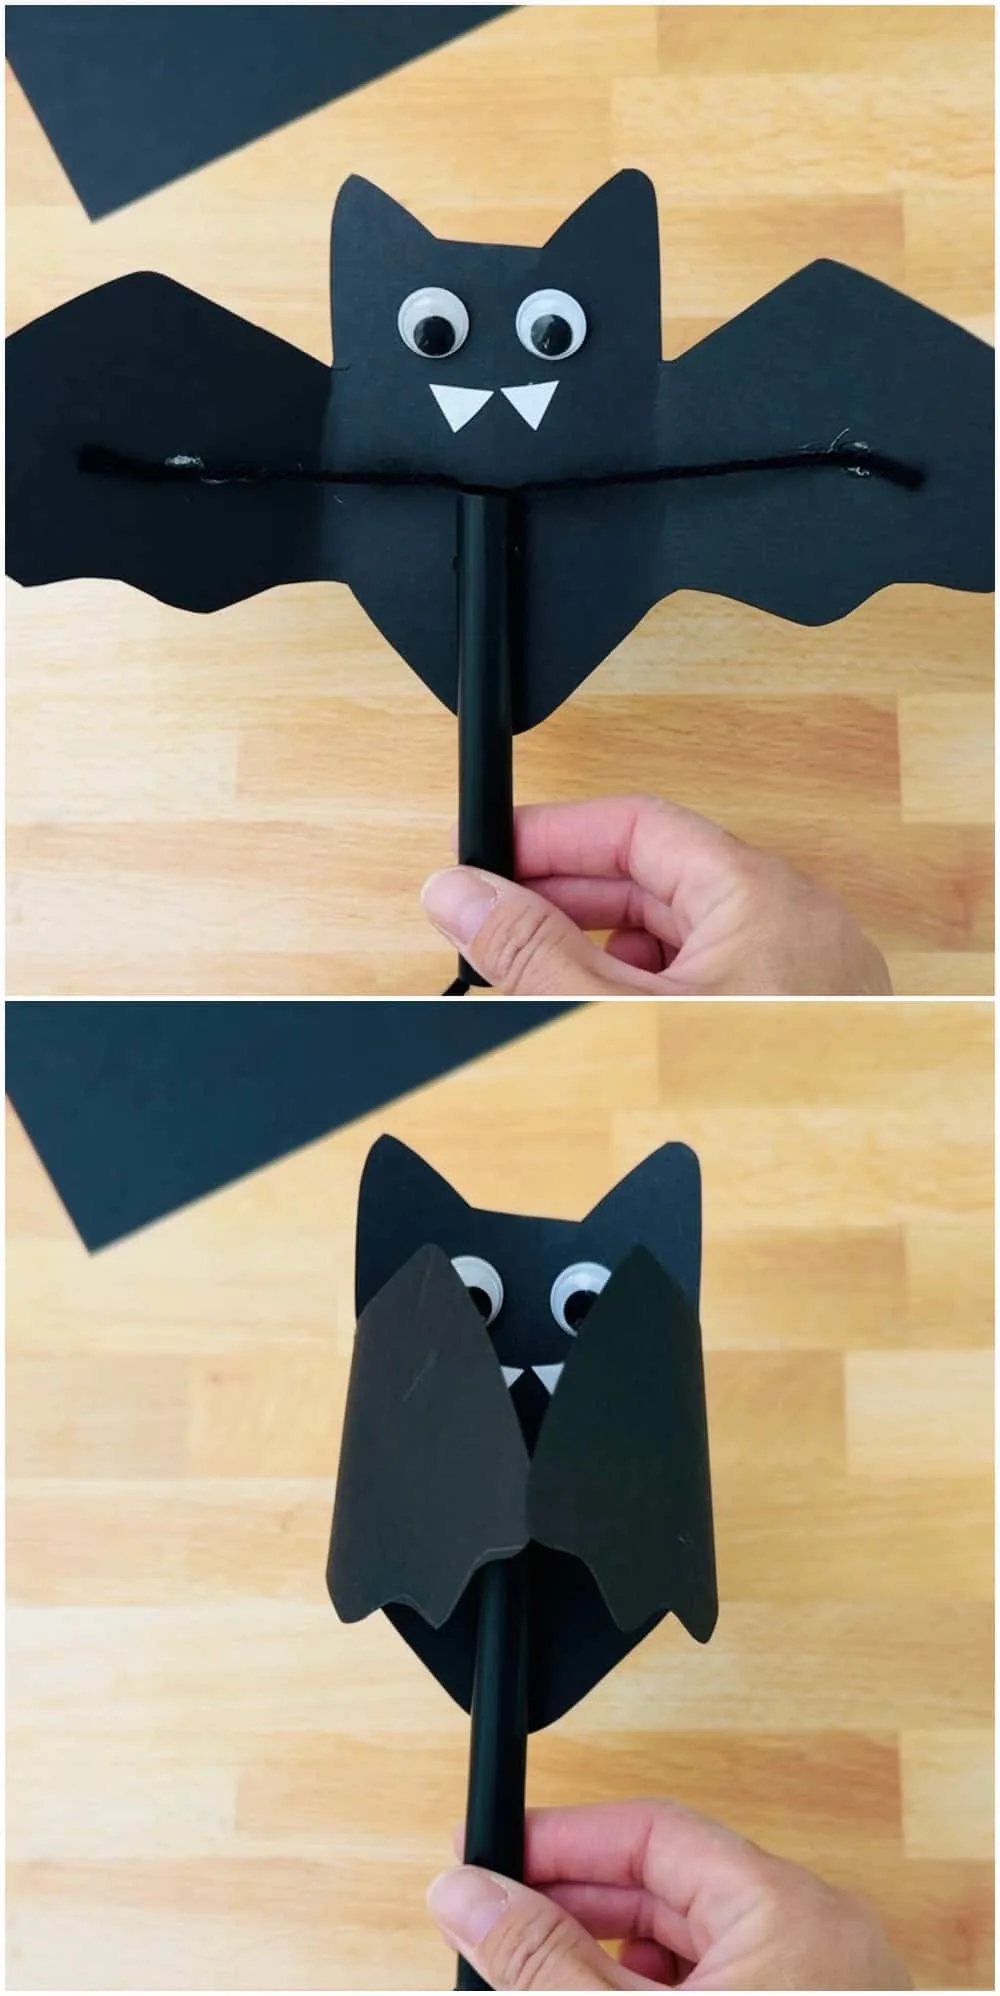
- Pull the two strings down to flap your bat’s wings!
Watch the video in this post for step by step!

Final Thoughts
This simple and fun flying bat craft with fun string design creates a playful, interactive Halloween craft your kids will love making! They can go a step further and decorate their bat or make them in many different colors!


Agnes Hsu is a mom of three and has been inspiring parents and kids to get creative with easy activities and family friendly recipes for over 10 years. She shares her love for creative play and kids food to her 2MM+ followers online. Agnes' commitment to playful learning and kindness has not only raised funds for charity but also earned features in prestigious nationwide publications.