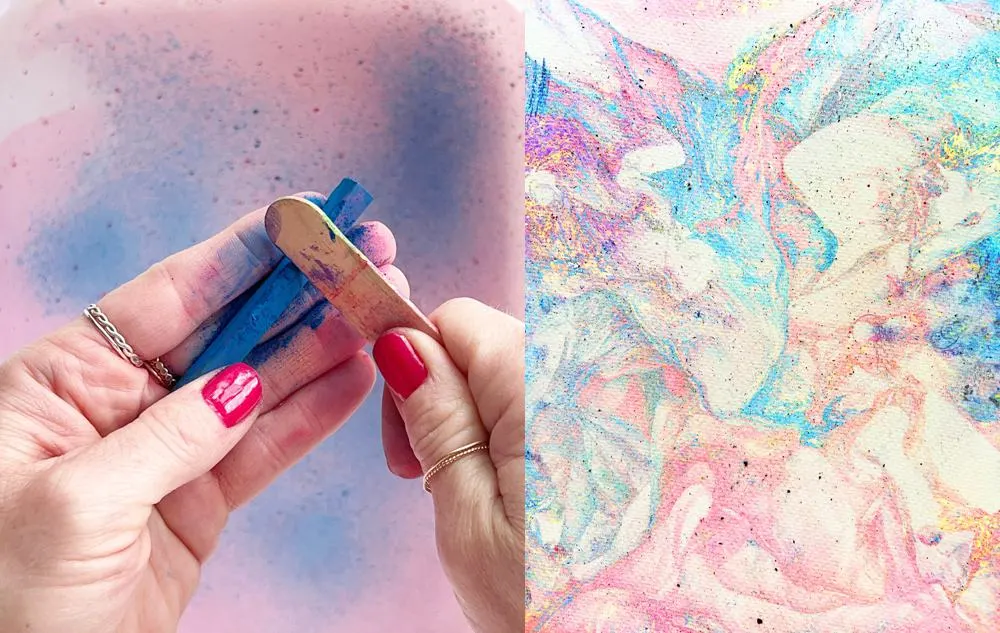
Do you have colored chalk and want a simple, quick art project for the kids? Look no further than these beautiful floating chalk prints that make gorgeous prints.
Today we’re sharing this easy floating chalk print with only a few supplies needed. This simple and vibrant kids’ art project would make a cute book cover, art print or could even be folded into a card for someone special.
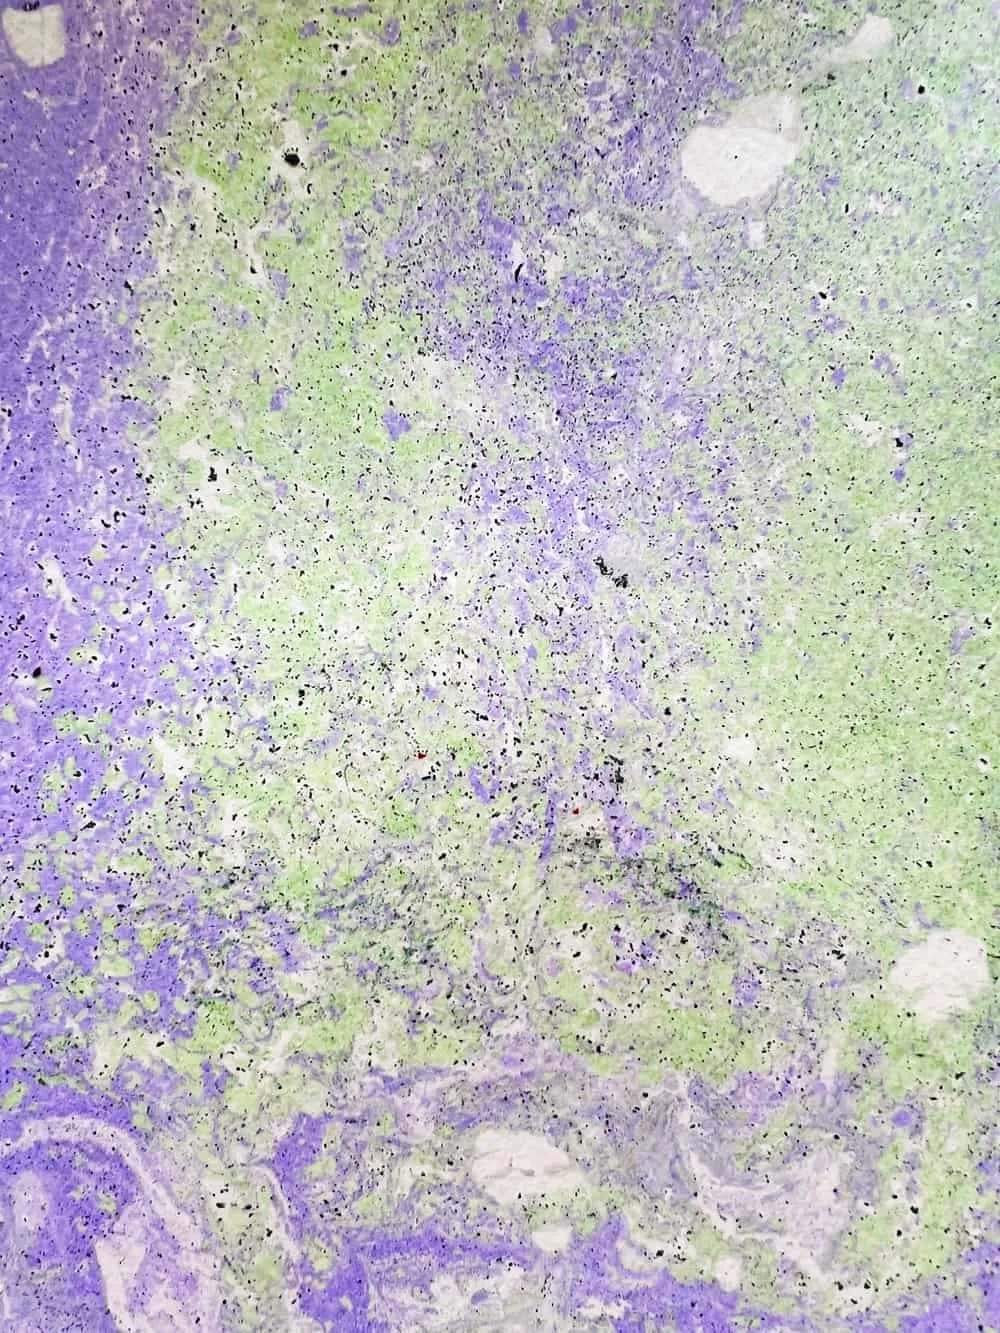
The kids will be amazed at how the chalk colors combine! We also discovered something very cool in the process of making our own, a bonus work of art, and can’t wait to share it with you.
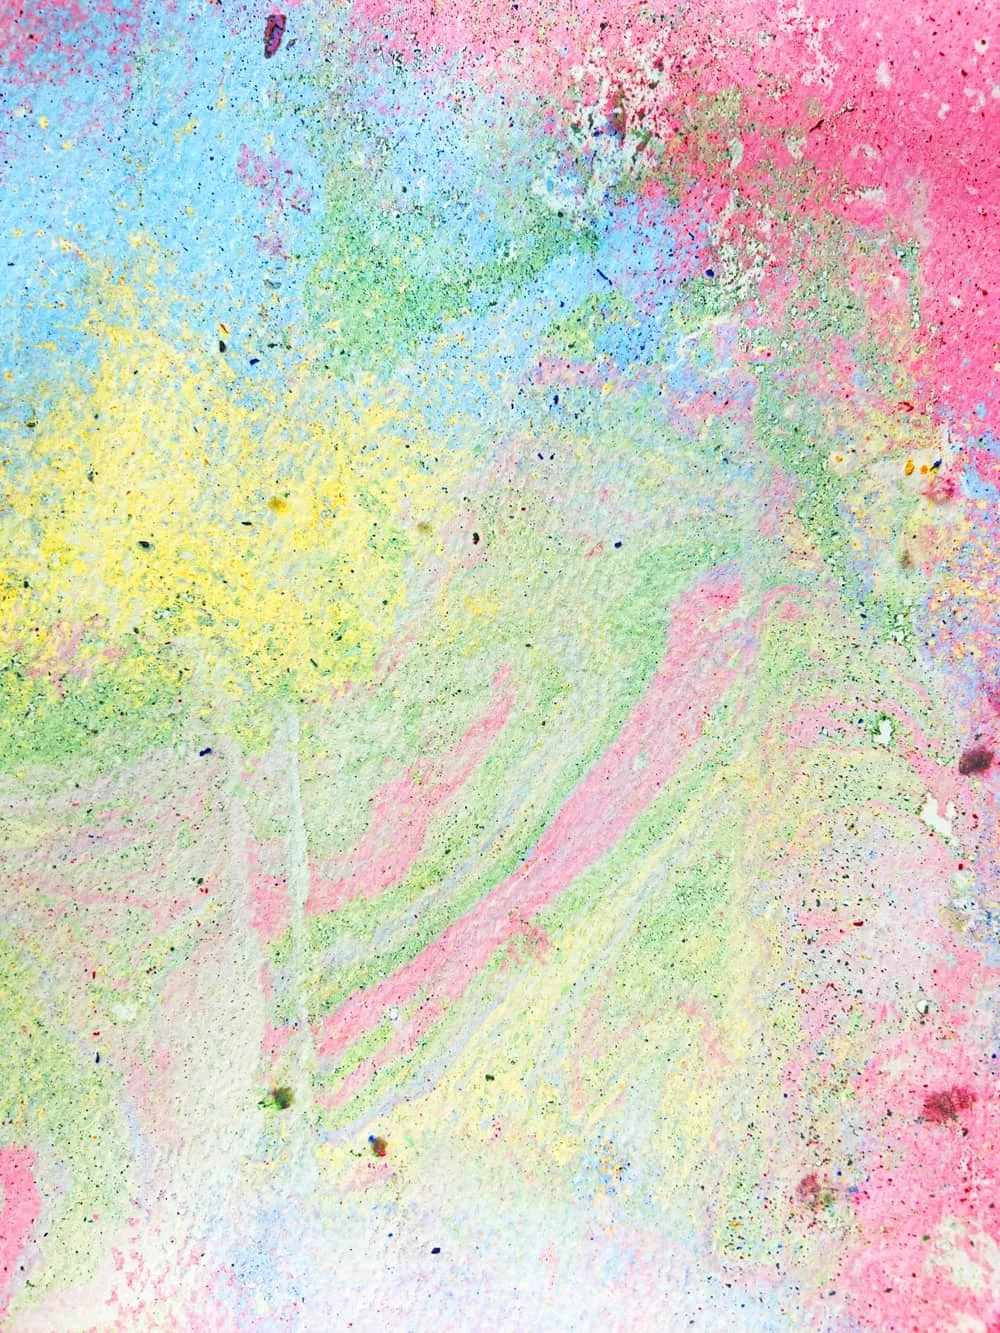
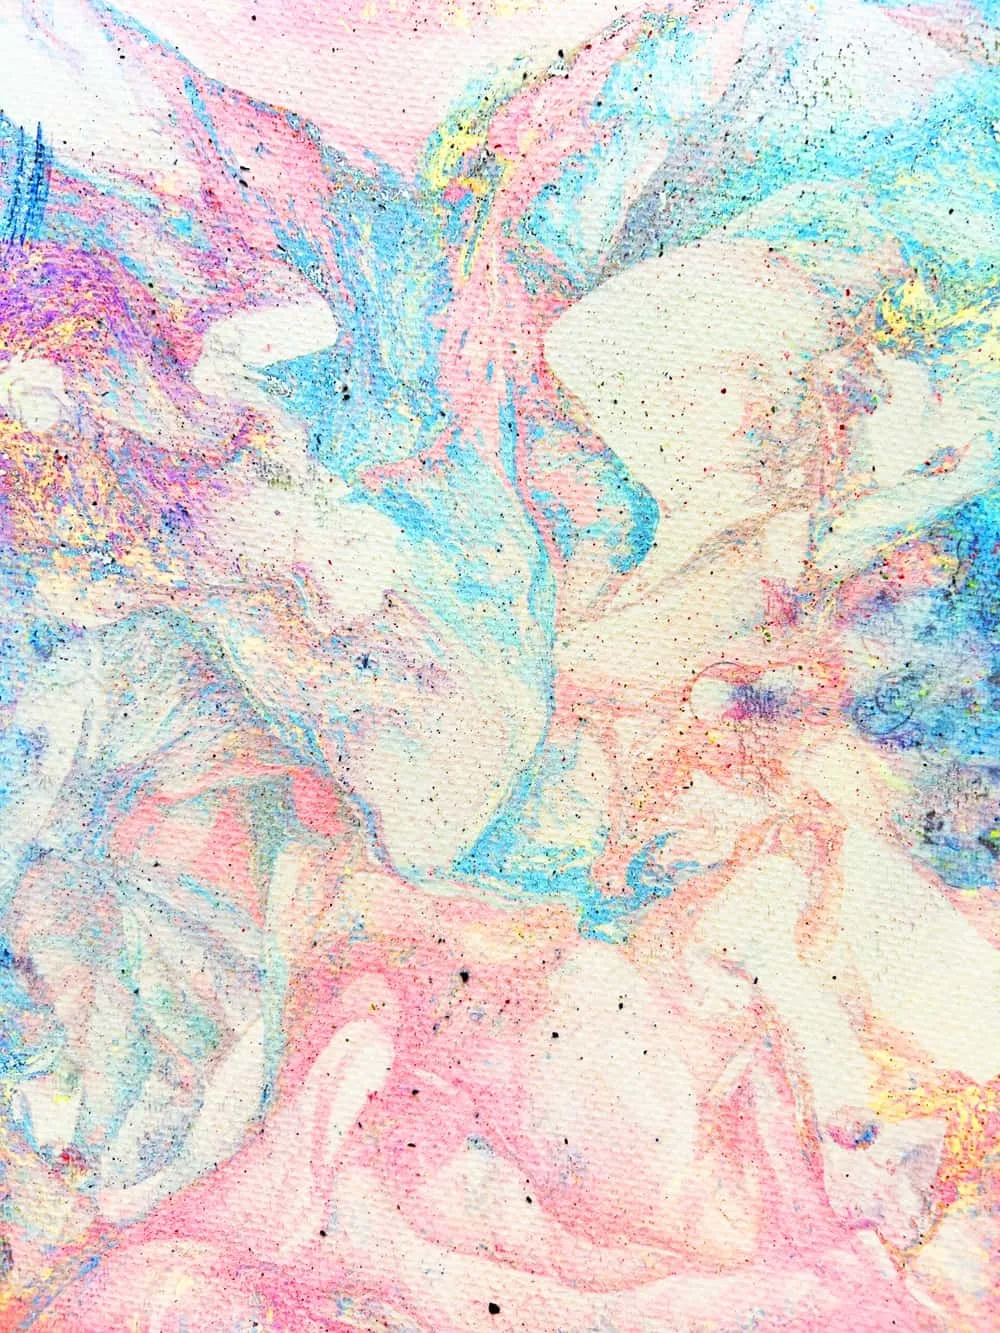
What do you need to make this floating chalk art?
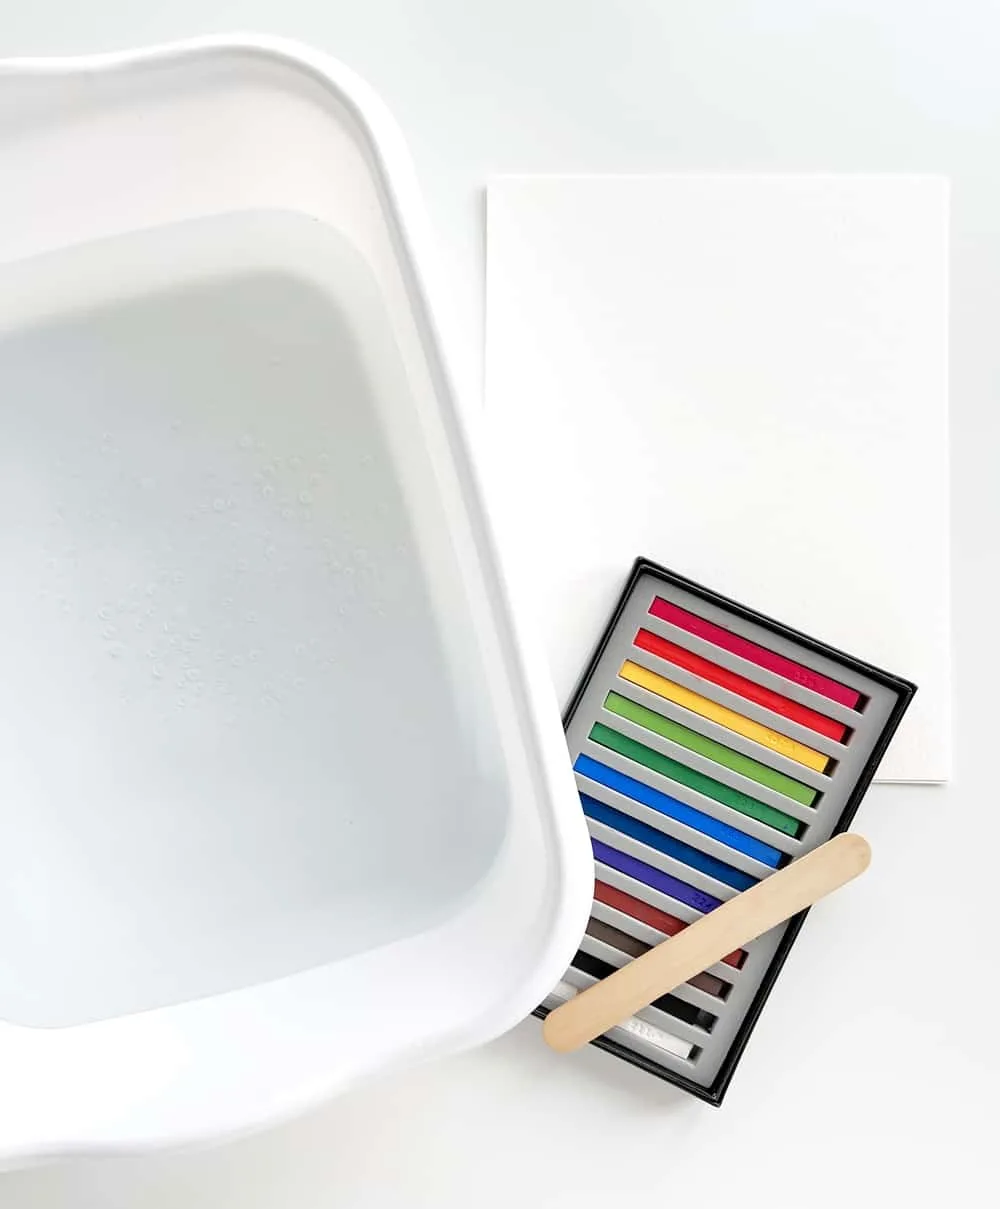
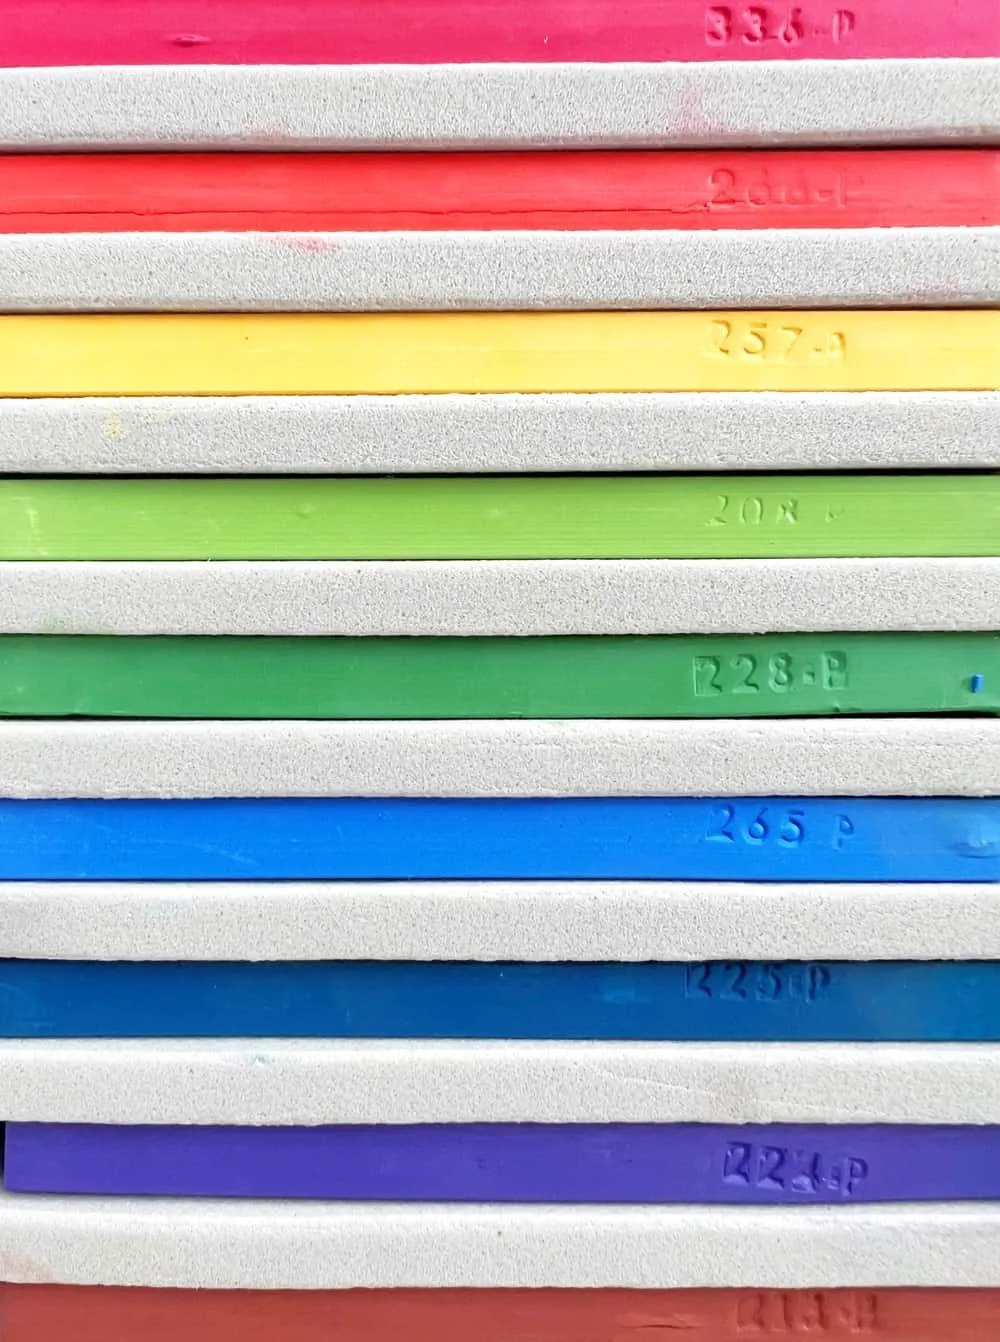
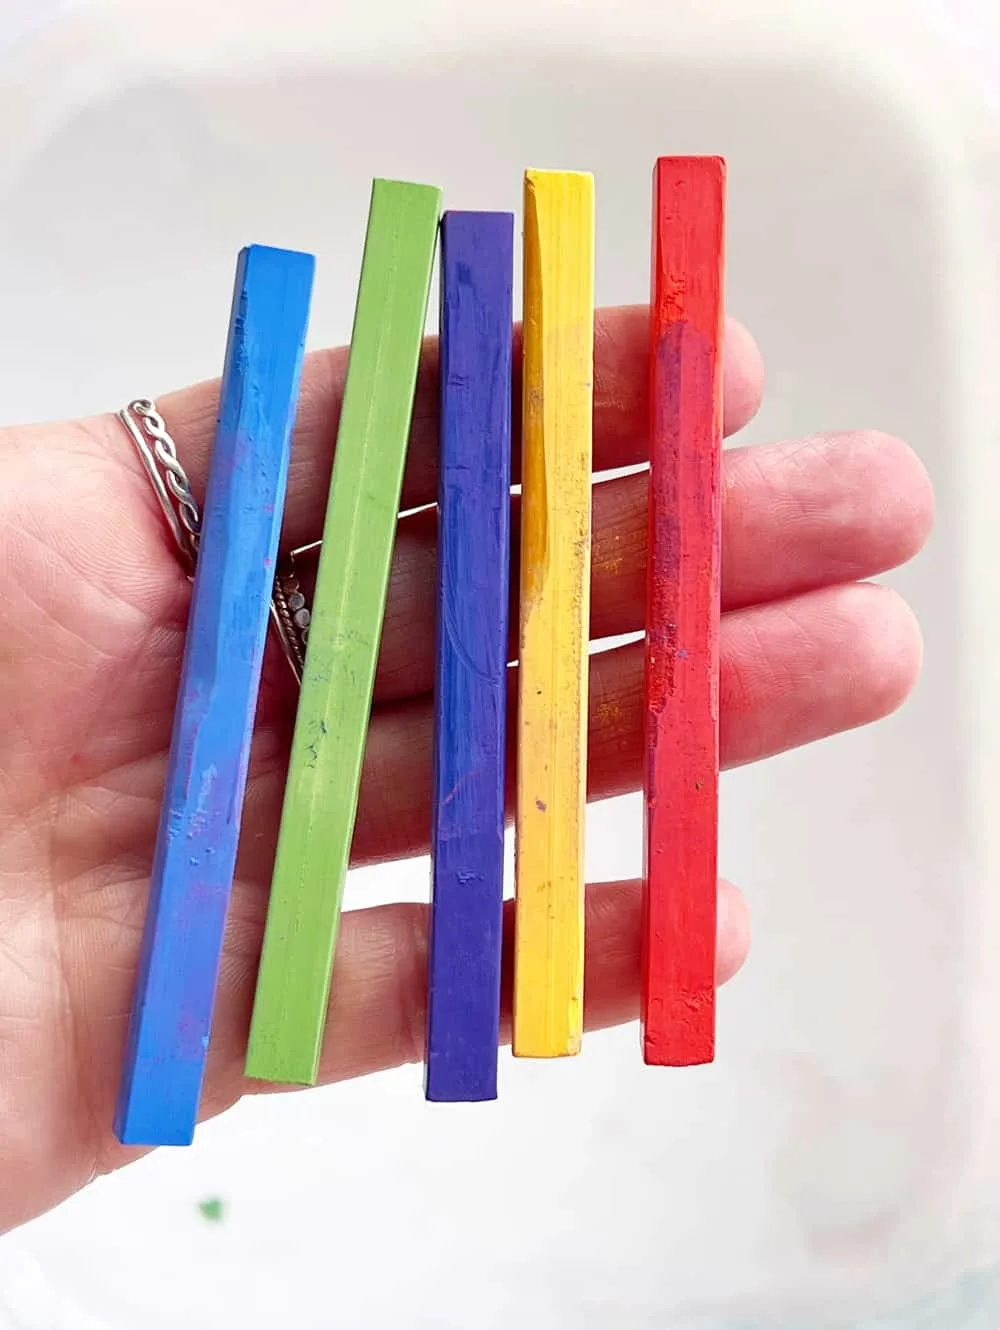
You don’t need much, just a few supplies including a plastic bin, watercolor paper, water, chalk pastels, and a popsicle stick for grating.
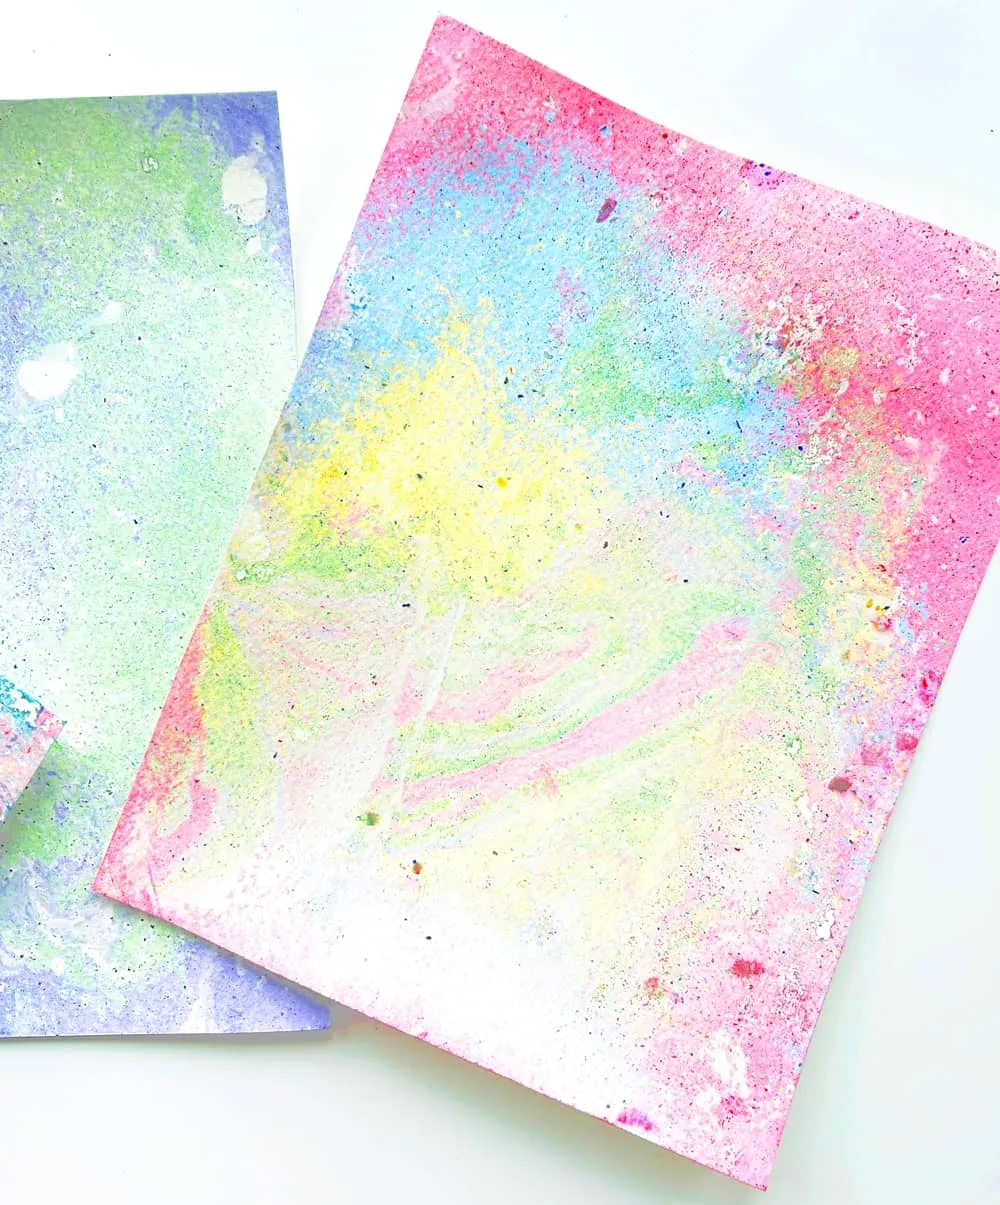
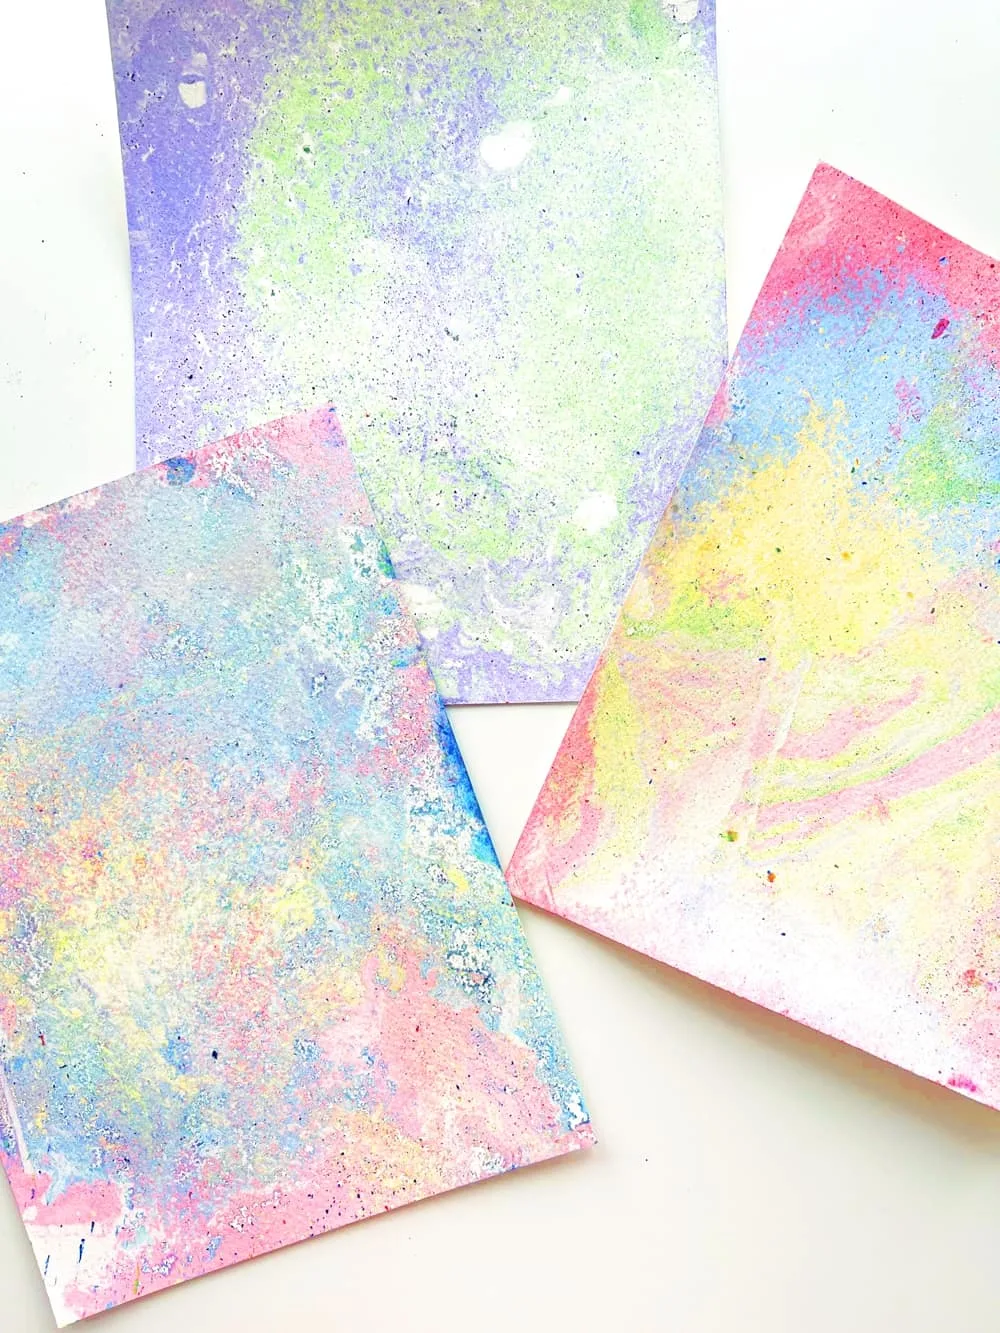
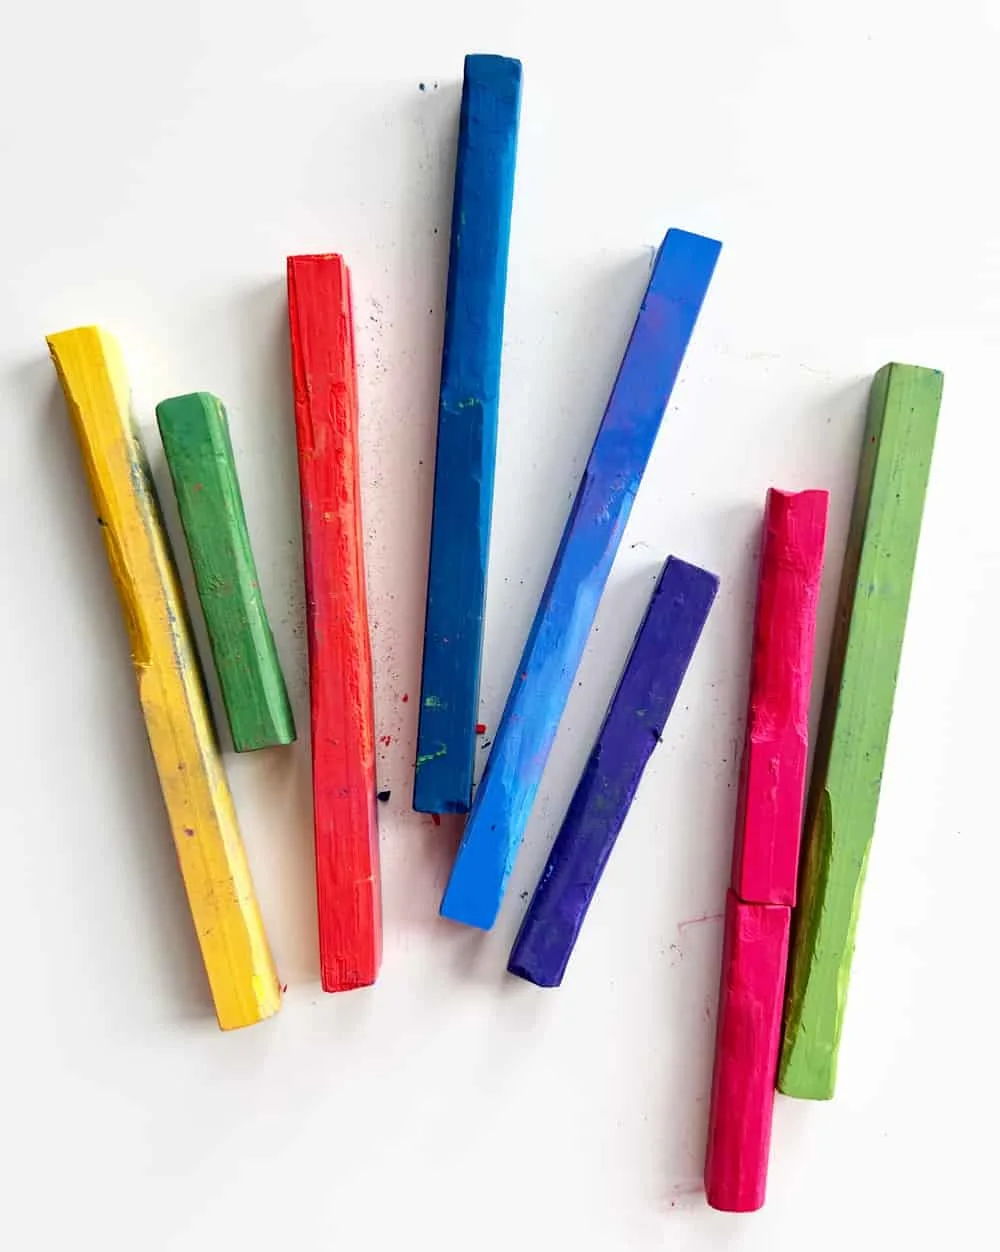
Keep in mind that even though your chalk pastels may look vibrant out of the box, once combined with the water and paper, they can end up being more pastel in color.
You could use sidewalk chalk or any chalk you already have and get a similar effect. Remember the more vibrant the chalk the more colorful the chalk prints will look so it’s good to experiment with different brands of chalk to see the effect you like.
Floating Chalk Print – Materials:
Plastic Container or Bin
Water
Chalk
Popsicle Stick
INSTRUCTIONS:
Step 1. Cut watercolor paper to fit loosely inside your container/bin. You’ll want to be able to place it into the water and easily pull up on the corners to remove.
Step 2. Fill the container with about 1″ of water.
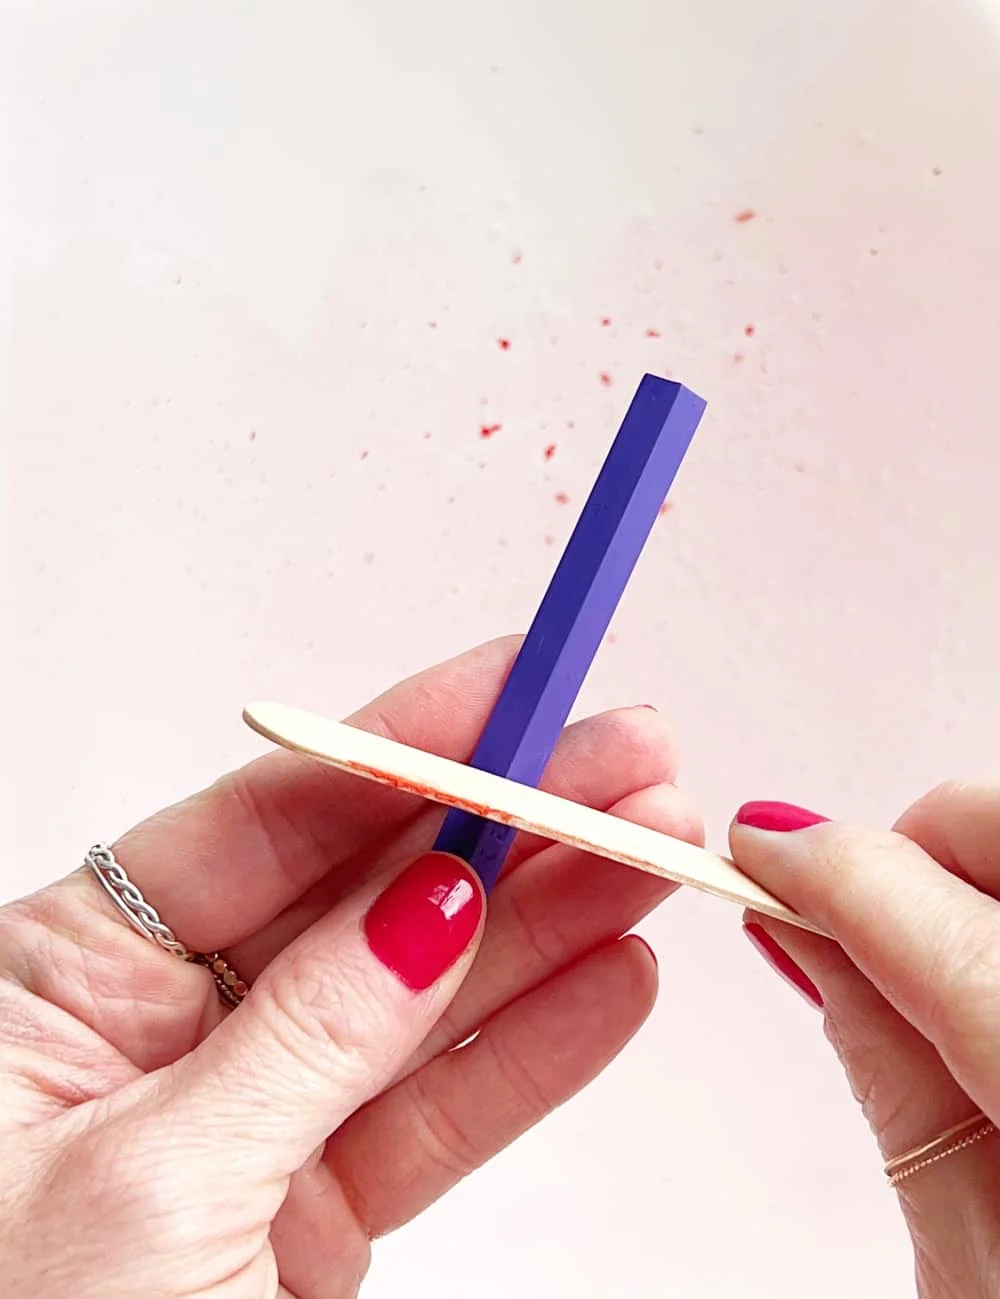
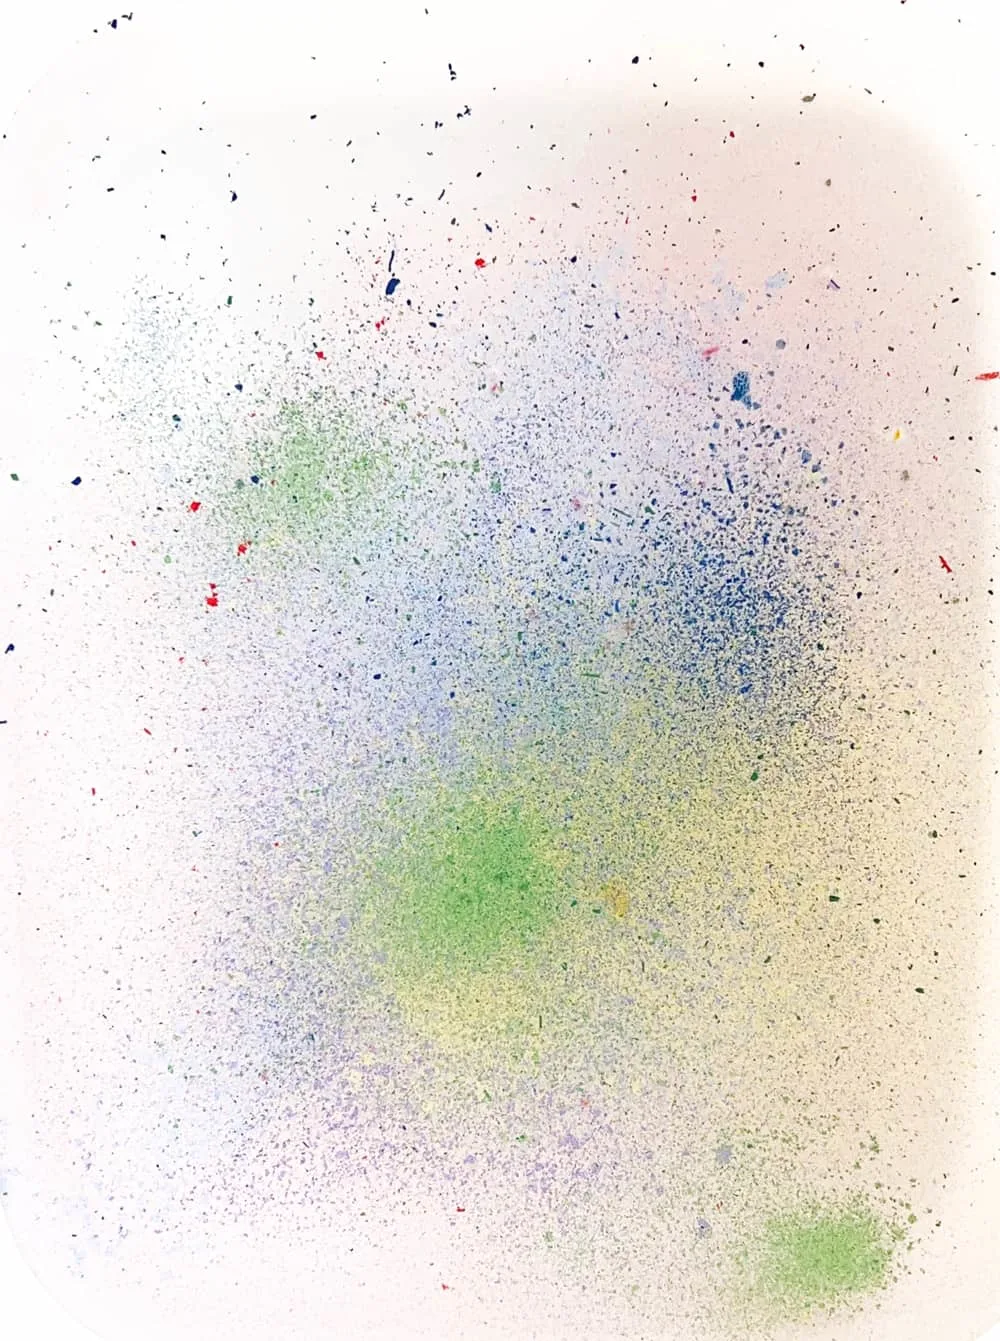
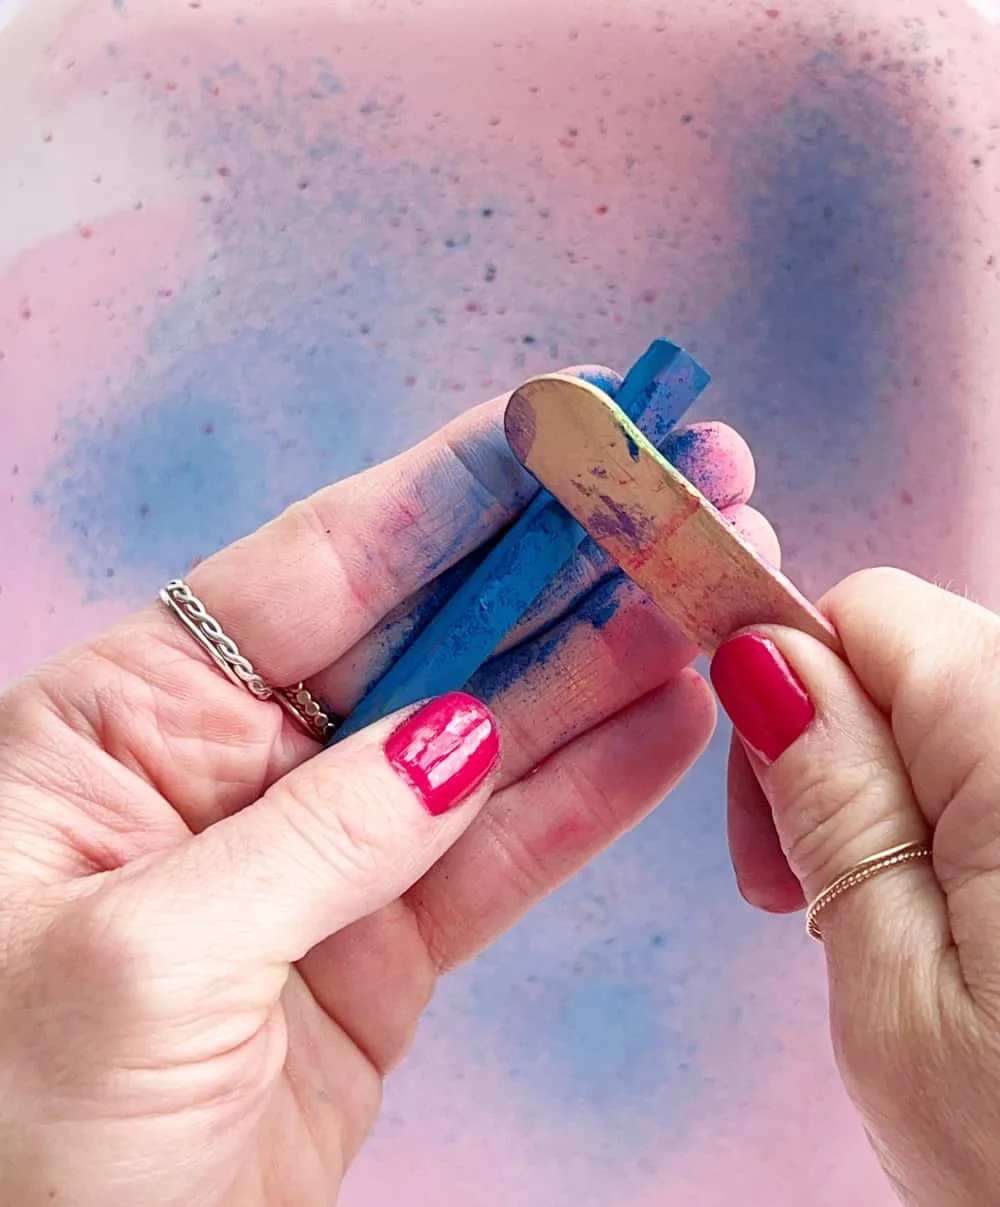
Step 3. Hold the chalk over the container of water and using the popsicle stick, shave the chalk over the water until the water is mostly covered with chalk shavings.
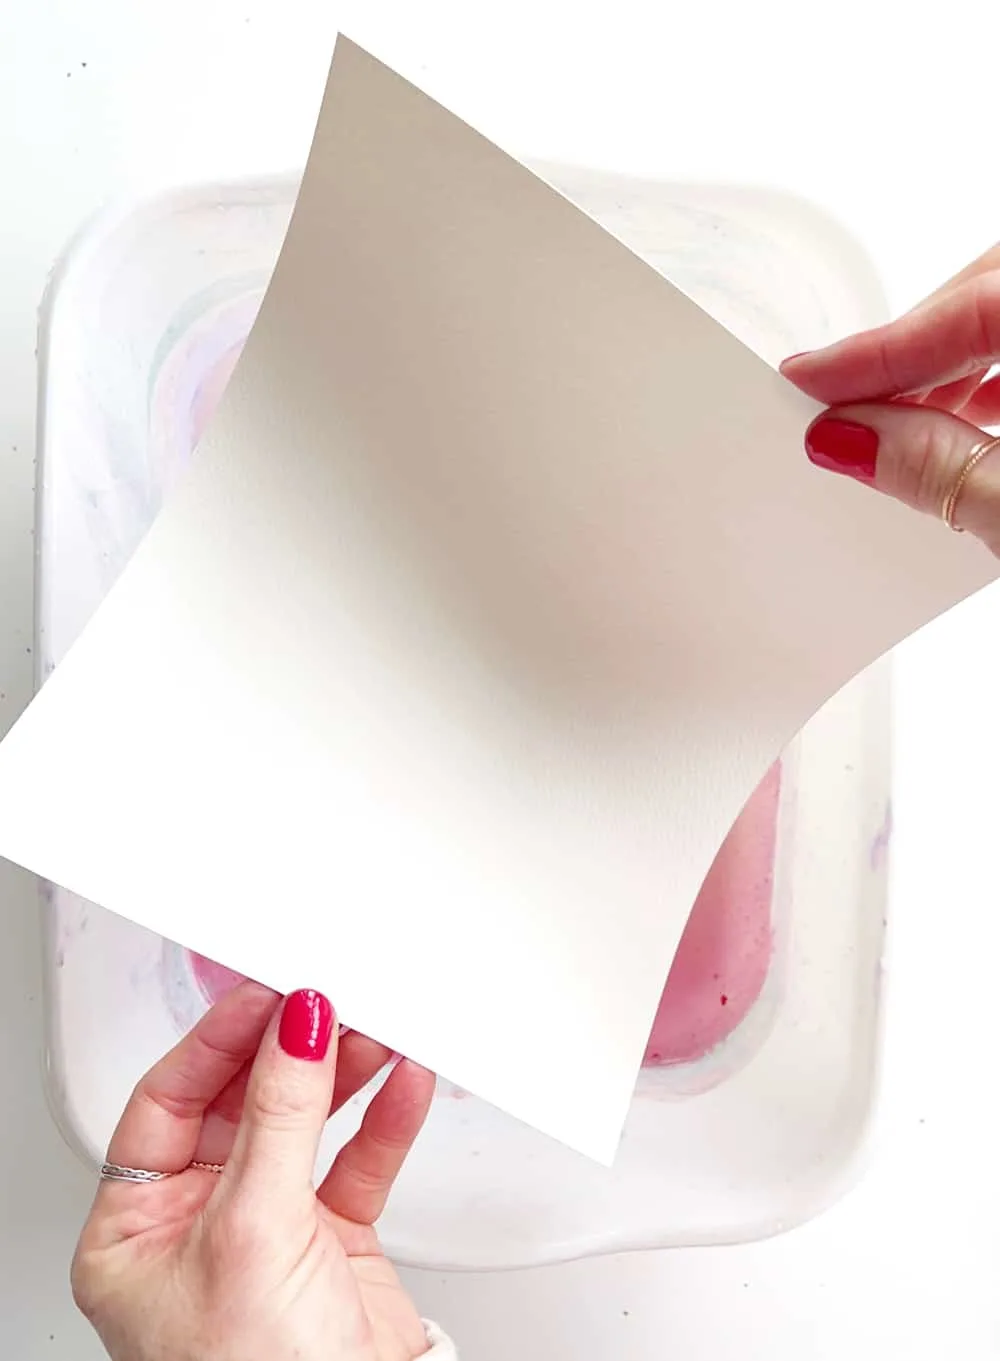
Step 4. Slightly bend and curl your watercolor paper on the top and bottom into a U shape, place in container face down and let it sit until the edges begin to curl.
Step 5. Once edges begin to curl, start to pull the paper out of the water, keeping it over the container. Tap the back side a few times to remove any excess water.
Step 6. Place flat to dry.
BONUS TIP:
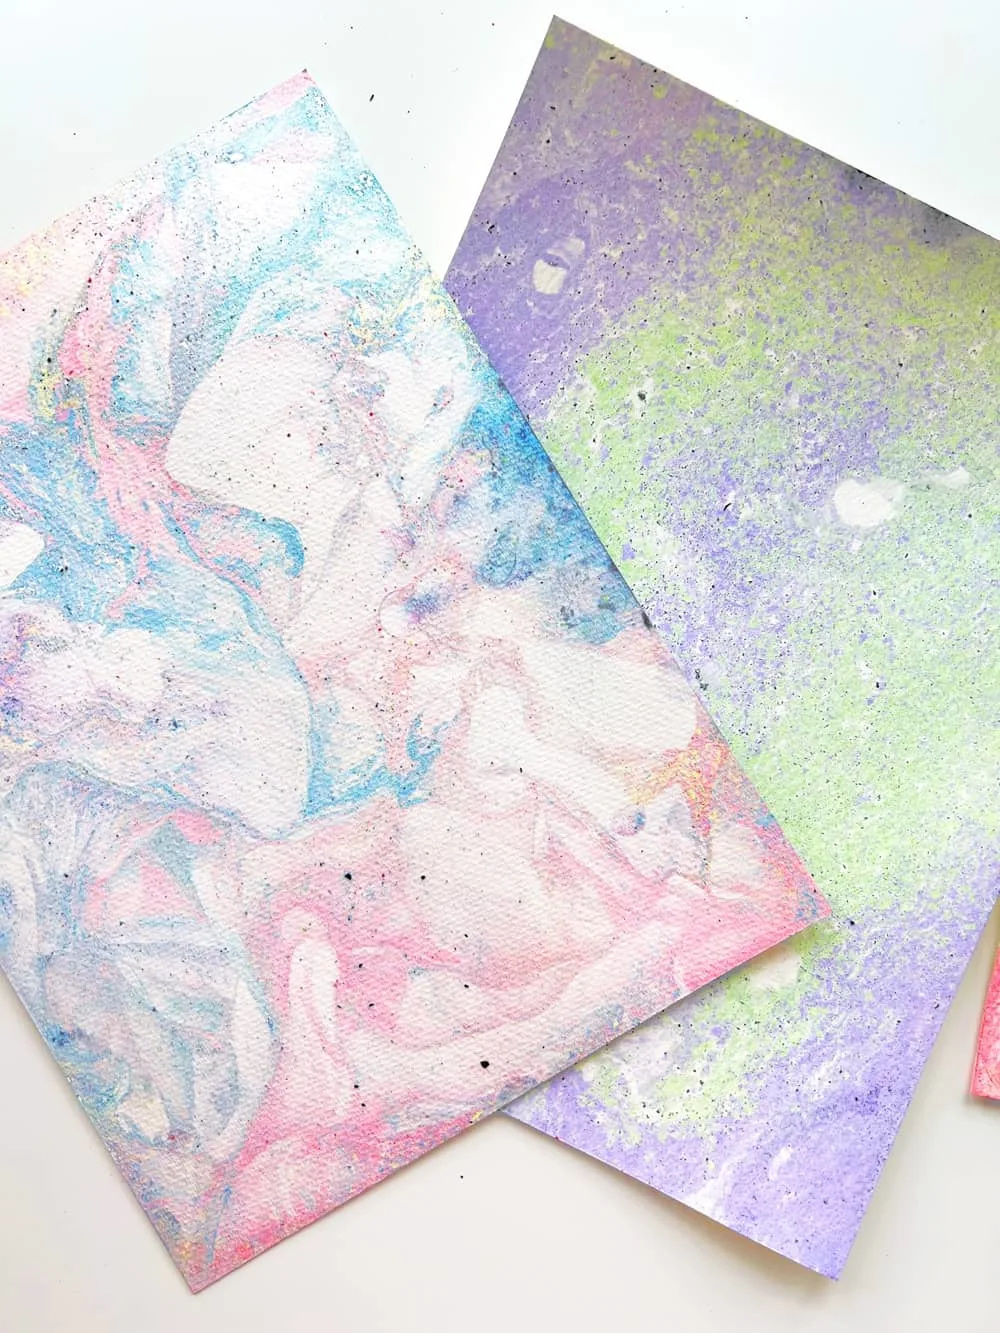
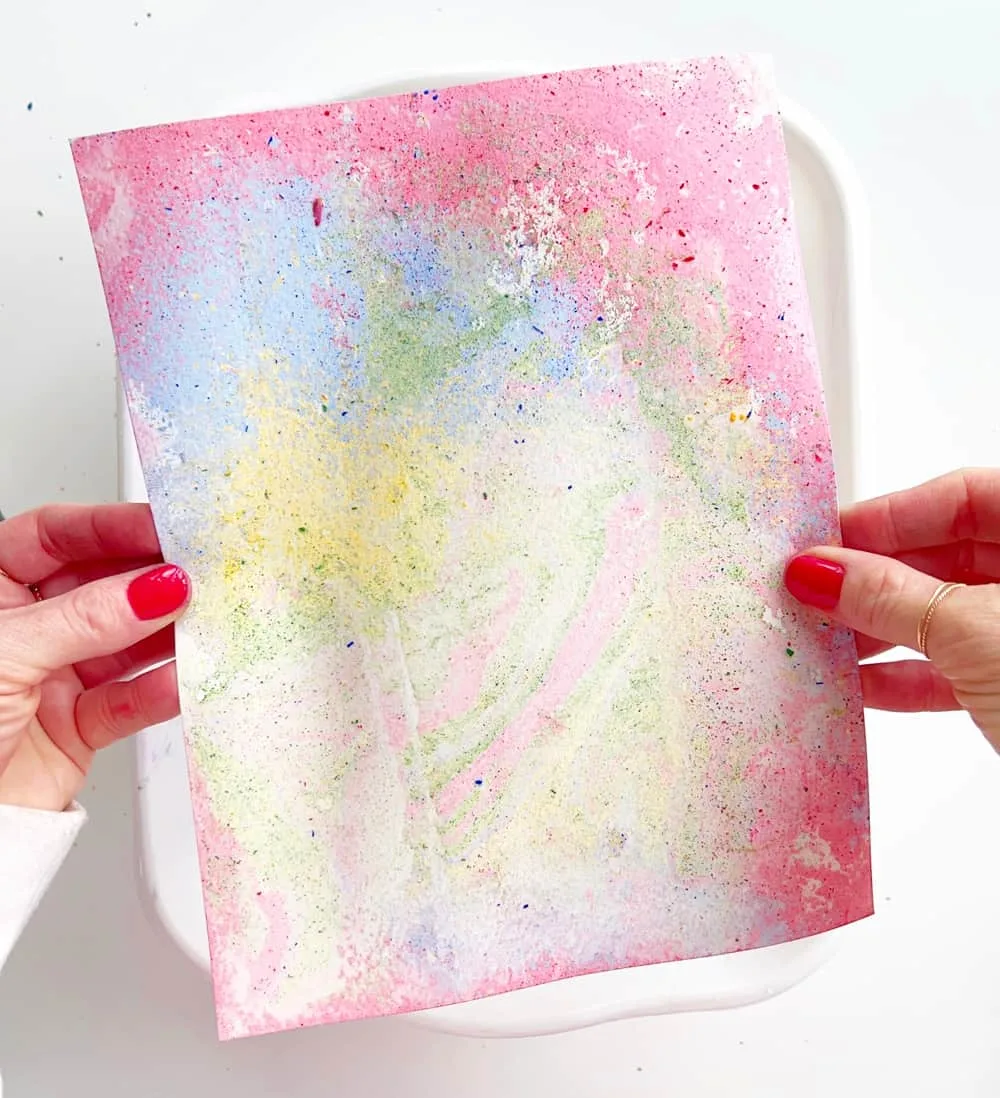
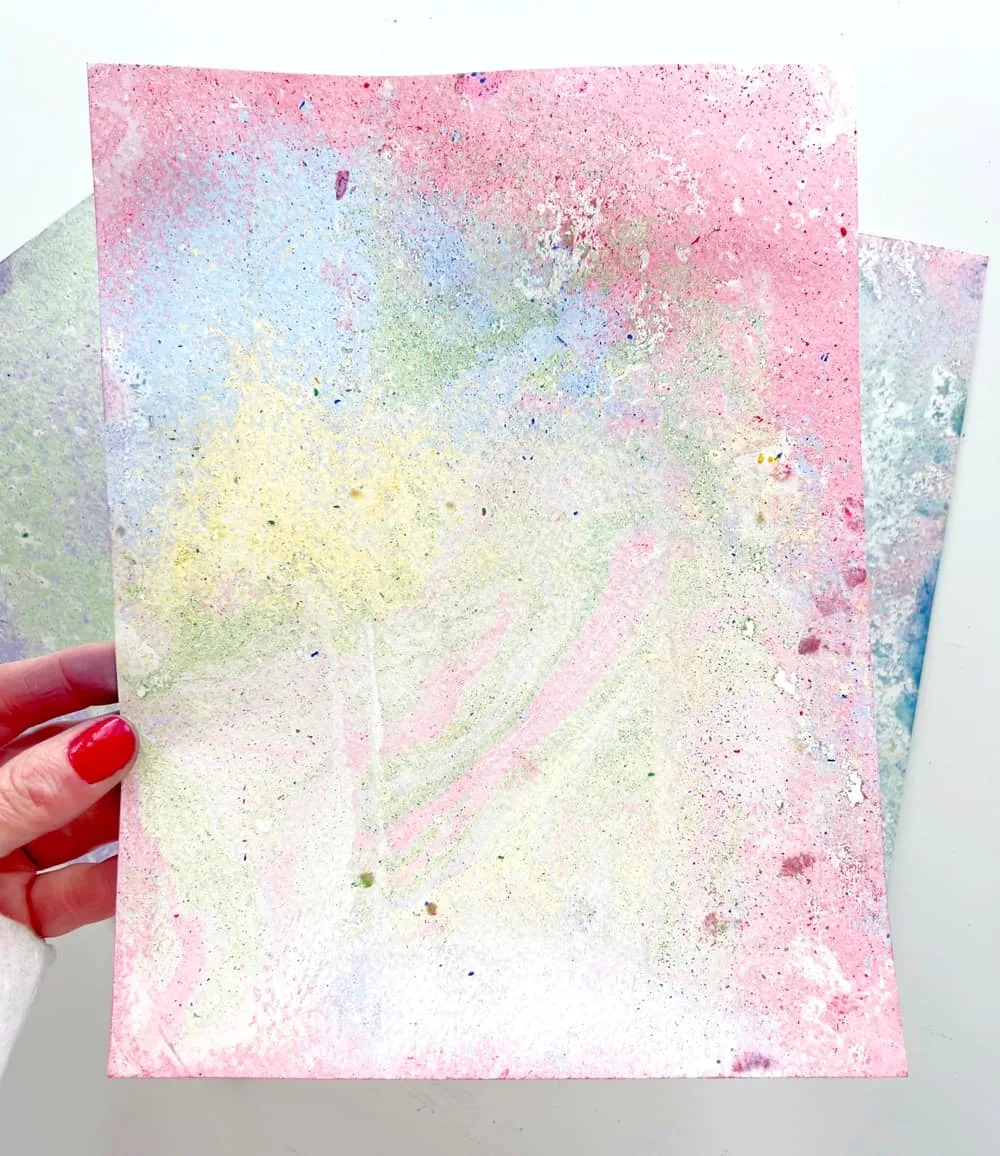
To our amazement, we were trying to get more of the chalk to “adhere” to the paper without any white spots or areas left blank, and as we applied pressure to the backside of the watercolor paper while it was in the container, we discovered another piece of art. With the light pressure to the back, it quickly was covered in water and created the most beautiful, colorful marble pattern on the opposite side. Definitely worth a try on at least one of the kids’ papers!
How To Create Beautiful Floating Chalk Prints

Materials
- Plastic Container or Bin
- Water
- Watercolor Paper
- Chalk
- Popsicle Stick
- Chalk Pastels
Instructions
Step 1. Cut watercolor paper to fit loosely inside your container/bin. You'll want to be able to place it into the water and easily pull up on the corners to remove.
Step 2. Fill the container with about 1" of water.
Step 3. Hold the chalk over the container of water and using the popsicle stick, shave the chalk over the water until the water is mostly covered with chalk shavings.
Step 4. Slightly bend and curl your watercolor paper on the top and bottom into a U shape, place in container face down and let it sit until the edges begin to curl.
Step 5. Once edges begin to curl, start to pull the paper out of the water, keeping it over the container. Tap the back side a few times to remove any excess water.
Step 6. Place flat to dry.
Agnes Hsu is a mom of three and has been inspiring parents and kids to get creative with easy activities and family friendly recipes for over 10 years. She shares her love for creative play and kids food to her 2MM+ followers online. Agnes' commitment to playful learning and kindness has not only raised funds for charity but also earned features in prestigious nationwide publications.

