Follow us on Instagram for more fun ideas for kids!
Watch the video below to see this fun drill spin art for kids in action. Make sure to subscribe to our YouTube channel for more fun videos!
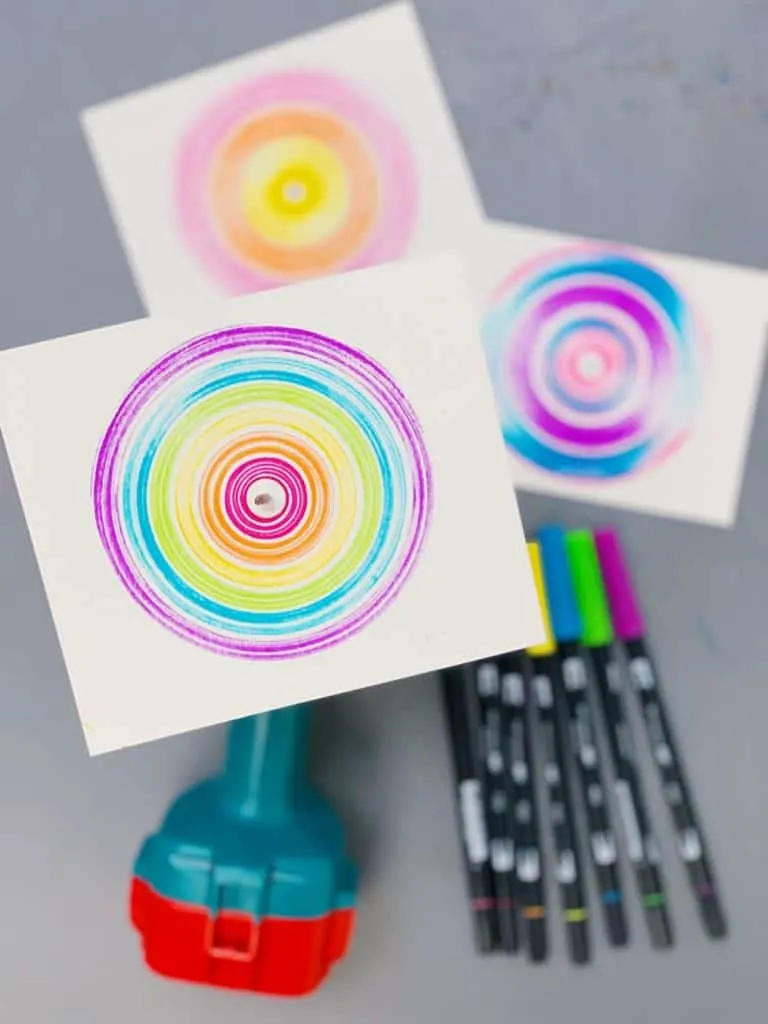
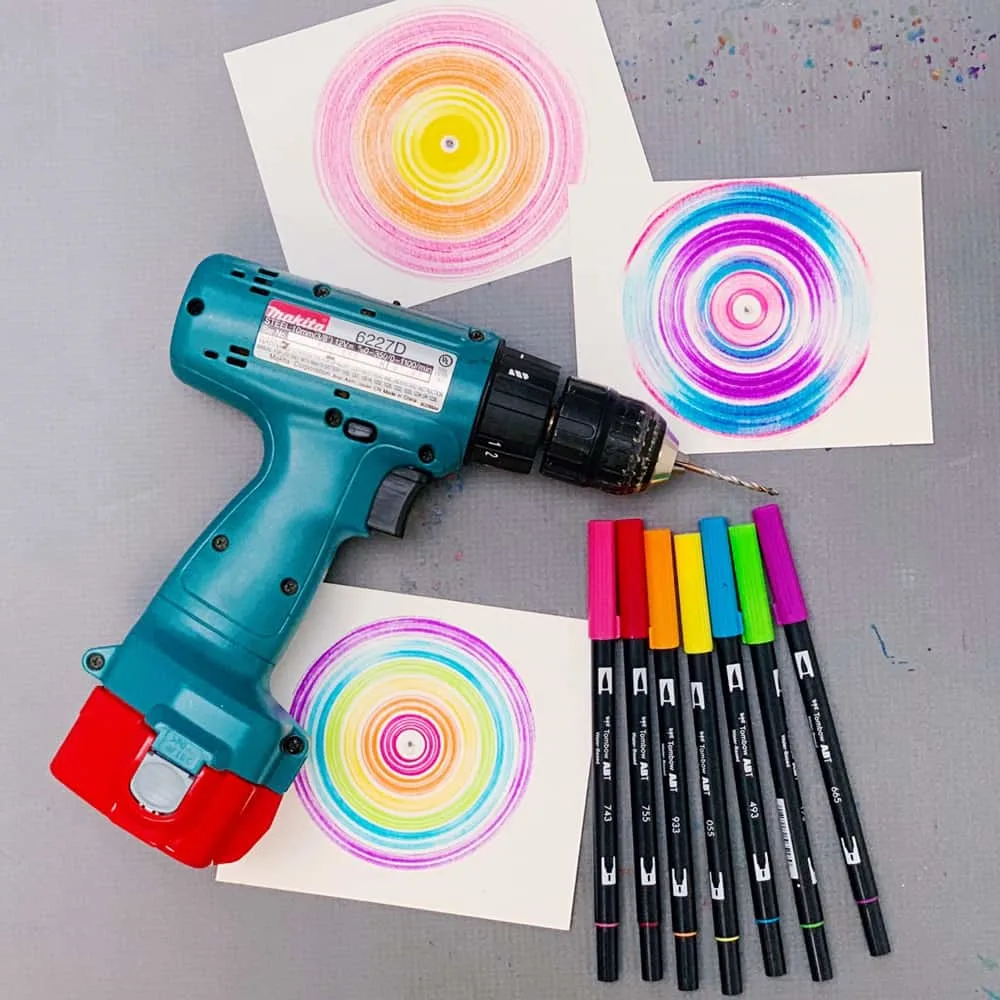
Get the kids excited for some action art with this fun electric drill spin art project!
Got an electric drill? We have just the art project for you today. This drill spin art project for kids takes all of 5 minutes to set up (adult supervision required), but so much visual fun.
The kids and I are big fans of action art and have created anything from Lazy Susan Spin Art, to Spin Art Easter Eggs and Giant Kid-Sized Spirographs.
We’ve heard of drill painting with kids, but also realized a drill is perfect for spin art because…well it already spins!
How did we come up with this idea? We recently used an electric drill to make these cute DIY Rain Boot Planters. When using the drill, I wondered what would happen if we put a piece of paper on top.
We tested it out and are sharing ALL the nitty gritty spin art details below including our favorite markers for these, it does make a difference!
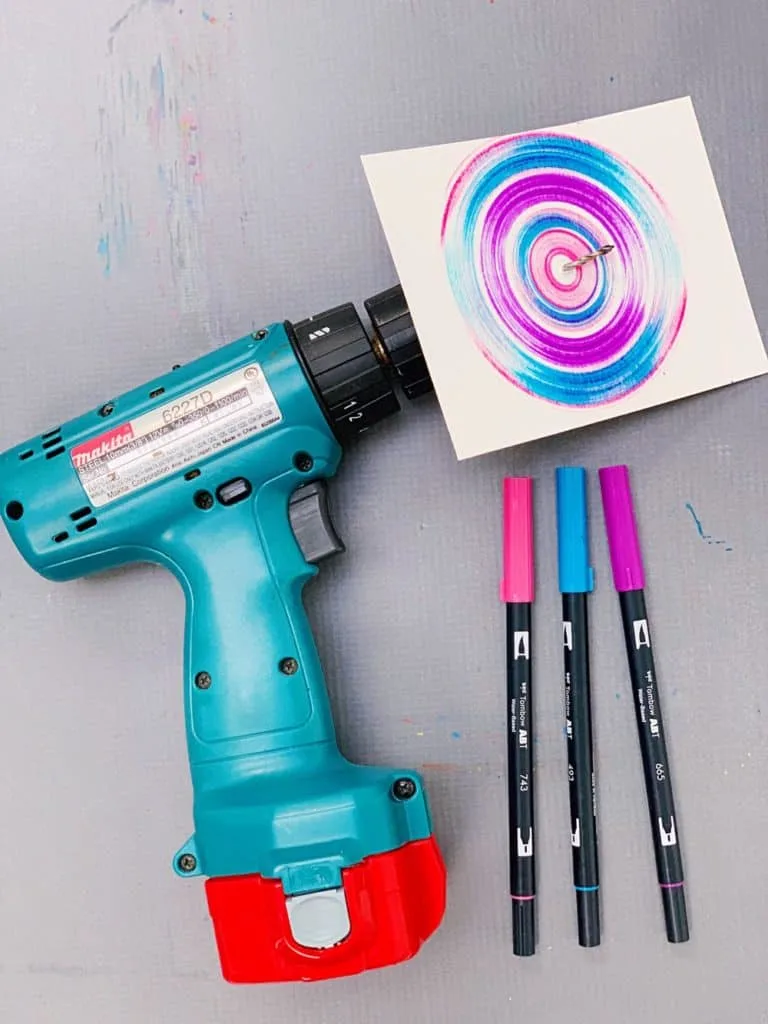
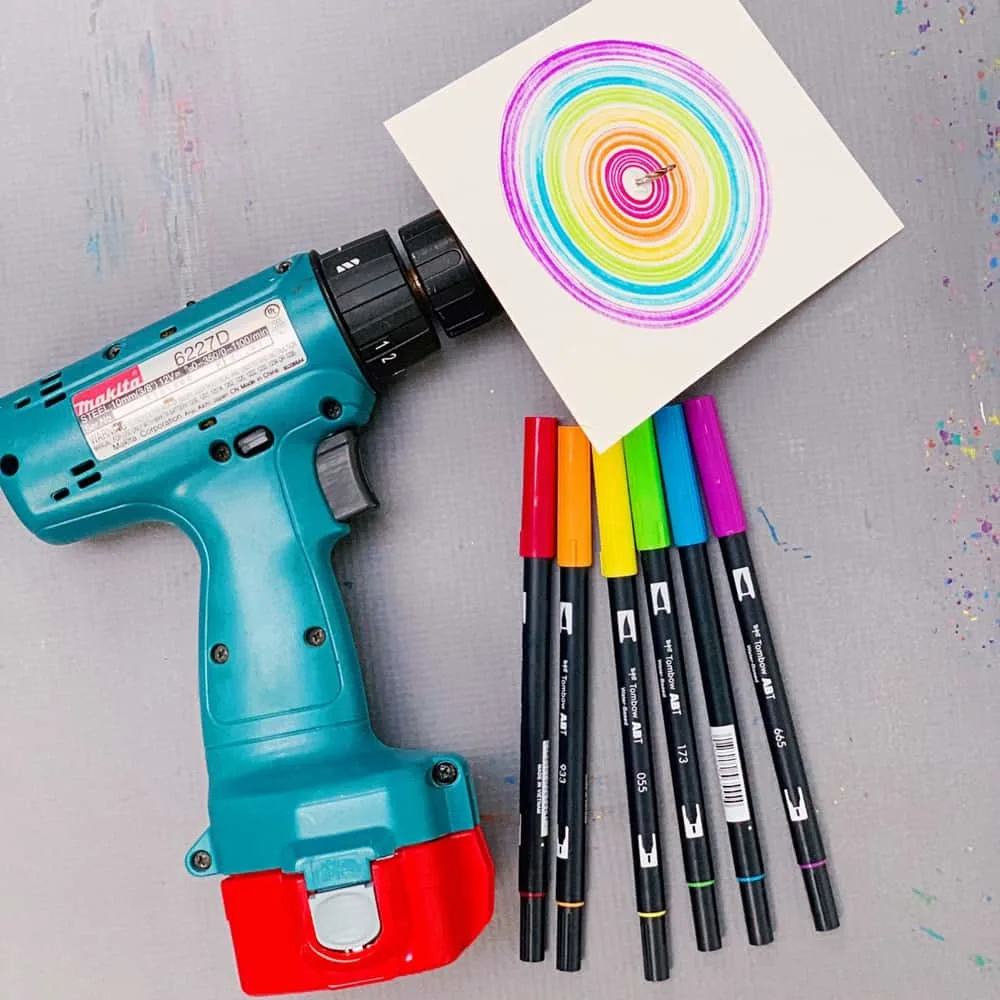
What markers are best for drill spin art?
We tested 3 types of markers; 1) Crayola Washable Markers 2) Blick Markers 3) Brush Paint Pens.
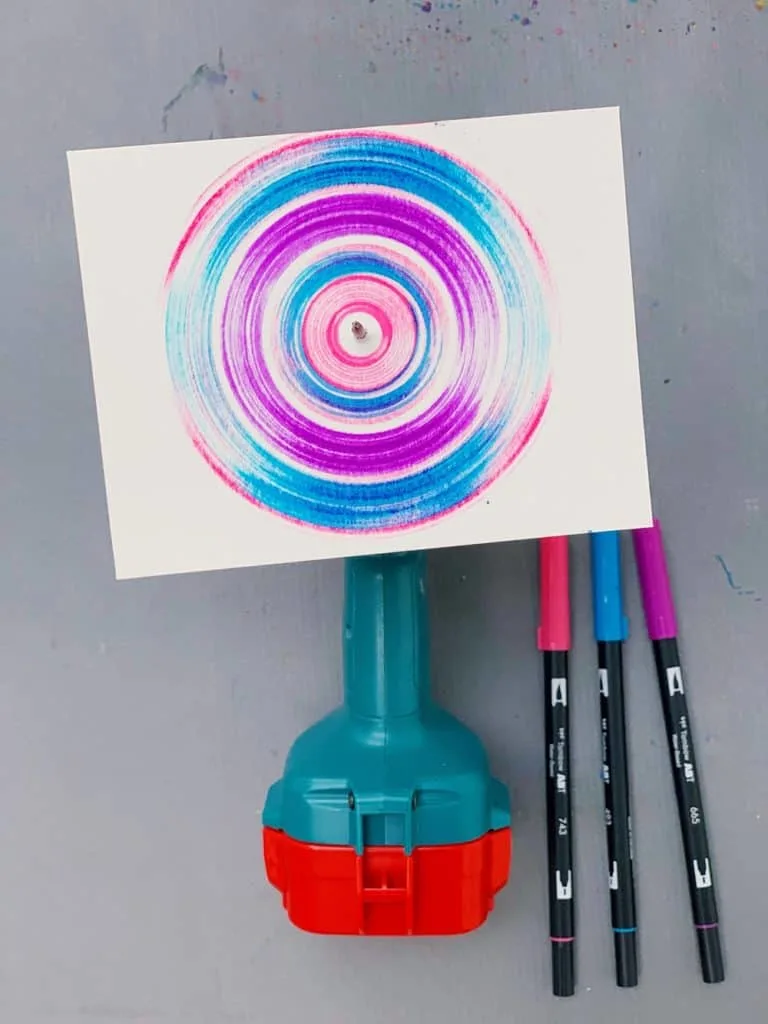
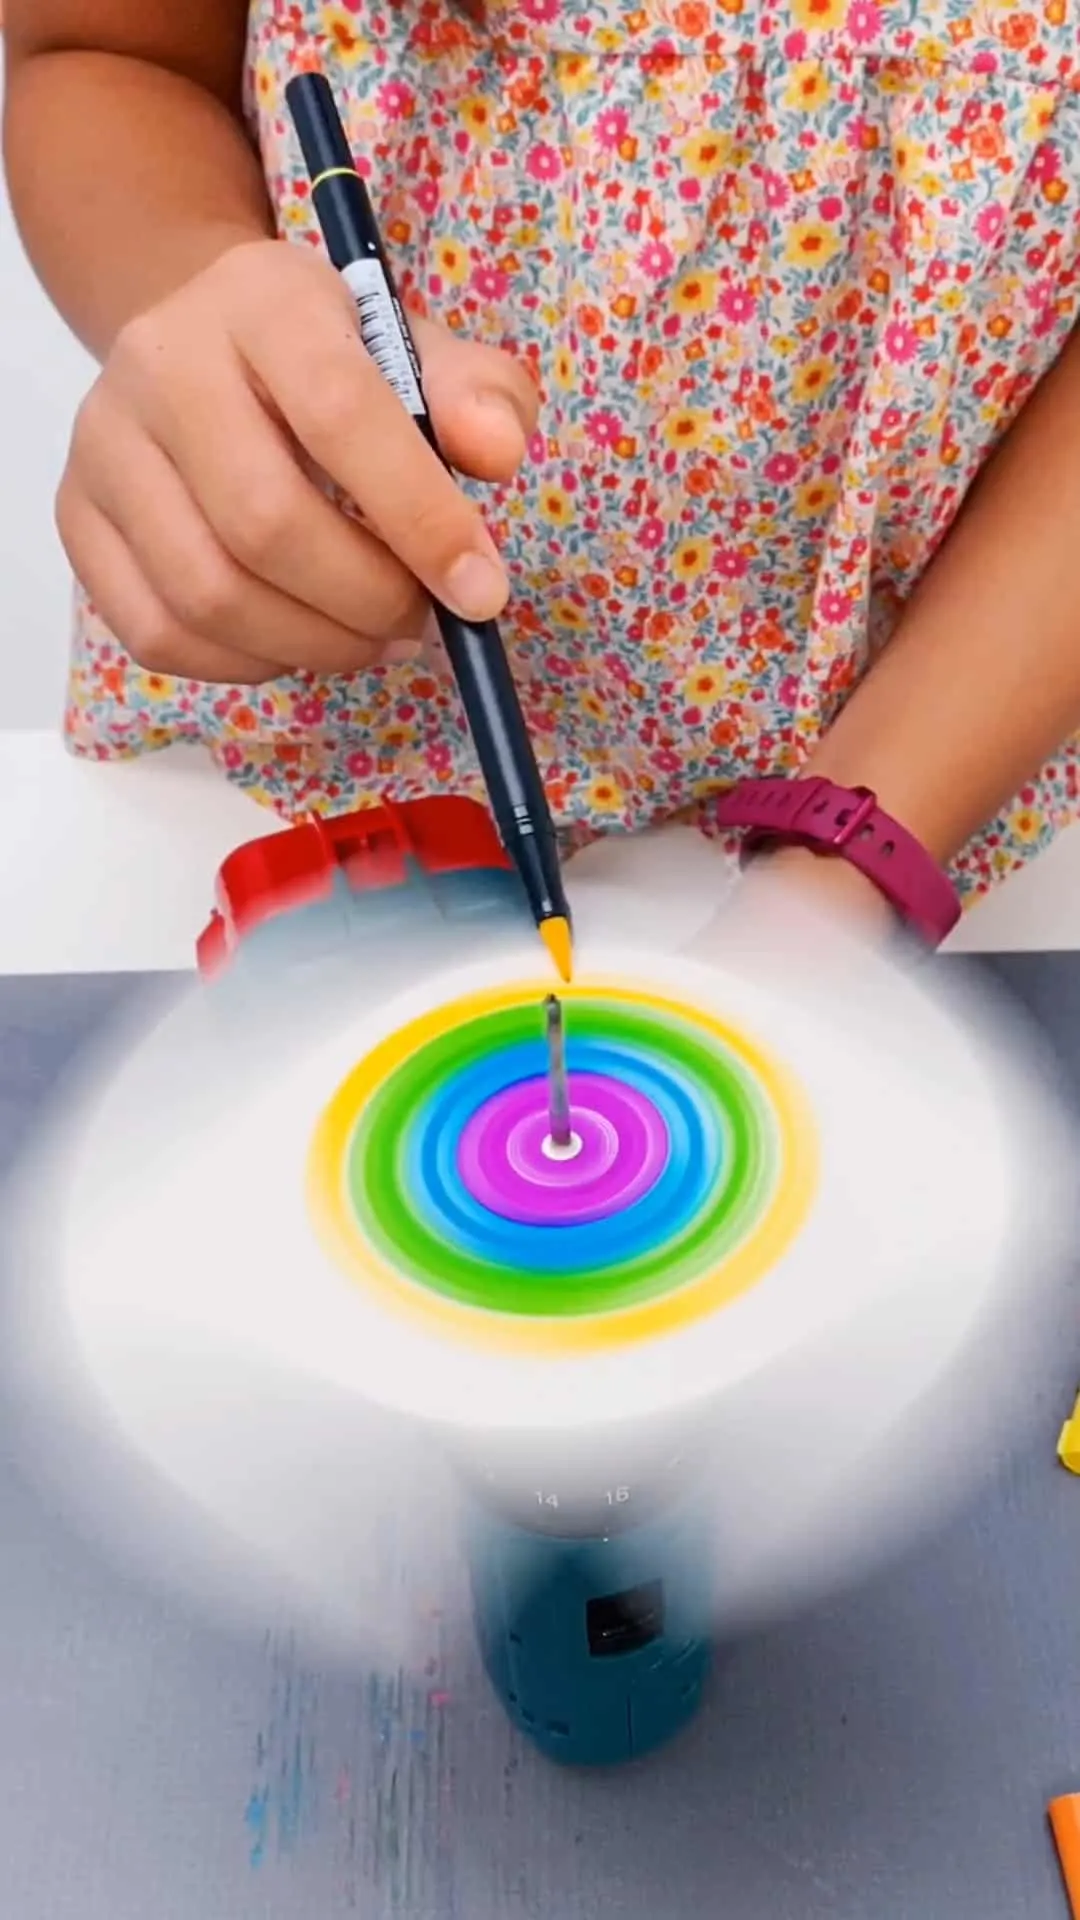
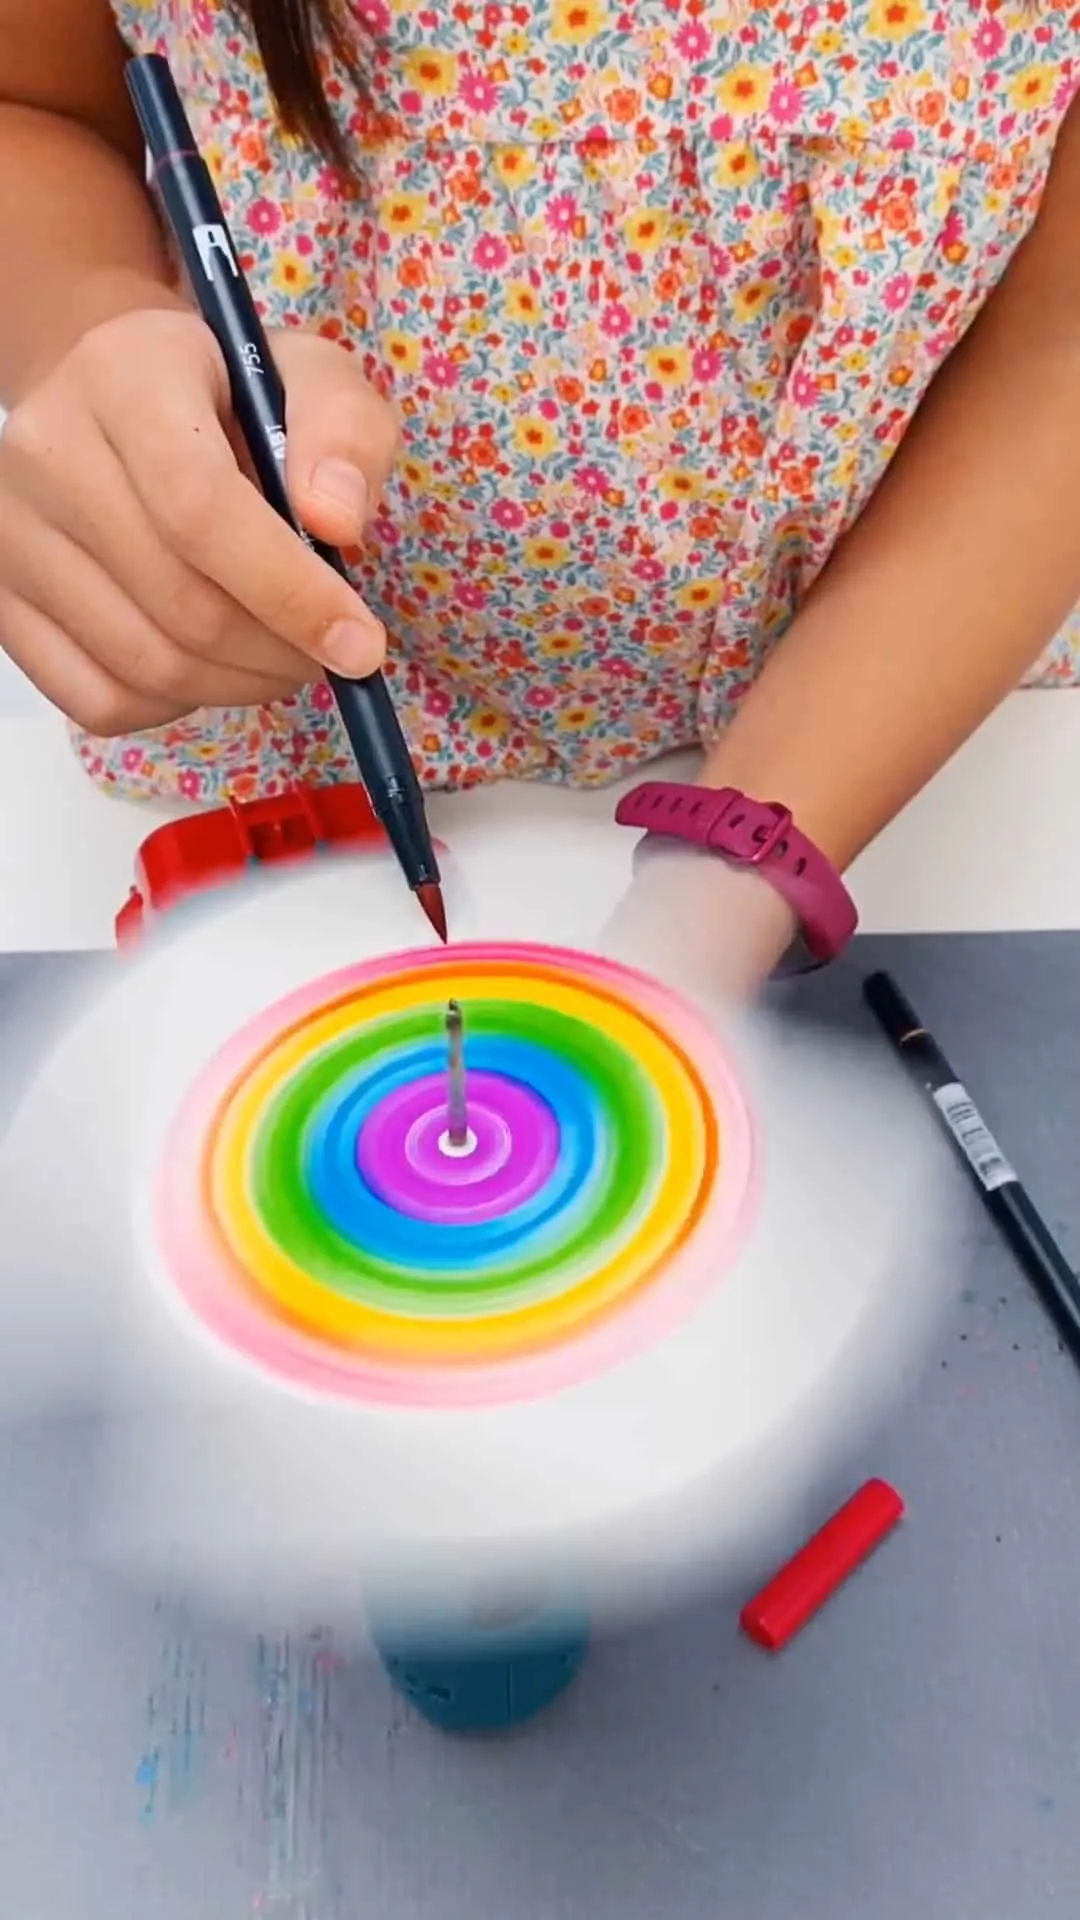
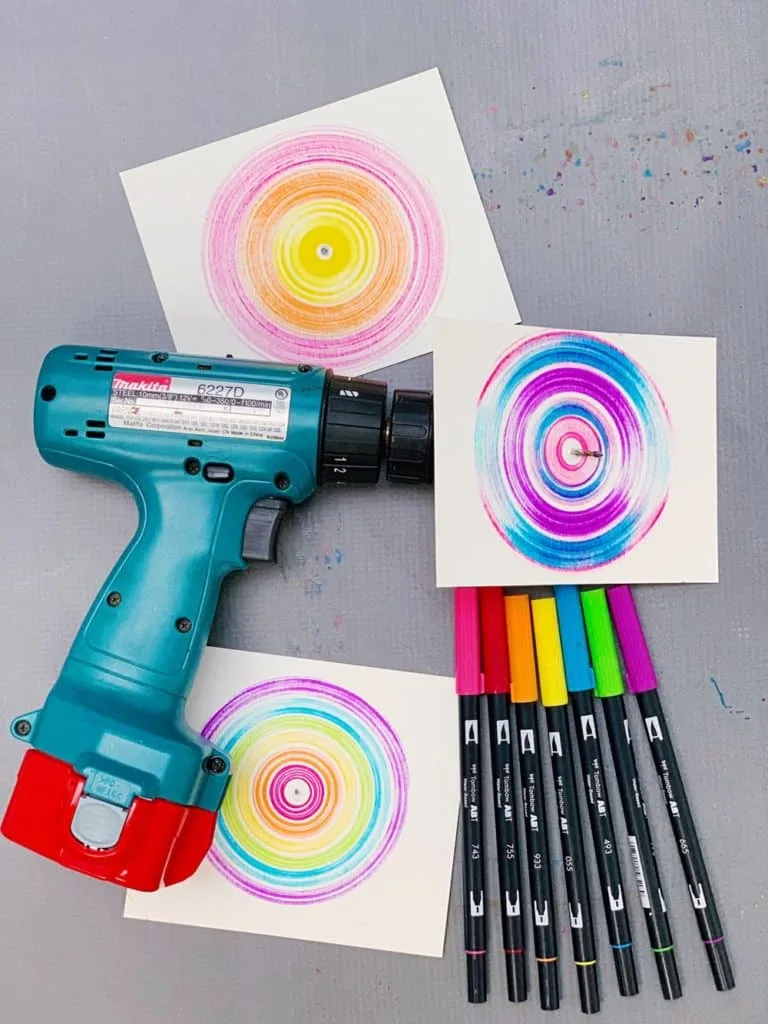
The clear winner were these Tombow Dual Brush Paint Pens. The brush-like tips glided smoothly while the drill was going and the vibrant colors created bright rings without a lot of added pressure.
The Crayola markers weren’t very bright at all. The Blick regular markers also left inconsistent marks.
Is all drill spin art created the same?
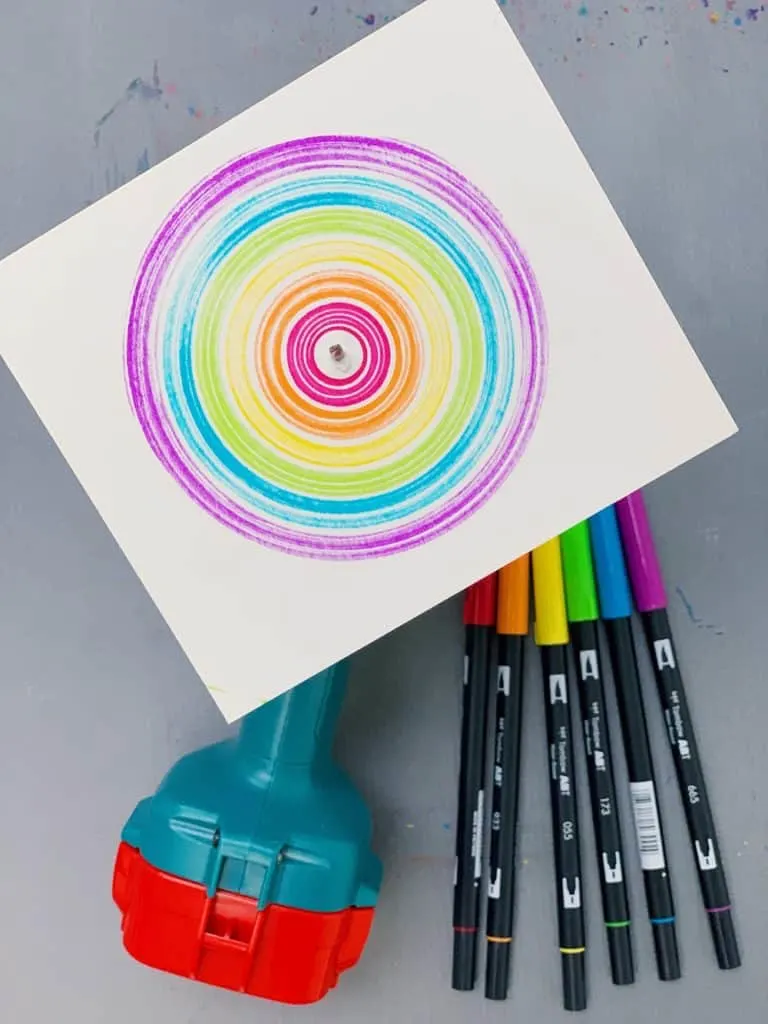
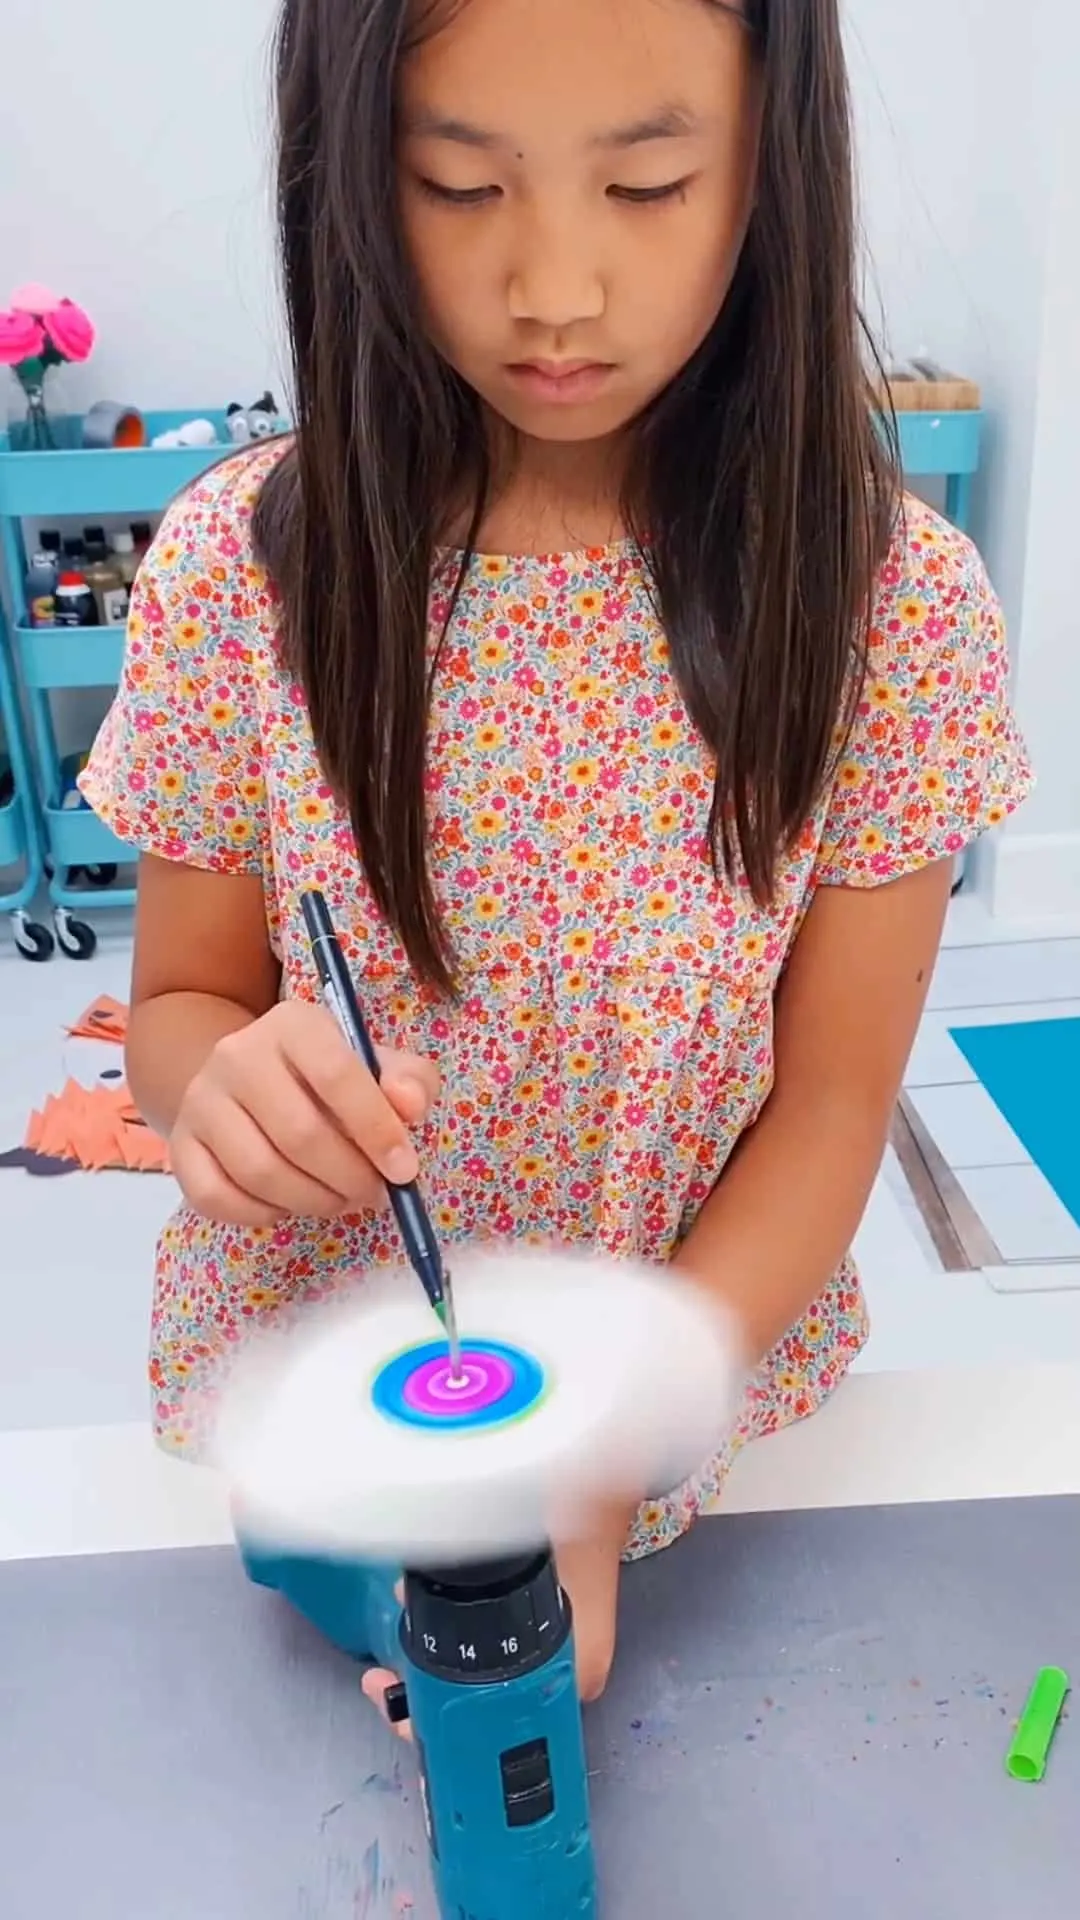
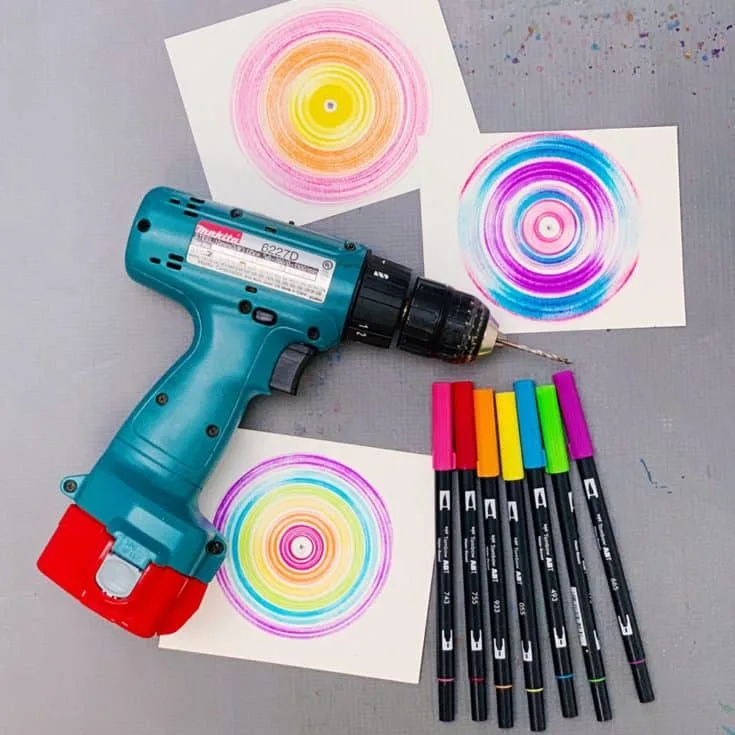
Well, no actually there are a few factors that impacts the final spin art. As you can tell in the photos, if you simply glide the brush markers without a ton of pressure, you created even, thin concentric rings.
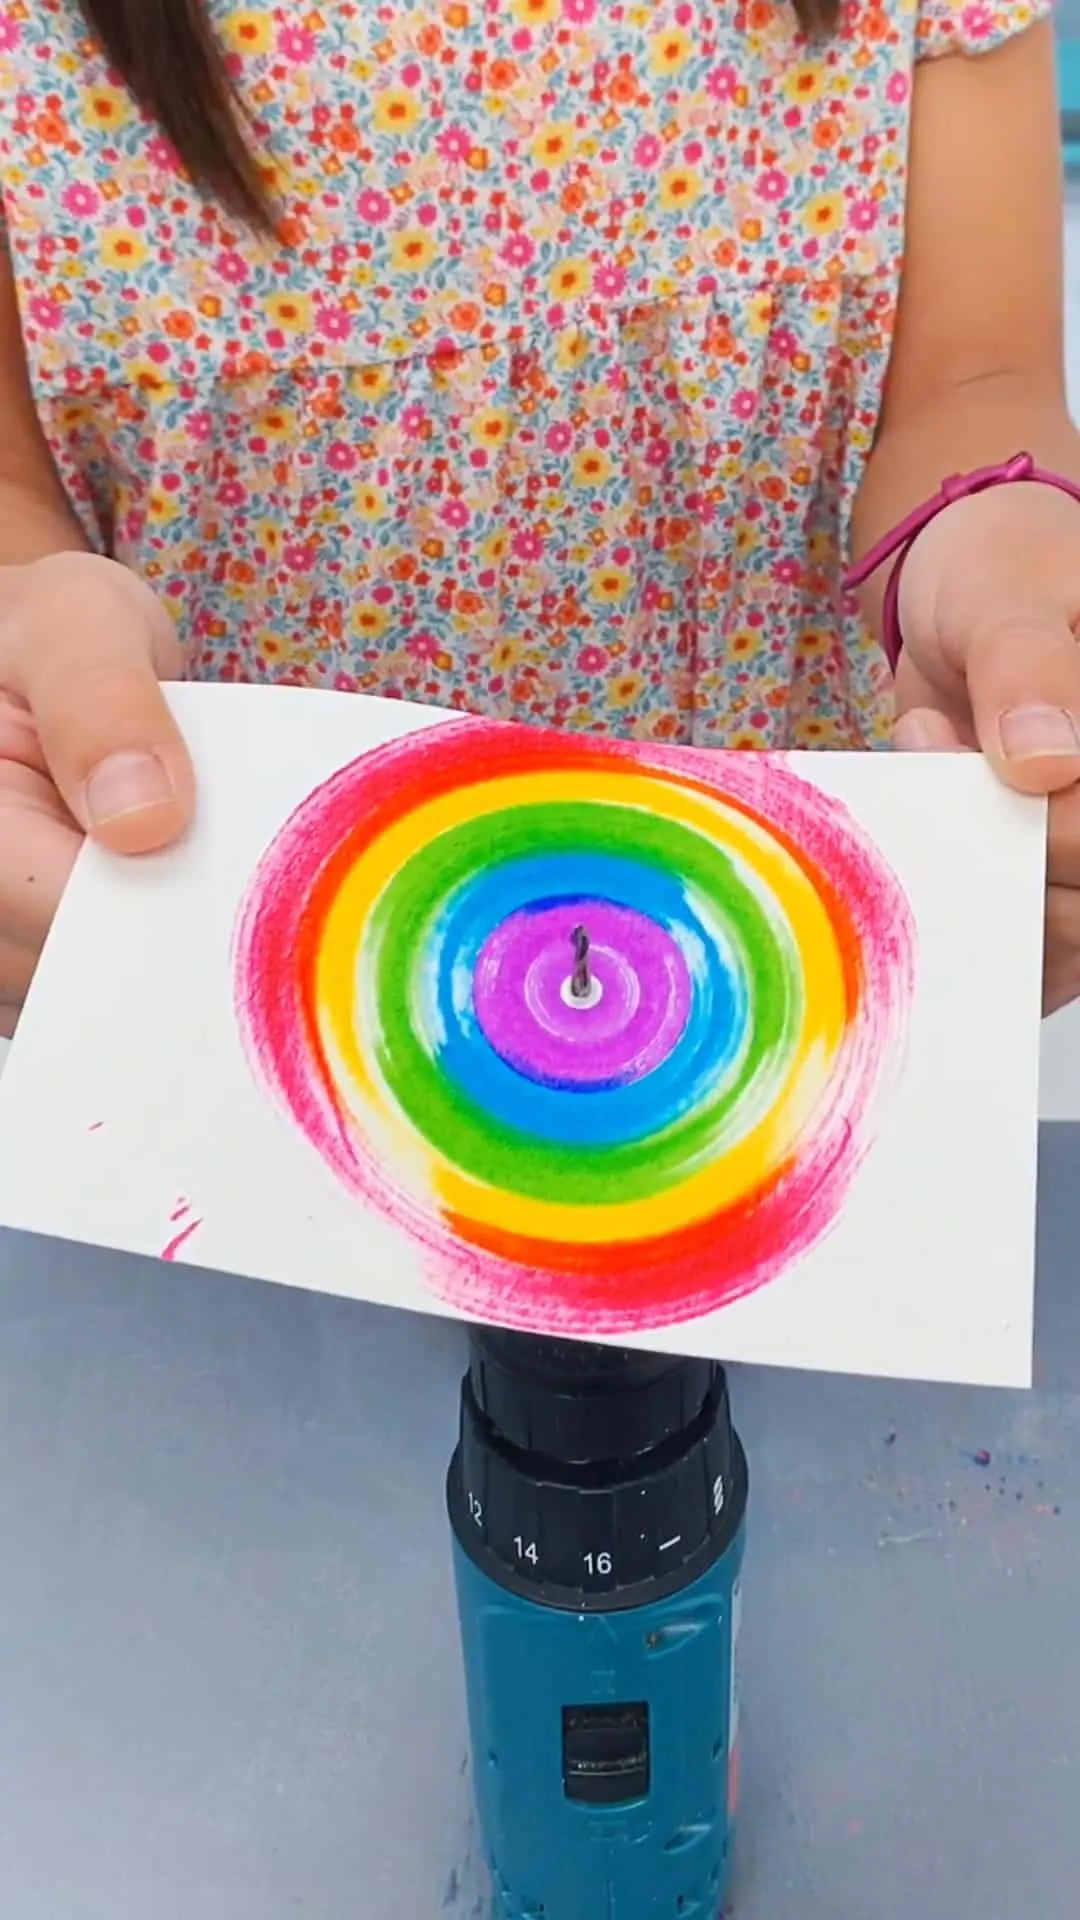
If you look at my daughter’s spin art below, she chose to create a very thick brush of colors and the effect is this very cool, filled in spin art.
We love how different pressures and pens create different spin art pieces!
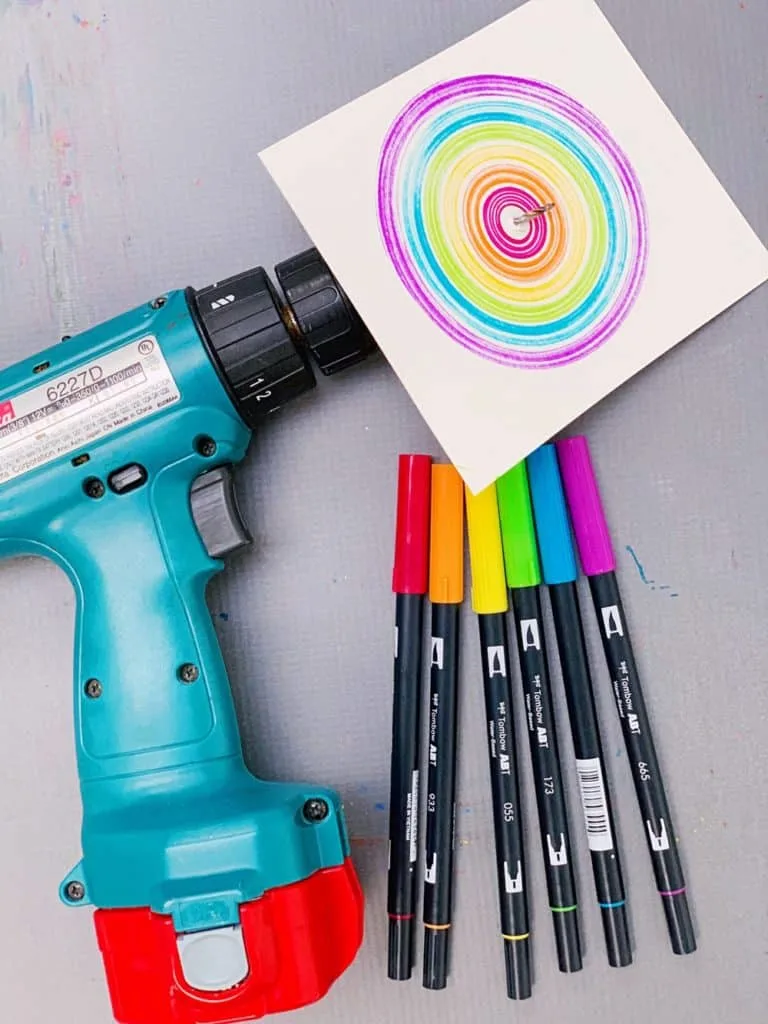
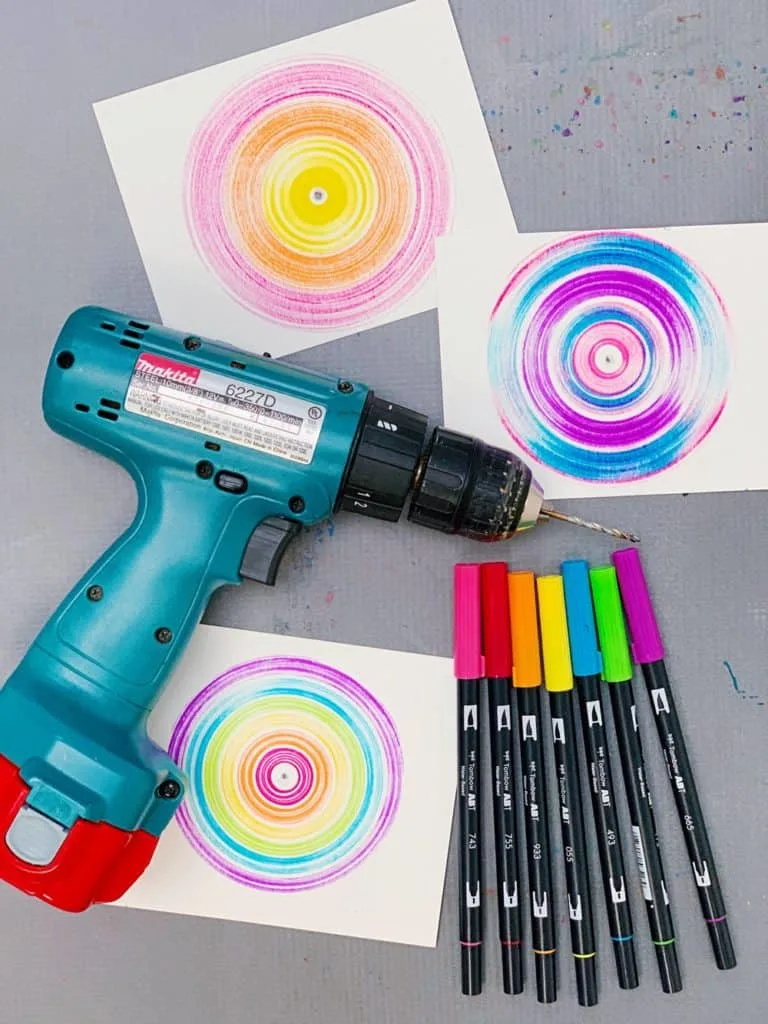
What tips can you give for the best spin art results using an electric drill?
The most important tip is that once you insert the paper to the drill bit and turn it on, you must create the spin art pretty quickly because as you continue to spin it, the hole in the center will become larger and larger and that will stop and drag down your marker pens.
Try it and see! You’ll see that the results are wow-inducing and immediate right away but if you keep the drill going for longer and longer, you won’t get super neat concentric circles.
Another tips is to move your brush pen up and down as it’s going in circles or you may get some “bald spots” as you’re going around.
Honestly, these tiny “imperfections” aren’t a big deal. The best part about this spin art project is the process! We had so much fun testing out different markers, pressure points, length of time with drill.
What kind of paper do you recommend for drill spin art painting?
Definitely a thicker cardstock as thin paper like copy or printer paper would flop around too much. We love using watercolor paper for any type of art project and that is the paper we used here and recommend.
Drill Spin Art With Kids – Materials:
** This art project requires supervision. Adults should be the ones inserting the drill it onto the electric drill and paper. My 10 year old daughter was able to hold the drill down while doing the spin art, but I was right next to her supervising. For younger children adults should be the one operating the drill and watching children brush the markers onto the spinning paper.
What do you do with your spin art afterwards?
These make beautiful kid-made cards, notes, or small pieces of art you can frame! Each one is special and unique!
You may also like:
DRILL SPIN ART WITH KIDS
Materials
Instructions
1. Cut your watercolor paper down to size, we got around 3-4 pieces per watercolor page.
2. Insert in the center of your drill bit.
3. Steady the drill down on a table and turn it on to start the paper spinning.
4. Use one marker at a time starting from the innermost circle closest to drill bit. Go further out with each marker.
5. We found using a light pressure and going up and down slightly in movement made nice circles, but feel free to experiment with different amounts of pressure!
____________________________________________________________________________
Disclosure: Some of the links in the post above are “affiliate links.” This means if you click on the link and purchase the item, we will receive a small affiliate commission. Regardless, we give our promise that we only recommend products or services we would use personally and believe will add values to our readers.
Agnes Hsu is a mom of three and has been inspiring parents and kids to get creative with easy activities and family friendly recipes for over 10 years. She shares her love for creative play and kids food to her 2MM+ followers online. Agnes' commitment to playful learning and kindness has not only raised funds for charity but also earned features in prestigious nationwide publications.

