.JPG)
Angel peg dolls are a perfect craft for the winter holiday season. When I make them, I plunder my craft cabinet for everything shiny, sparkling and glittery, then lay out all the supplies on the kitchen table and go from there! When you make your angels, don’t be afraid to experiment with different ideas for halos and wings. There is beauty in the uniqueness of each doll we create.
.JPG)
— Peg dolls of any size you choose
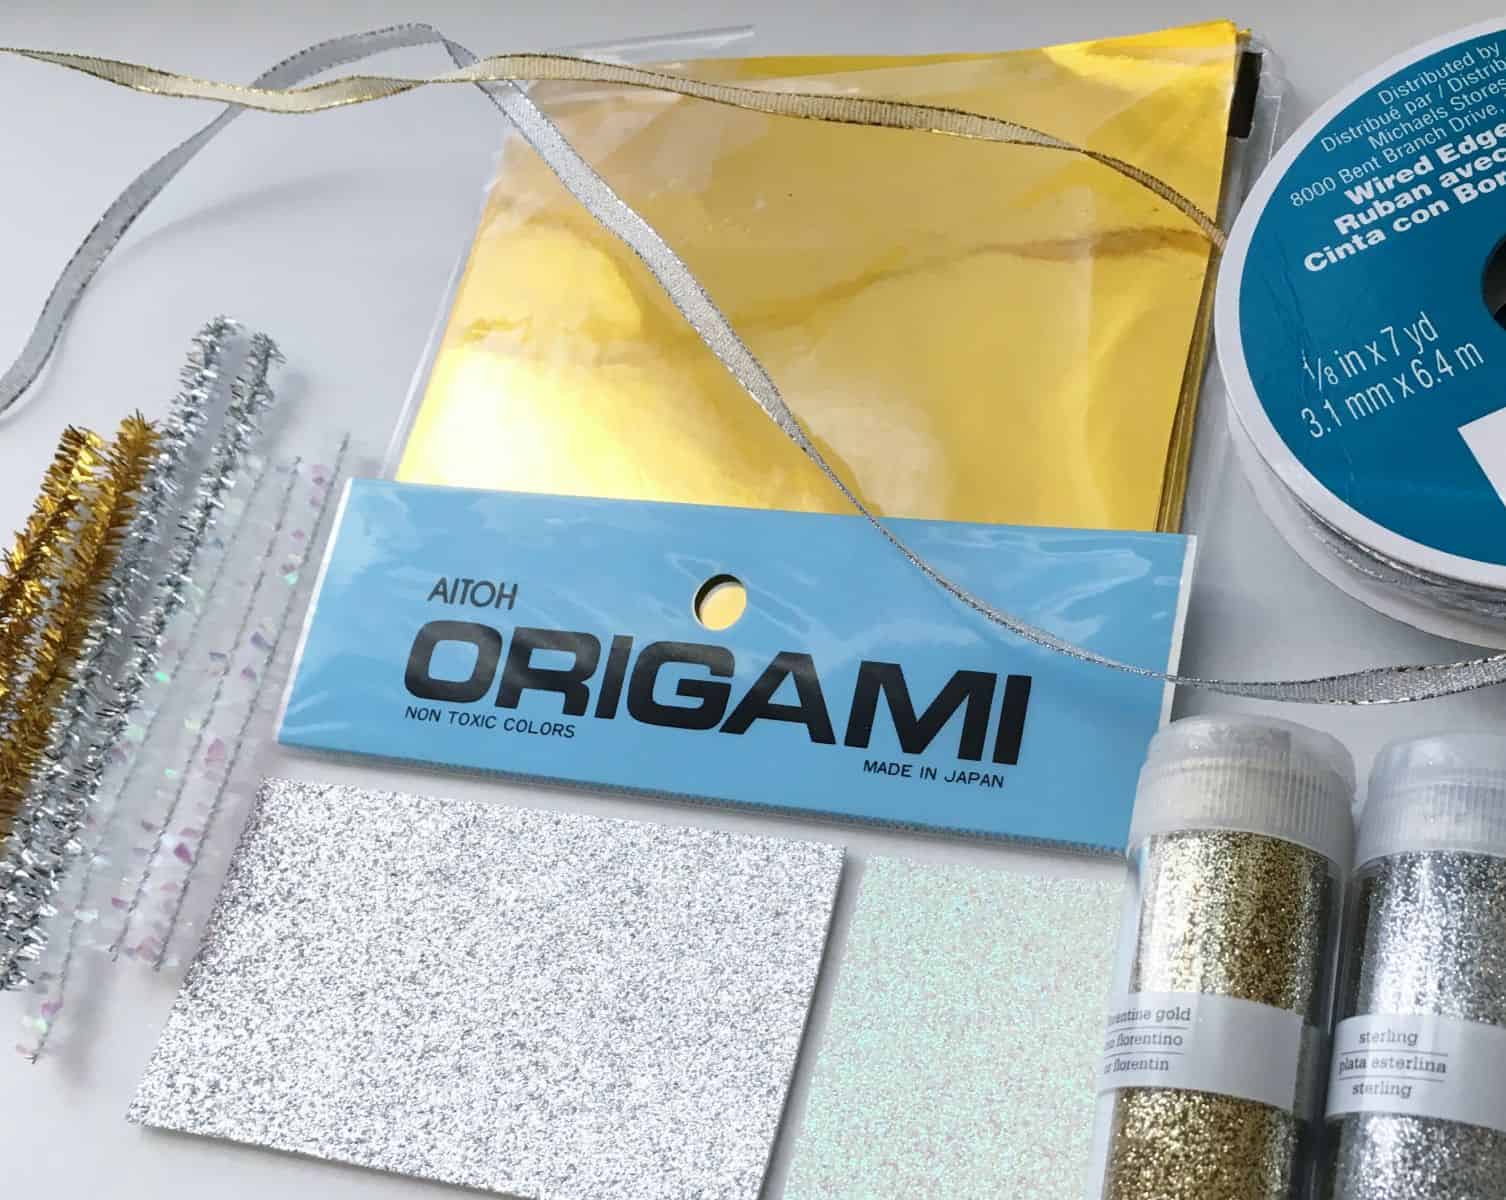
— Glitter and glittery craft-paper, shiny ribbon, metallic pipe cleaners, etc…
— Angel wing print-outs (optional)/links listed below
— Screw-eye bolts, size 216 (approx. ½ inch long)
— Watercolor or acrylic paint and a paintbrush
— An electric drill with a 1/16 inch bit
— A woodworking vise and plastic vise jaw pads (or a washcloth)
— Beeswax polish for wood (optional)
— White (PVA) glue
— A pencil
Note: if you don’t have a drill and screw-eye bolts, don’t let this stop you from making this craft! These angels look just as pretty sitting on a shelf or mantelpiece as they do hanging from a tree.
To find angel wing print-outs, I Googled “angel wing clip-art.” Two reliable sites for free clip-art are Clip Art Panda and Cliparts.co. Once I found wings that I liked, I copy/pasted them to a word document, resized the images and printed them out. You can also resize images using sizing functions on any copier/printer..JPG)
(note: you can omit this first step if you want your dolls to sit on a shelf or mantelpiece instead of hanging)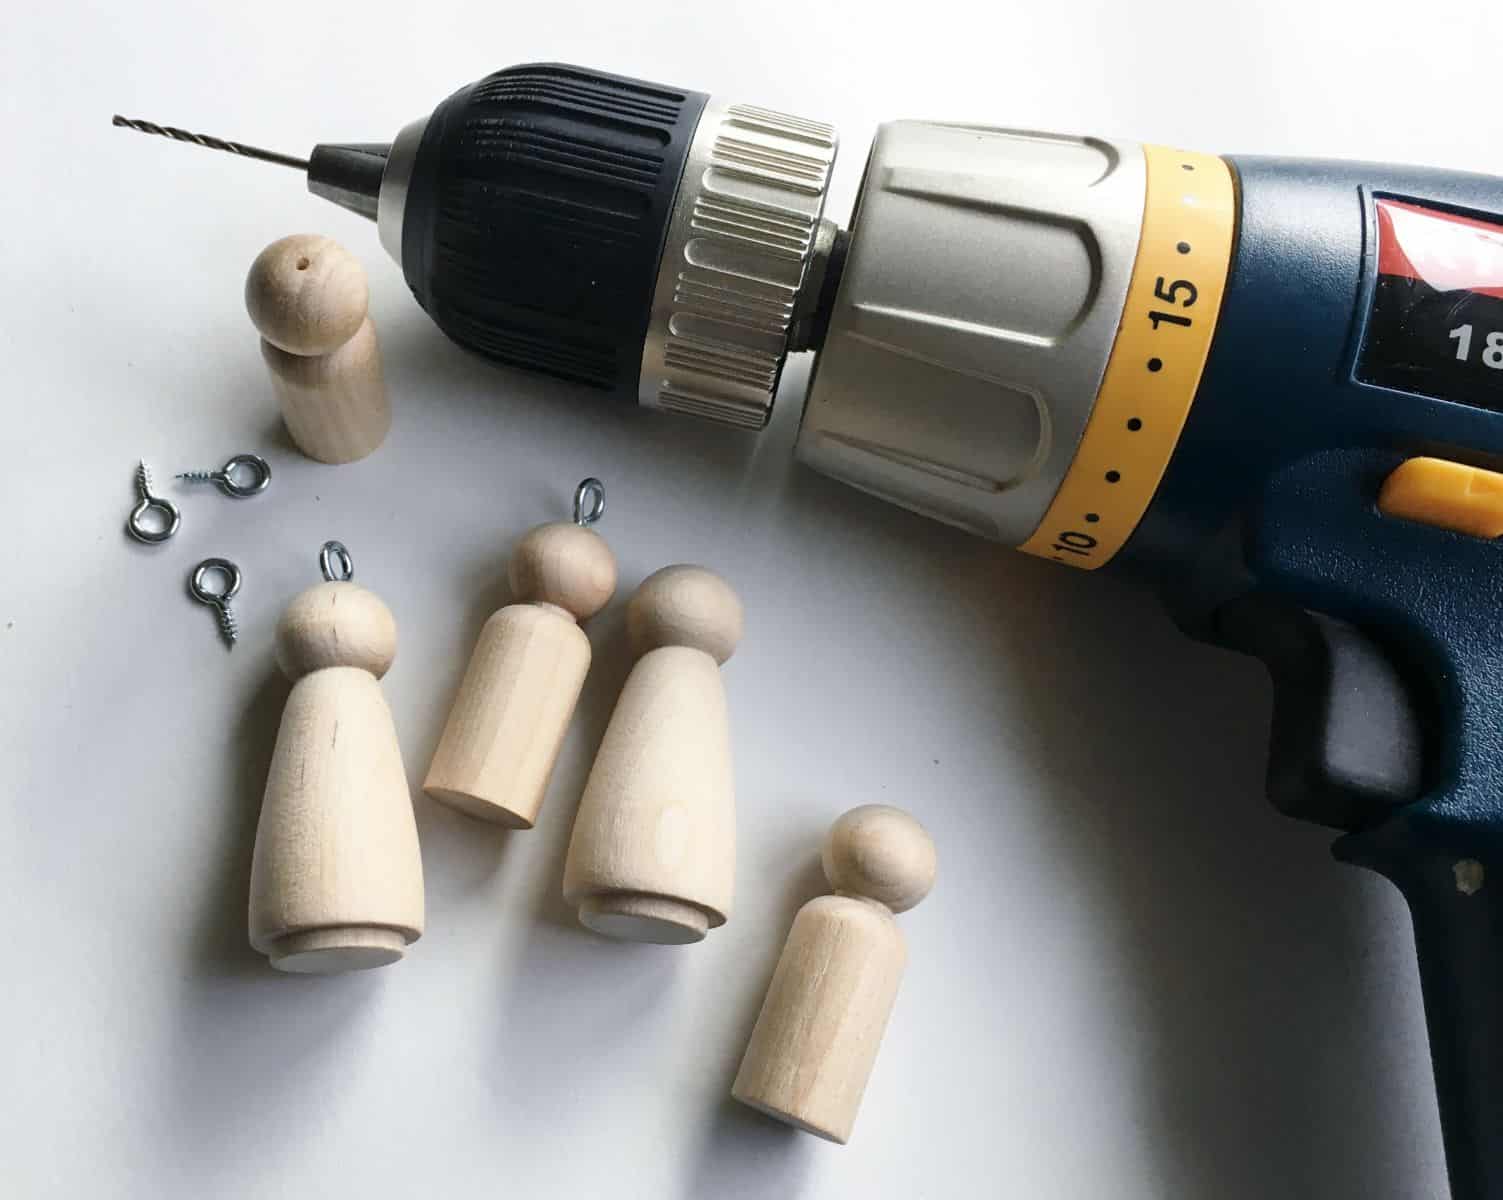
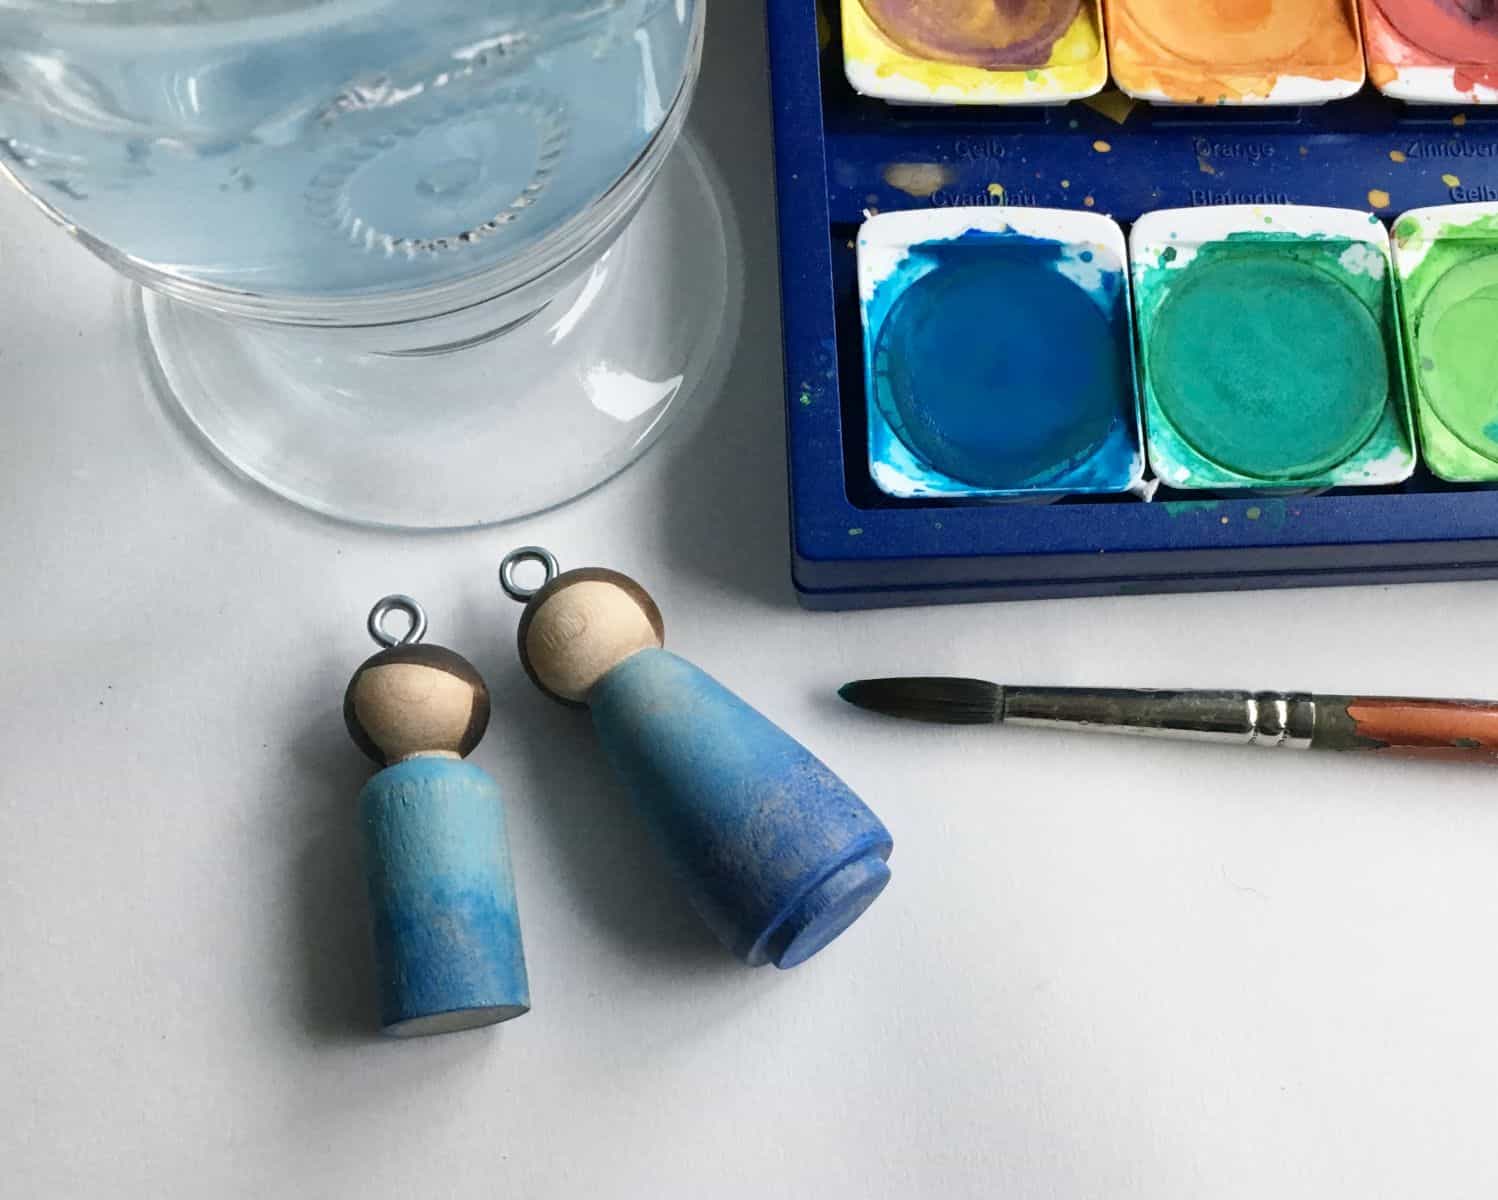
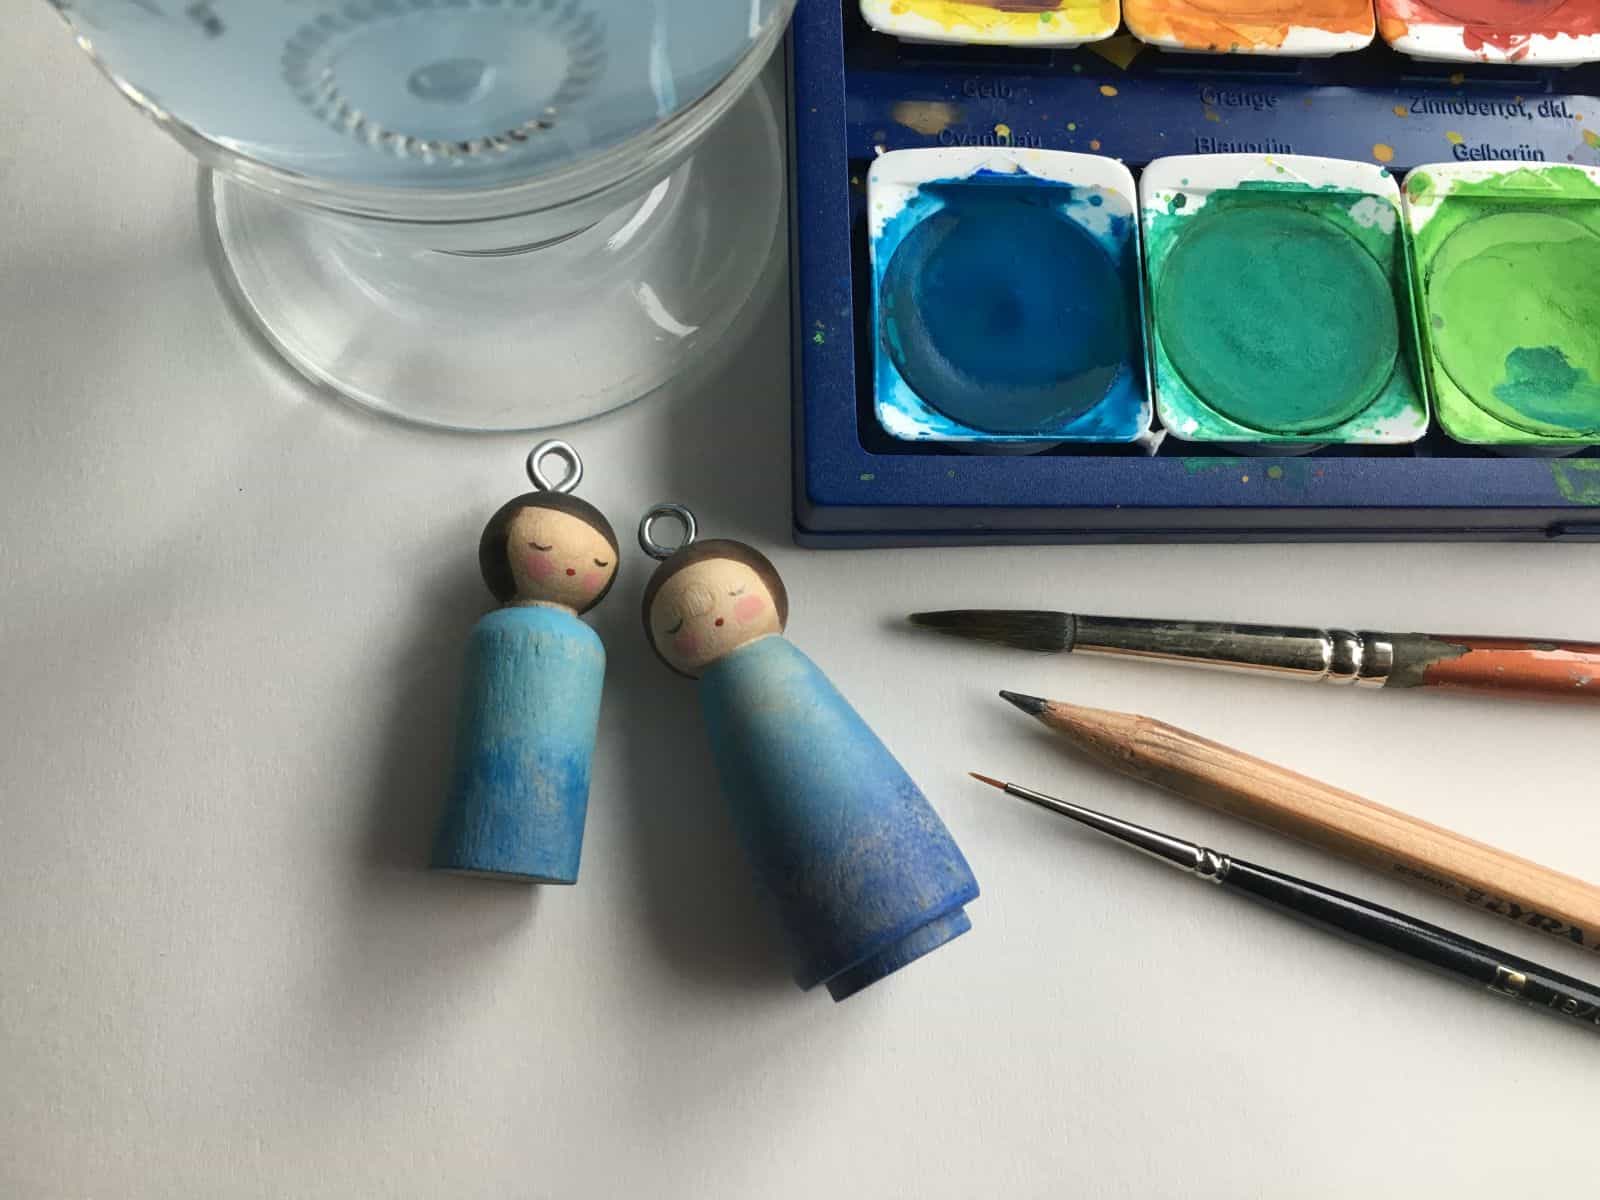
Once you have decided on wings for your angels, use white (PVA) glue to attach them to the backs of your angels. Now they are ready to fly!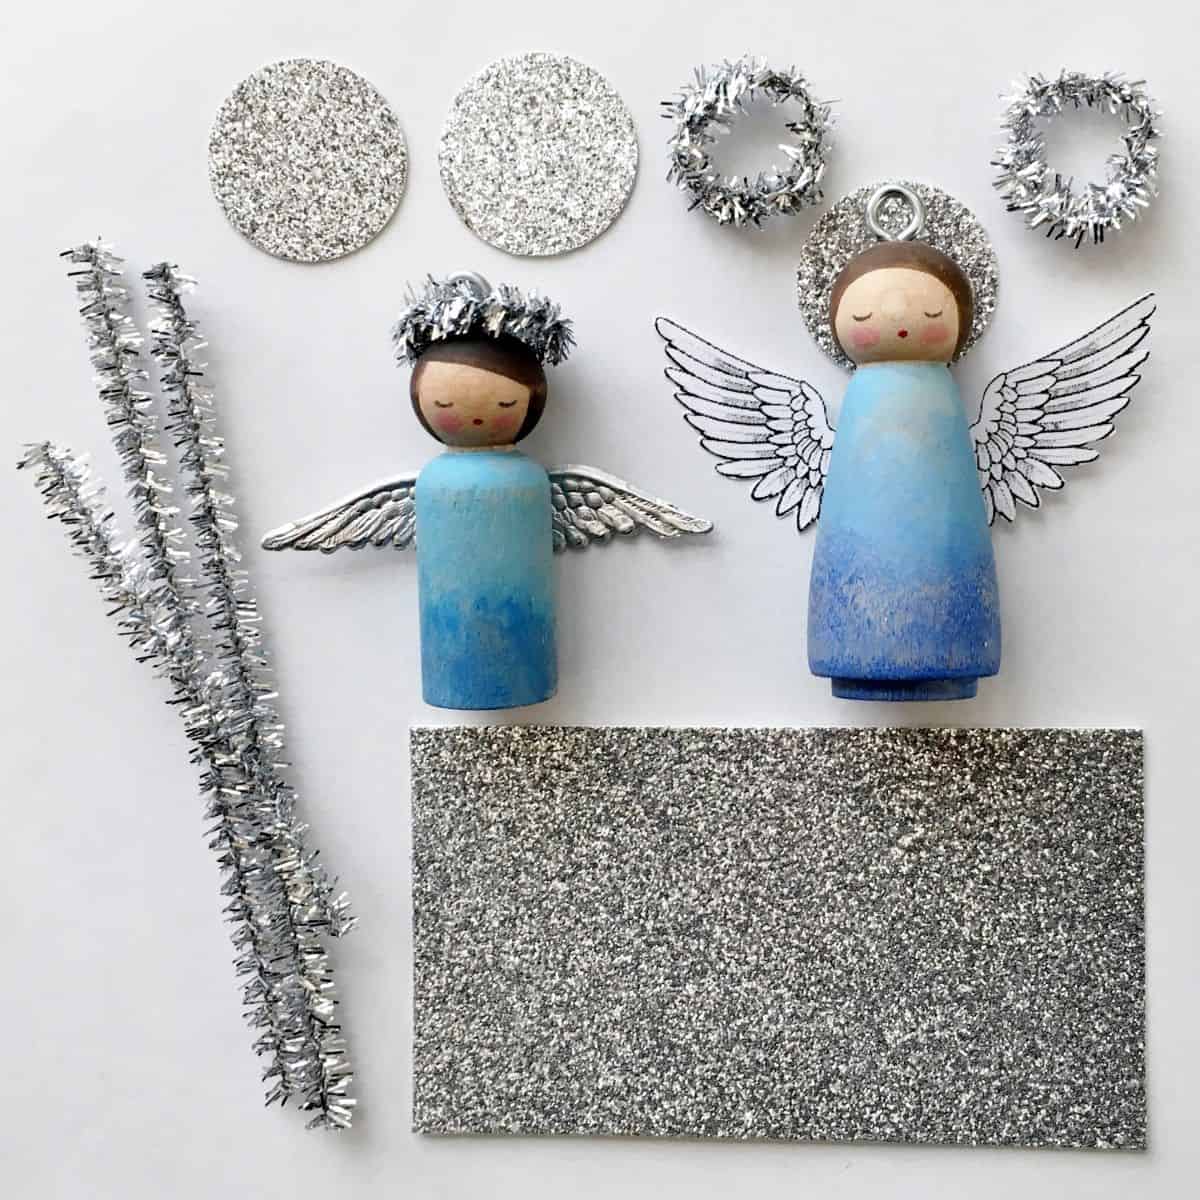
Best wishes for a holiday filled with the beauty of the season.
XO mb

Margaret Bloom lives with her family in a small cottage beneath the great oak trees of Northern California. She has a Master’s Degree in Counseling Psychology, is author of the books Making Peg Dolls and Making Peg Dolls & More (both published by Hawthorn Press, UK), and blogs at We Bloom Here. When she is not busy reading with her children, buttering toast or searching for lost socks, she spends her time writing, creating and finding inspiration all around her.
Agnes Hsu is a mom of three and has been inspiring parents and kids to get creative with easy activities and family friendly recipes for over 10 years. She shares her love for creative play and kids food to her 2MM+ followers online. Agnes' commitment to playful learning and kindness has not only raised funds for charity but also earned features in prestigious nationwide publications.

.JPG)
