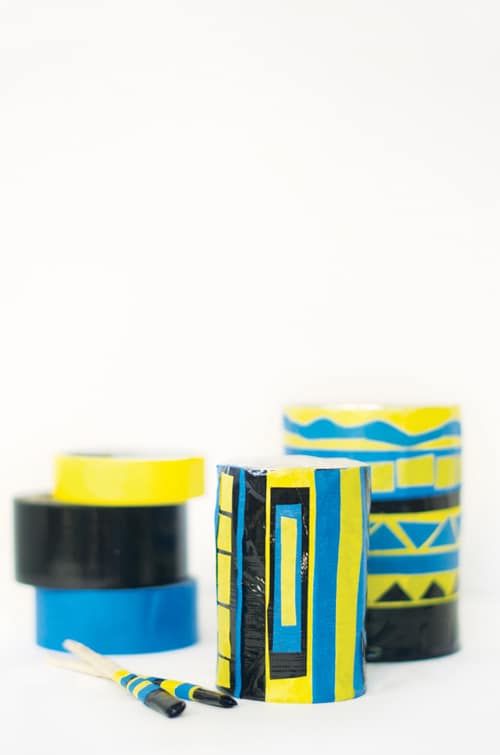
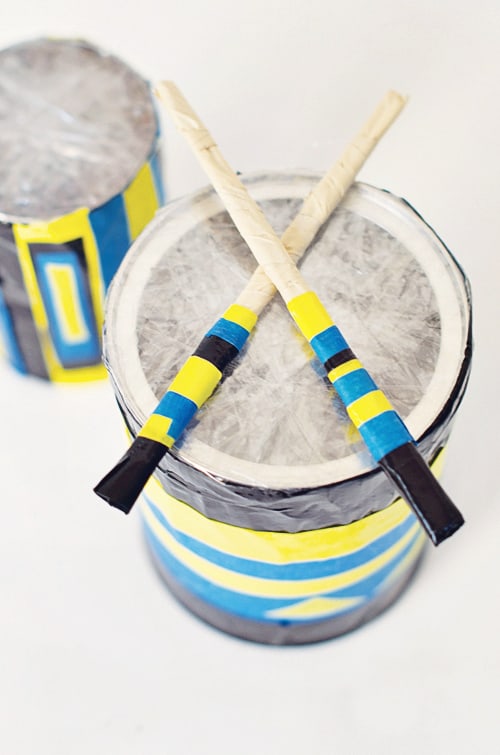
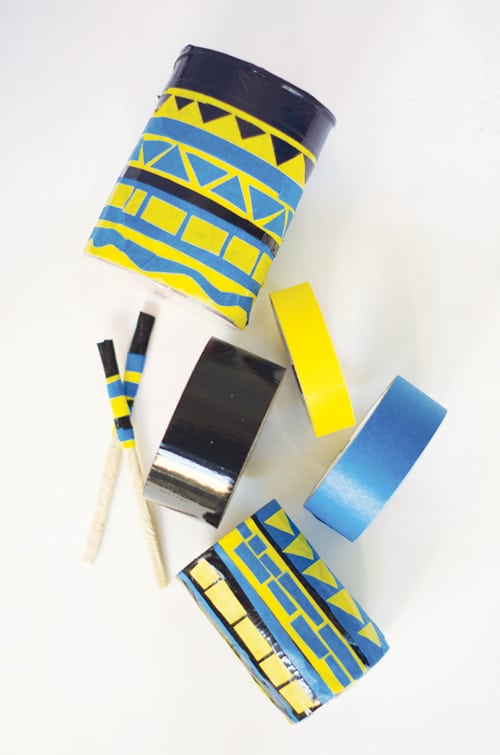
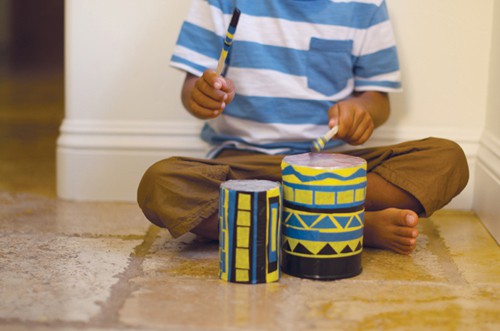
This colorful and simple drum set puts out quite a nice sound for being made from packing tape and old coffee and tin cans. The final product is sturdy and pretty, making them a fun addition to your child’s musical instrument collection. Better yet, you probably have everything for this project in your house. My son has been beating these drums since we made them which is making me rethink the more expensive drums we bought him for Christmas last year.
Packing Tape Drum Set
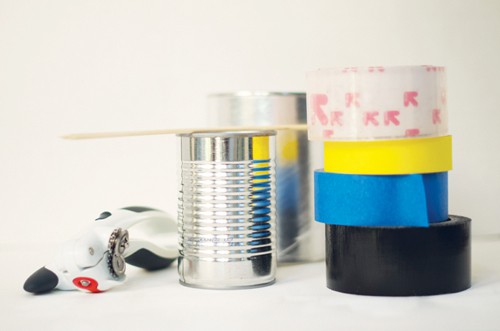
Materials:
Coffee Can
Tin Can
Packing Tape
Can Opener
Wood Skewers
Duct Tape and Masking Tapes
First remove the paper wrapping off the cans. Using the can opener, remove both top and bottoms of the cans.
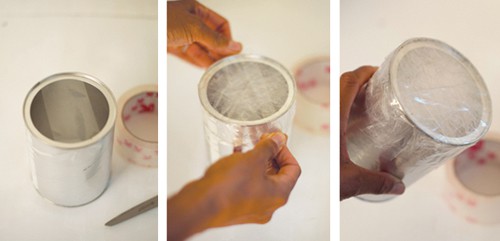
Using packing tape, start adhering strips of tape over the top opening of the can. Hold the tape as taught as you can before sticking it to the can. The tighter you can get the tape the better. Continue to layer the tape around the can. You should have about 3 to 4 layers of tape.
Once you have completed taping, flip over the can and press on the sticky side of the tape, so that all the layers stick together and create a taught drum.
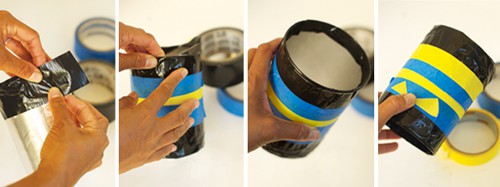
Tape the opposite opening of the can, so that the tape folds over the cut part of the tin. This will protect you from any sharp metal pieces on the opposing side of the can.
Decorate your can using layers of duct and/or masking tape to create the design you like. You can cut the tape into triangles and squares to create fun designs that emulate and African drum. I like using shiny duct tape along with the matte masking tape which added a nice texture.
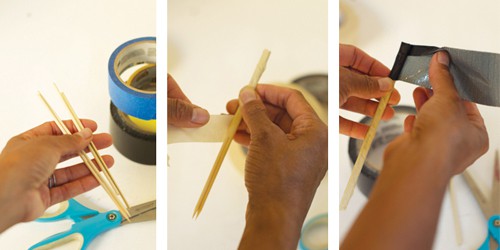
You can use anything for drumsticks like a wooden spoon, or just use your hands to beat the drum. However, I made these cute drumsticks using two wooden skewers, and they worked well.
First, break the wooden skewers in half to create 4 pieces.
Using masking tape wrap two of the skewer halves with the tape to create a drumstick. Then, layer the whole length of the skewers with tape to fully cover the sticks. This will protect you from any sharp edges.
Using duct tape, wrap the top of the stick over and over to create a thicker drumstick top. Then, add other tape colors for decoration.
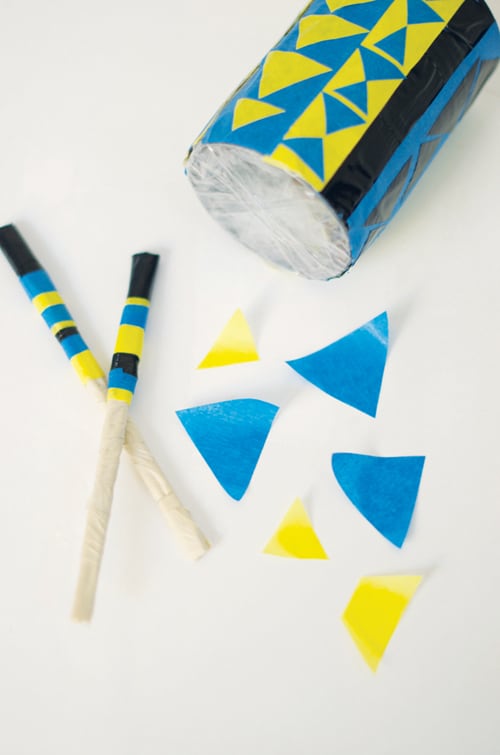
Make sure that drum is bottomless. This creates a nice full sound. Also, you will get a bolder sound by beating the drum lifted up off a surface. You can hold it under one arm while beating it with the other hand. Experiment and listen to how the drum sounds different based on how and where you hold it.
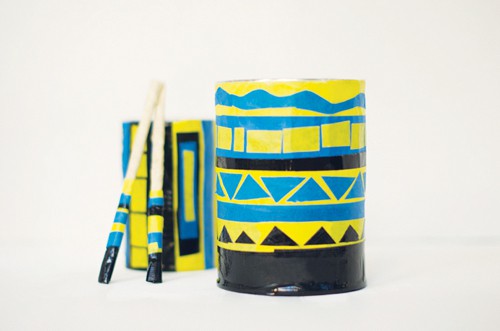
Have Fun!
.jpg)
Lisa Fyfe is a graphic designer and mom to a lovely 4 year old boy, Rowan. After having him, life changed ten-fold. From life as an art director in publishing in New York, to a slower paced life in Connecticut, and now San Diego, creativity has always been the constant. Rowan changed everything and amazing inspiration came from this unexpected place. Little Monster is where she shares diy’s and recipes inspired by motherhood. You can follow her on Facebook, Instagram, Twitter and Pinterest.
Agnes Hsu is a mom of three and has been inspiring parents and kids to get creative with easy activities and family friendly recipes for over 10 years. She shares her love for creative play and kids food to her 2MM+ followers online. Agnes' commitment to playful learning and kindness has not only raised funds for charity but also earned features in prestigious nationwide publications.

