Follow us on Instagram for more fun ideas for kids!
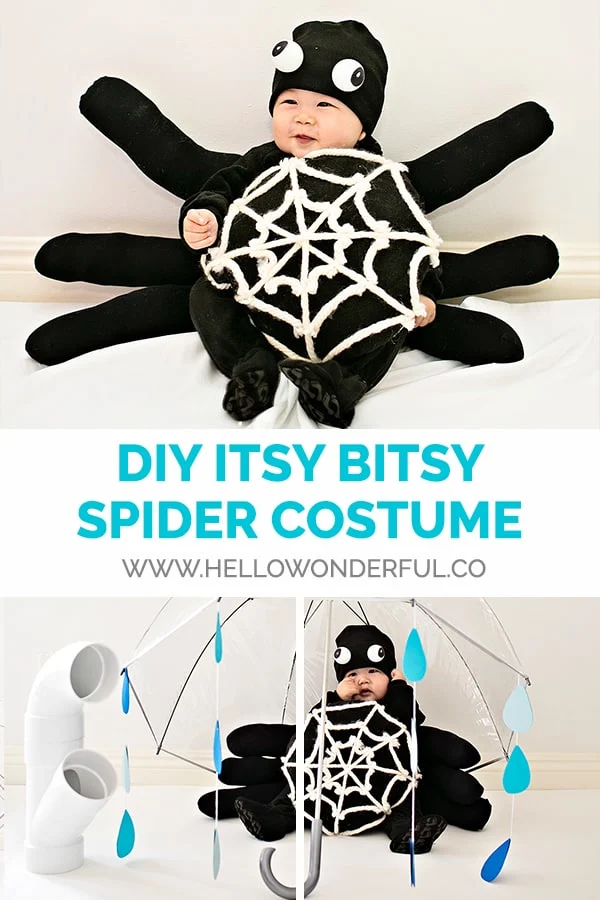
With our own itsy bitsy celebrating his first Halloween, this year seemed like the perfect opportunity to try a handmade baby costume inspired by nursery rhymes.
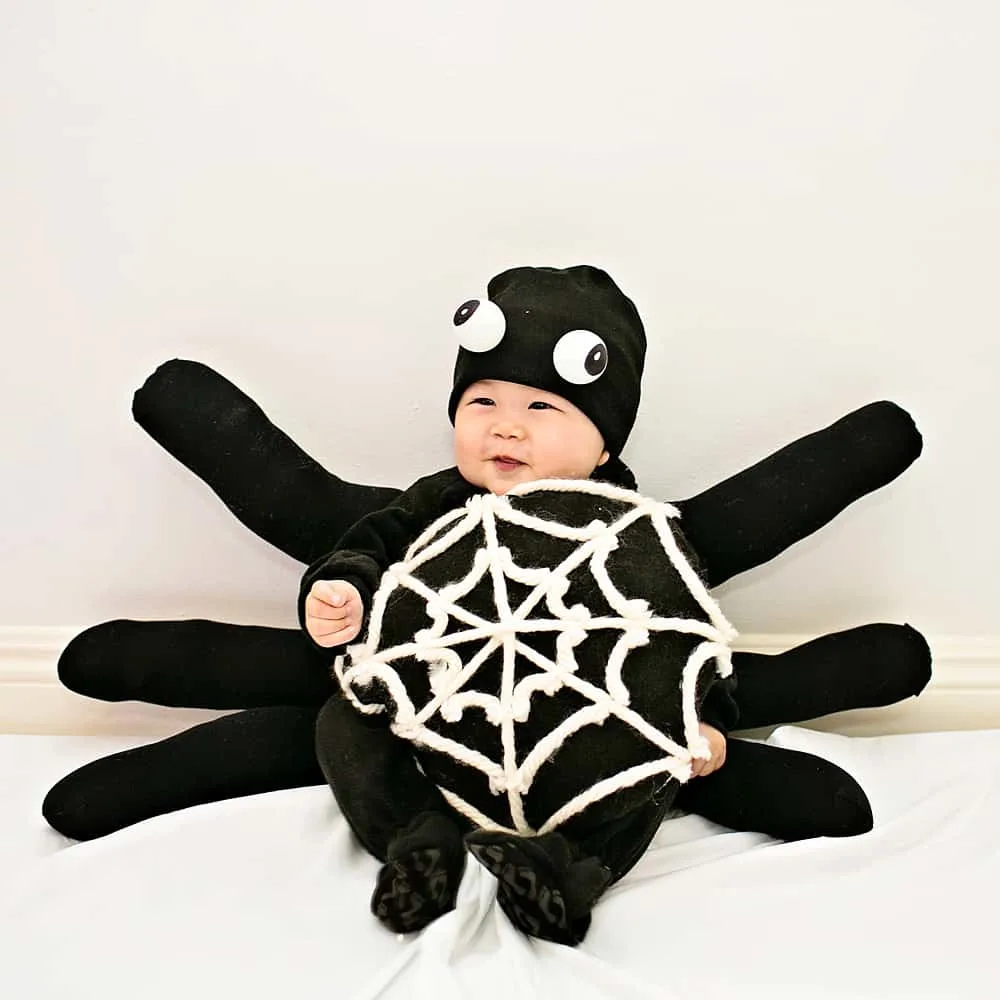
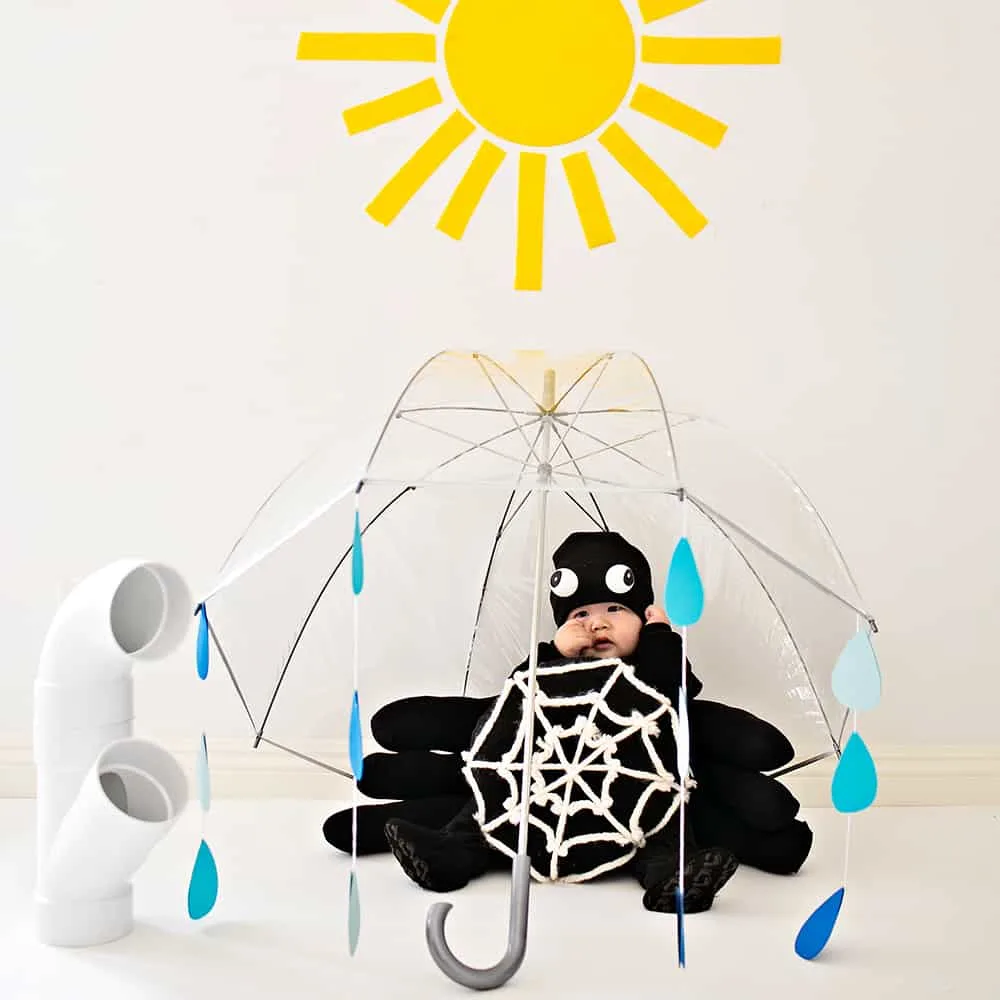
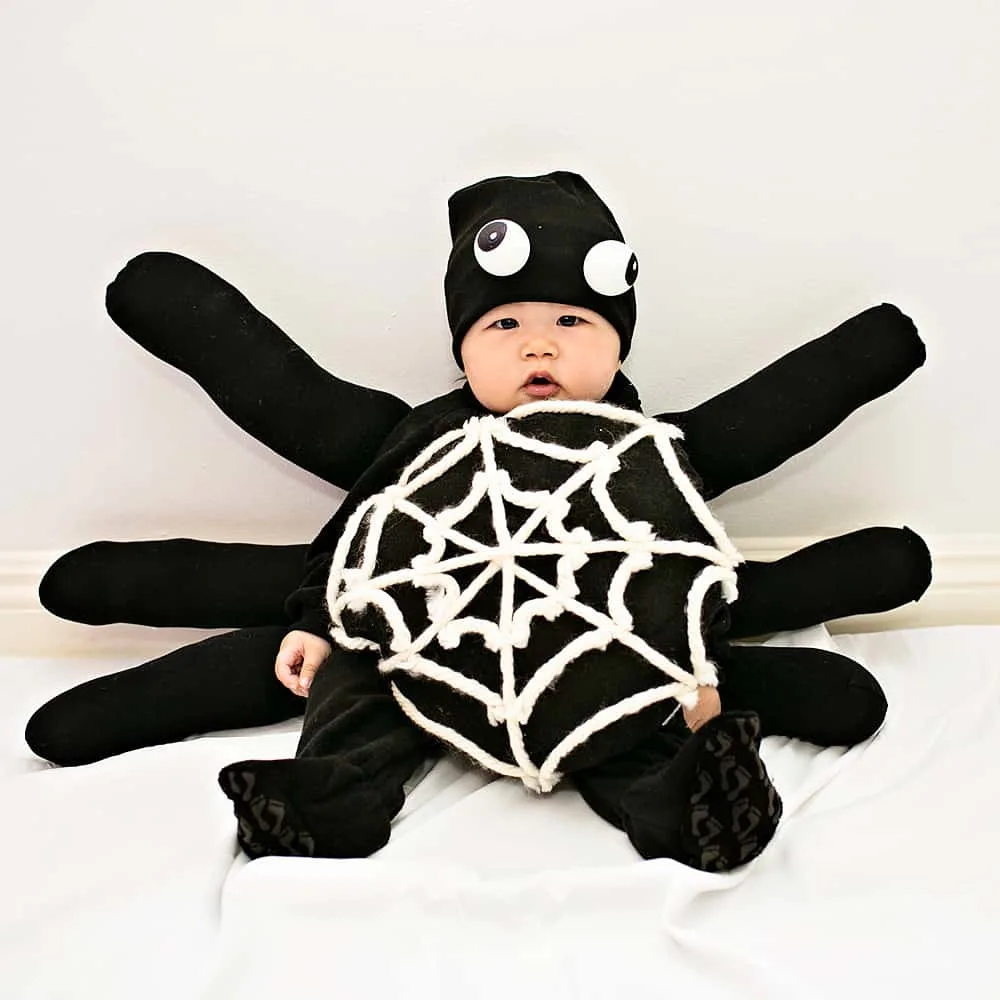
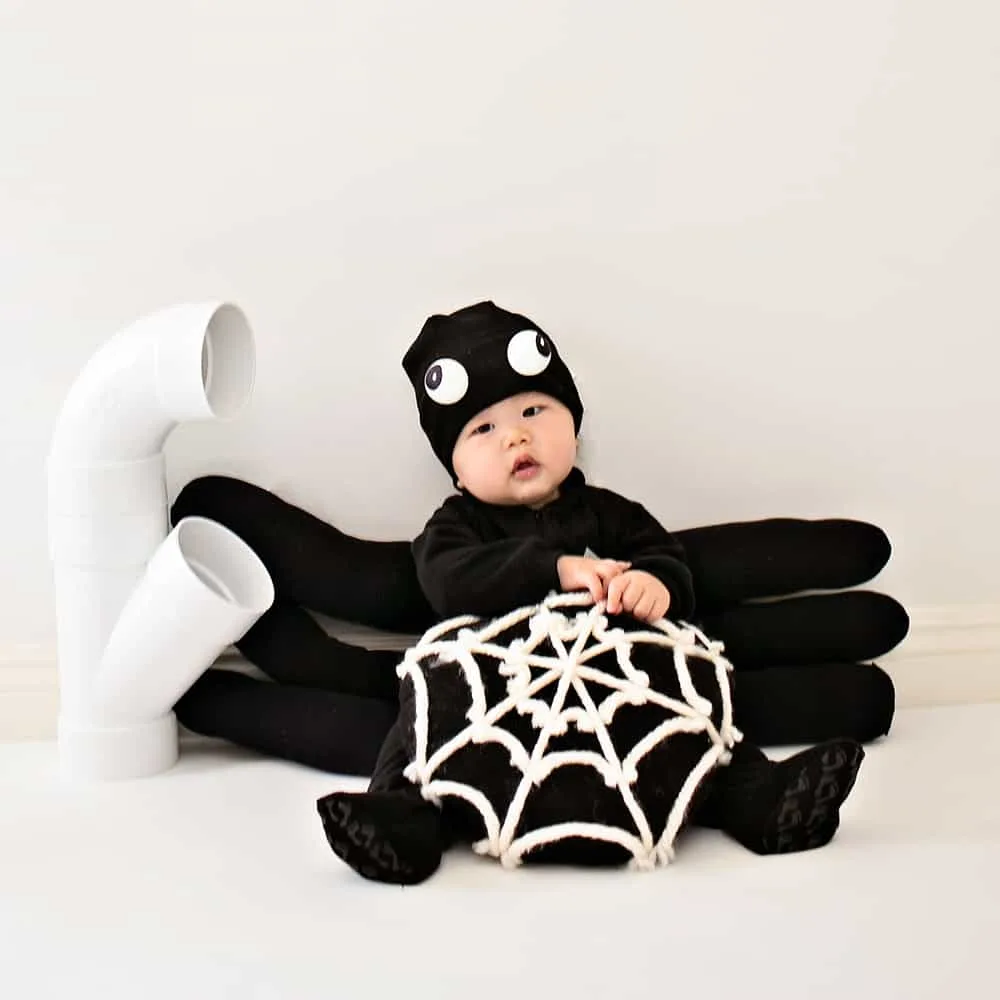
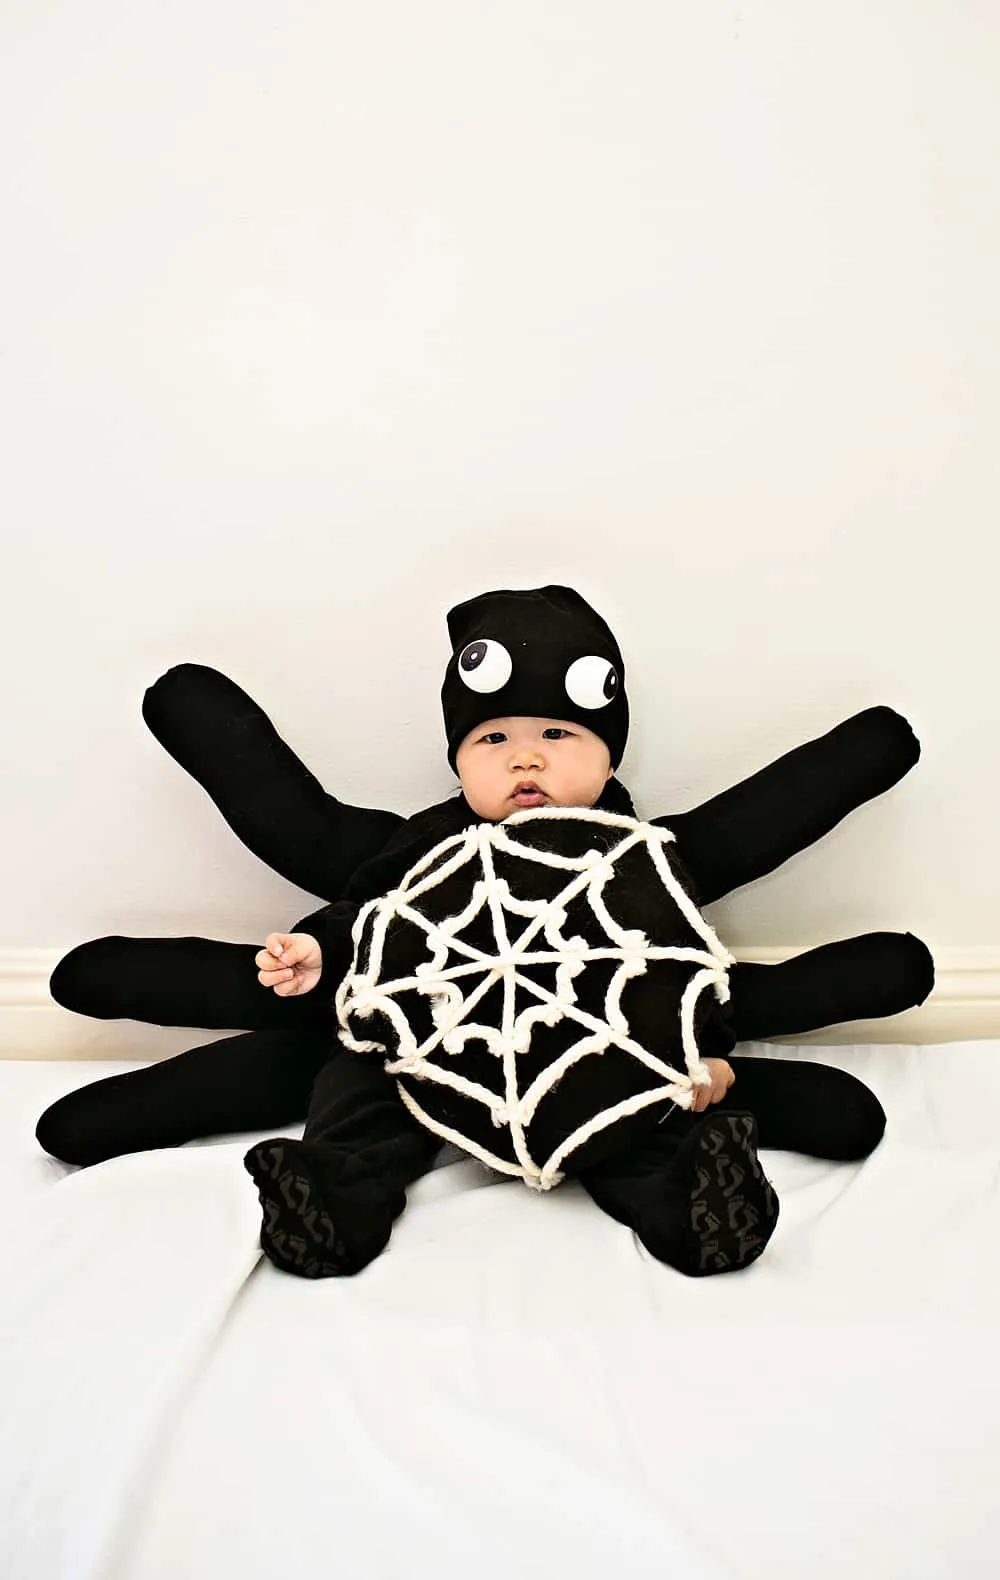
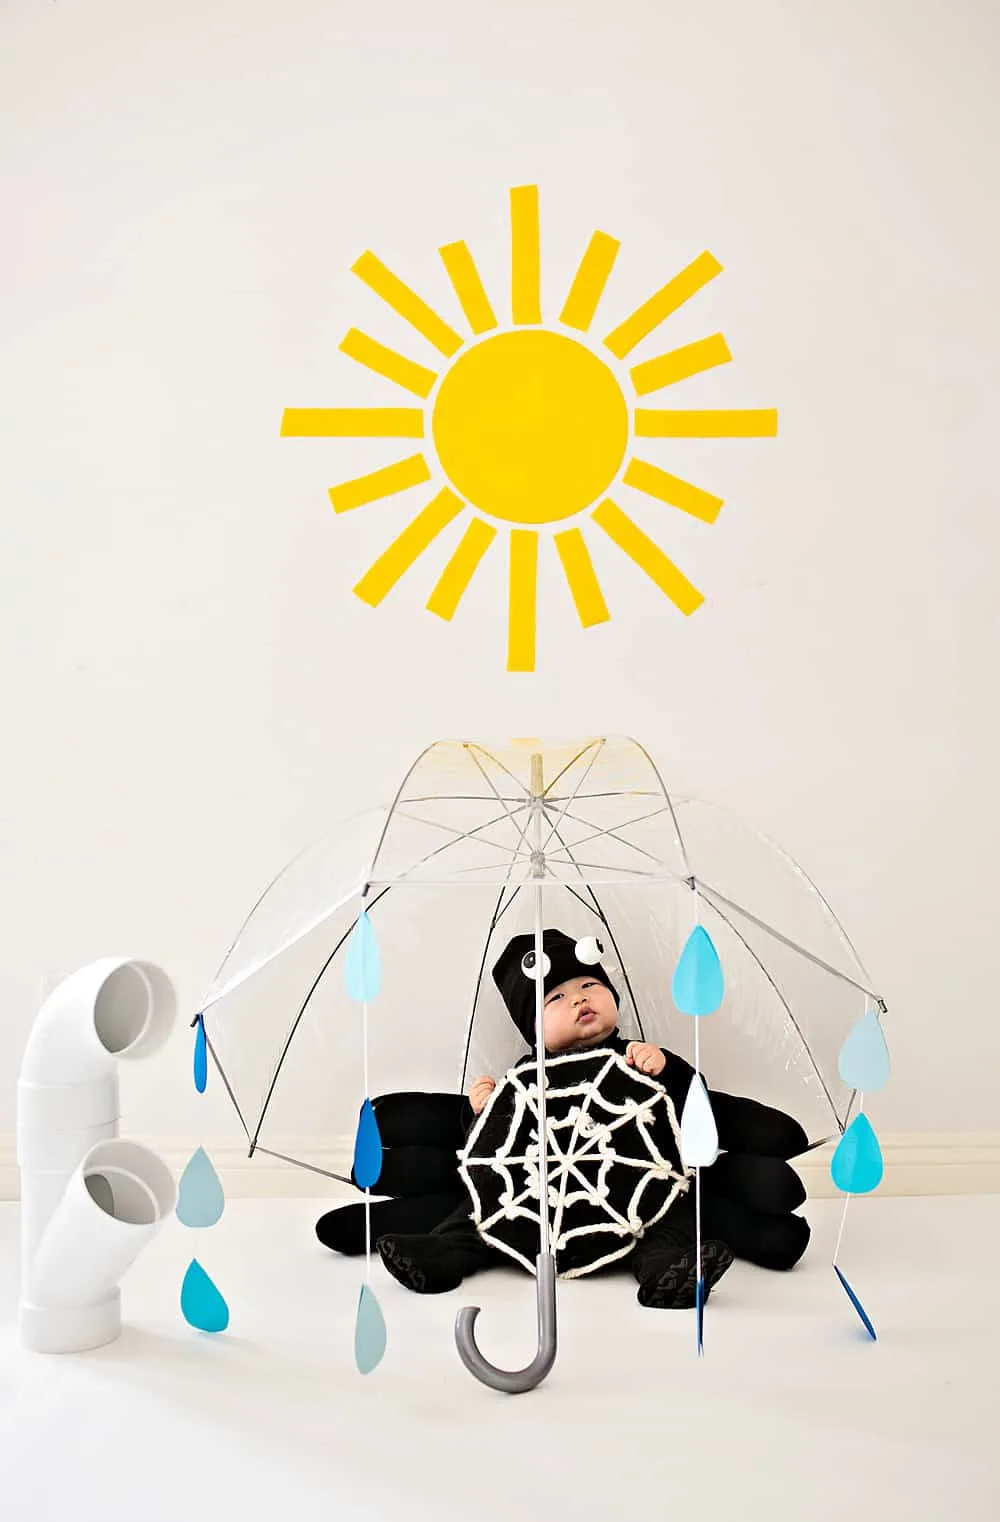
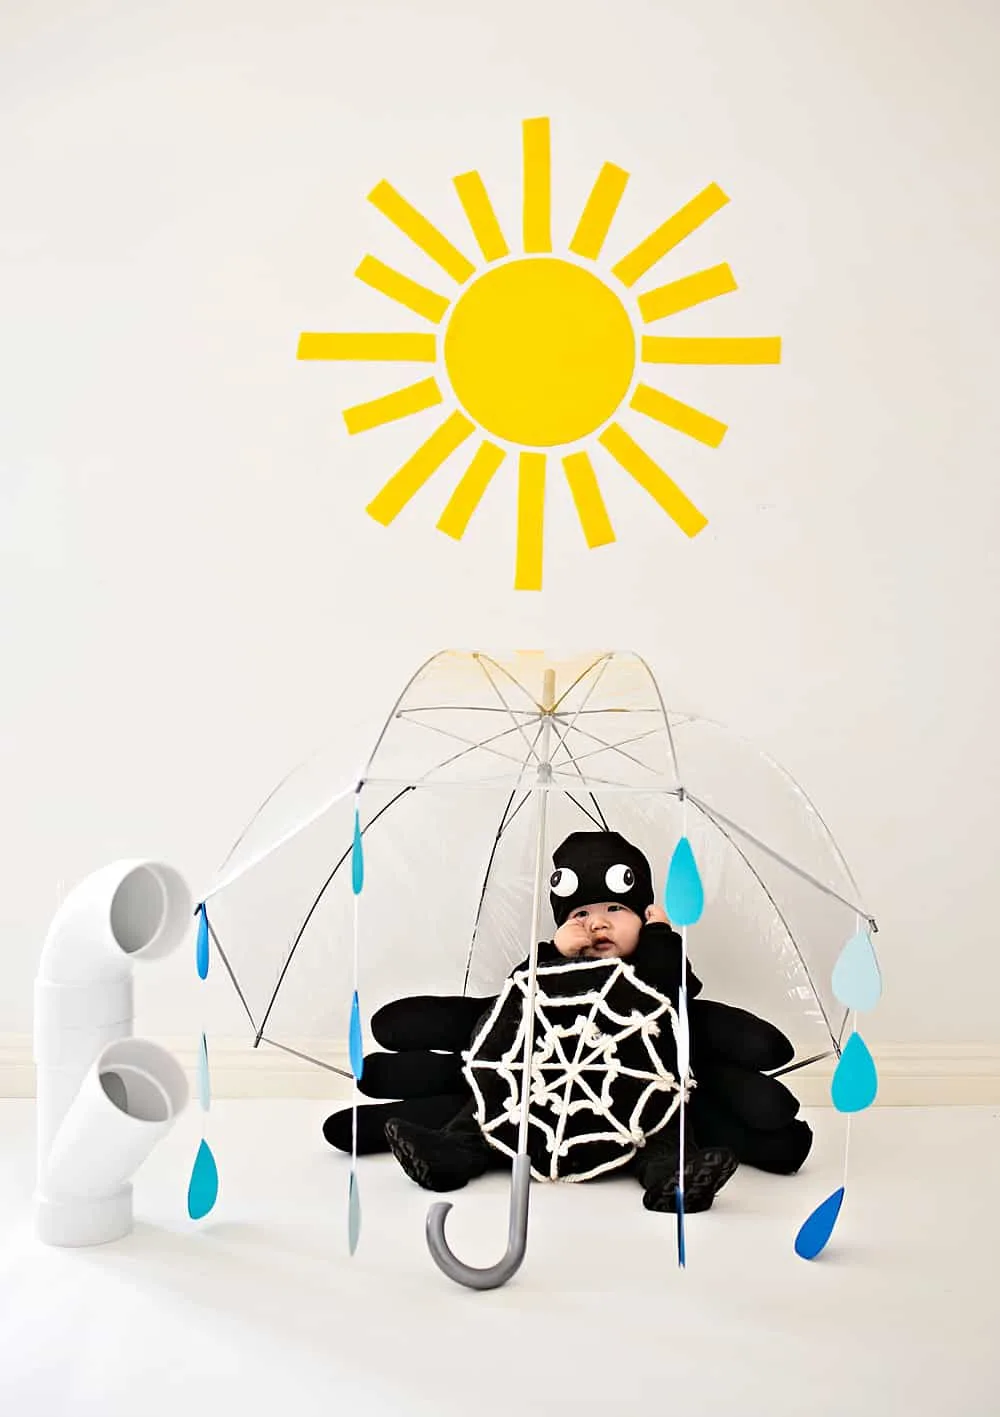
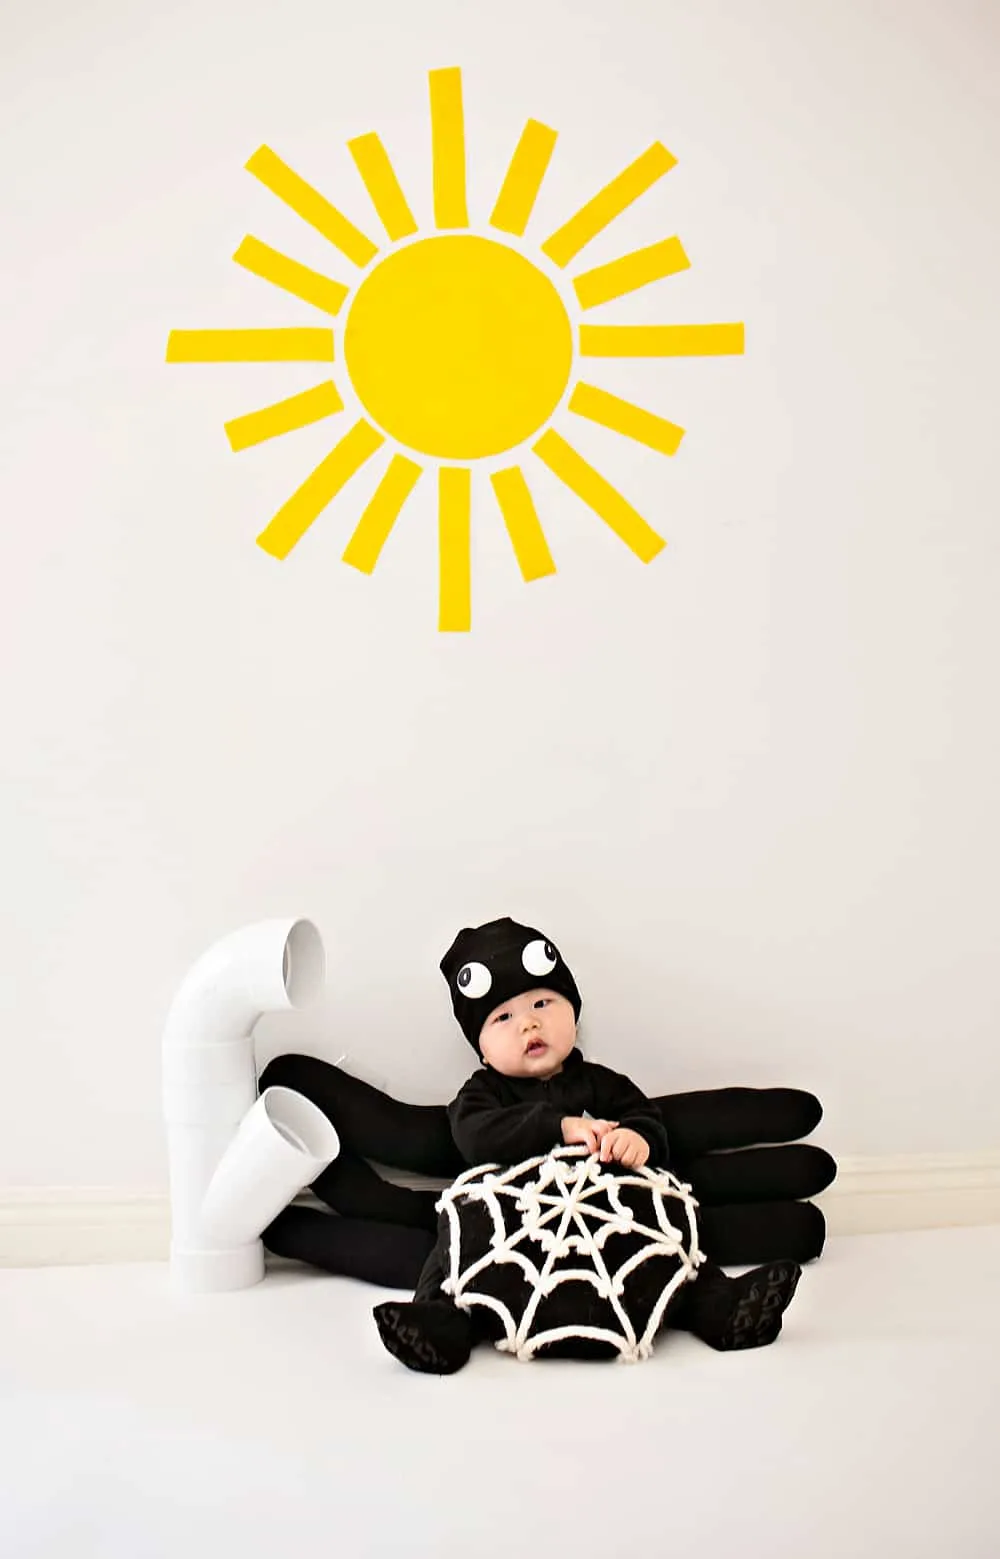
Taking a cue from one of the most beloved classics, we made a DIY Itsy Bitsy Spider Baby Costume, and are beyond thrilled with how it turned out!
This easy, inexpensive DIY makes a darling stand alone costume, but works so well as part of a family costume too!
P.S. Check out all our DIY Halloween Costumes for Kids past and present!
Our baby spider costume is the first of four in a series of nursery rhyme DIY costumes, so watch for our storybook Halloween costume takes on: I’m a Little Teapot, Row Row Row Your Boat & Twinkle, Twinkle Little Star.
DIY ITSY BITSY SPIDER COSTUME – SUPPLIES:
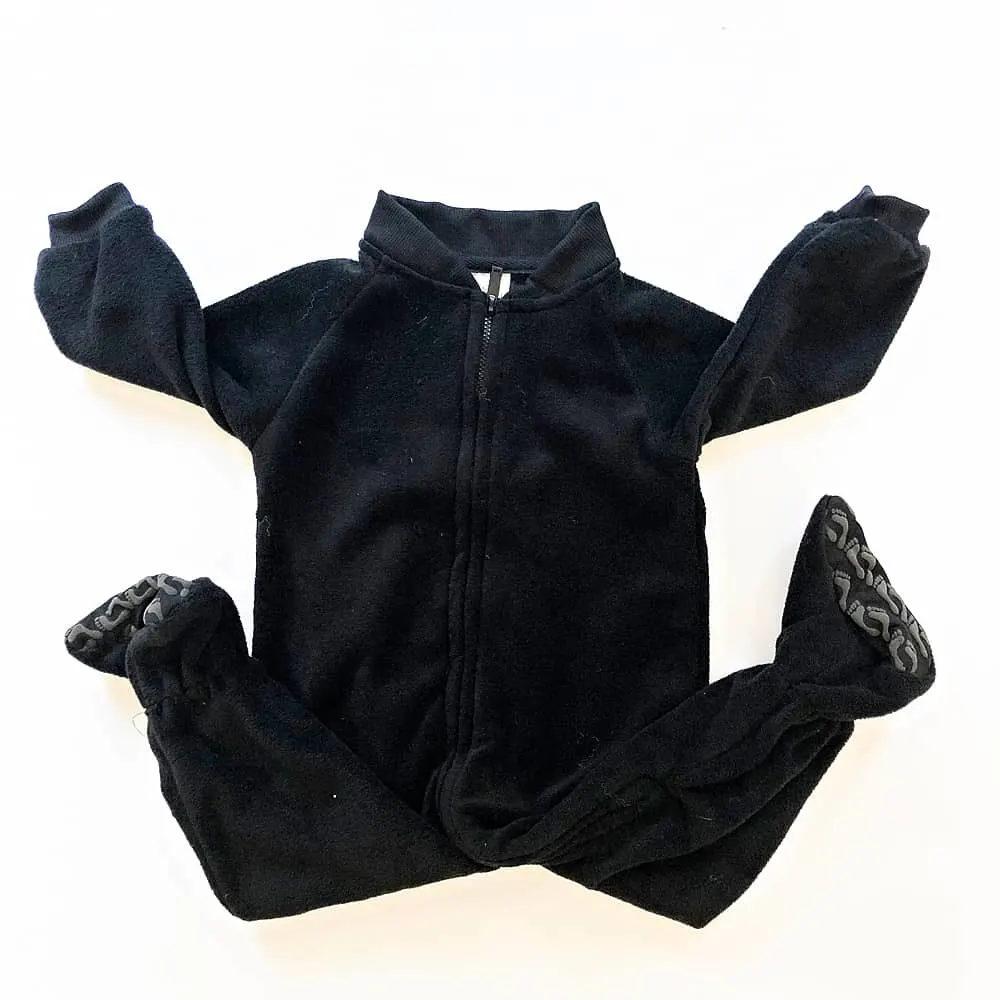
- Black baby onesie with legs
- 3 Pairs of girls black tights
- Polyfill stuffing
- Black felt
- White or cream yarn
- Hot glue gun
- Black thread, needle
- Black beanie
- Two ping pong balls
- Black marker
- Velcro strips
UMBRELLA:
- Clear umbrella
- Blue and white cardstock or construction paper
- String
- Double sided tape
- Clear packing tape
SUN:
WATER SPOUT:
- Two pieces of wide plastic piping (from home improvement store)
- Hot glue gun
INSTRUCTIONS:
Spider Outfit:
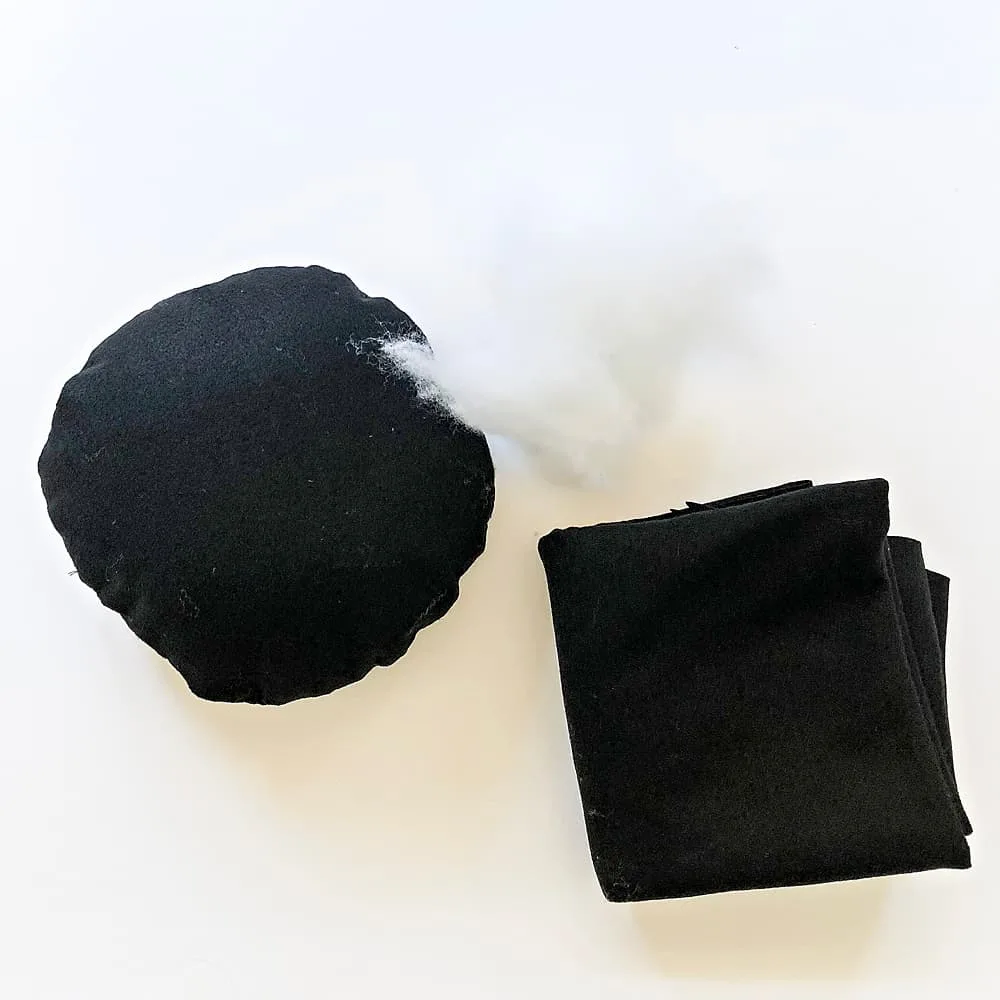
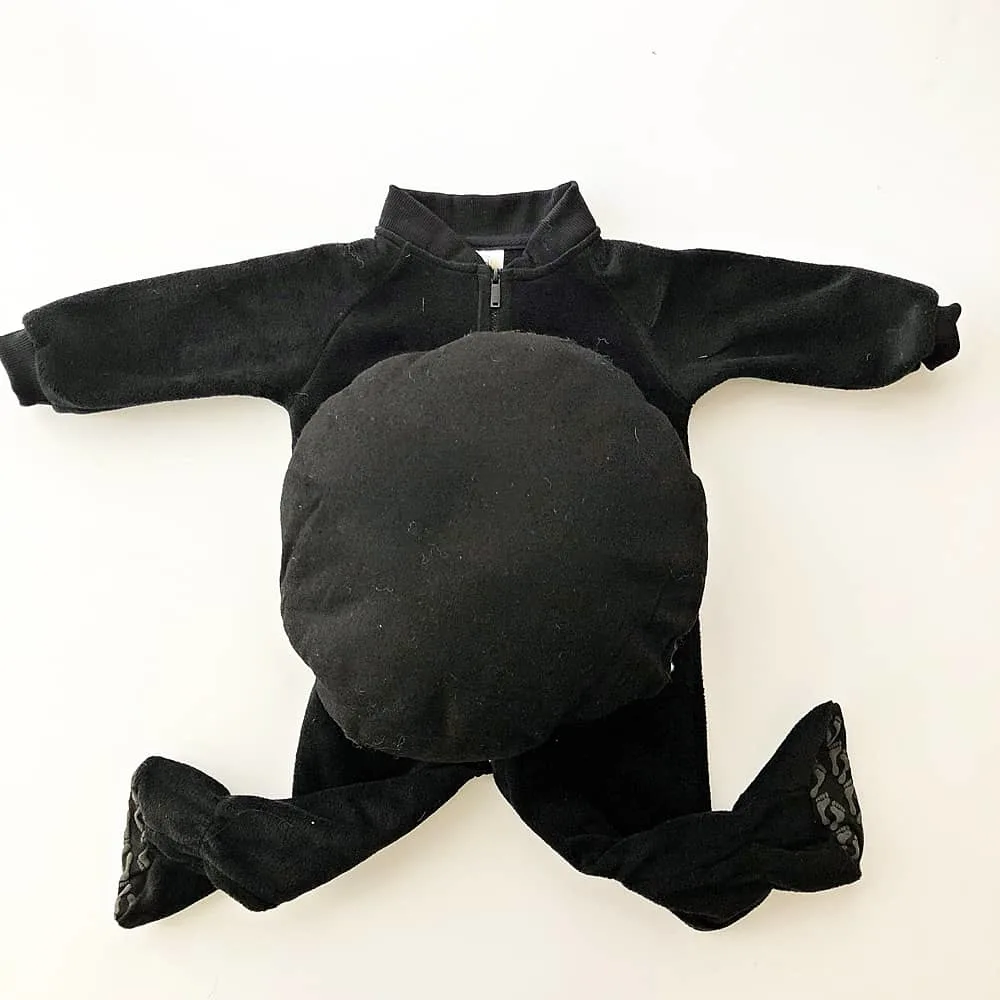
Step 1. Cut two black circles of felt that will fit over your onesie’s center. Hot glue or sew the two circles together with black thread. Leave an opening and stuff with Polyfill. Sew or glue circle shut.
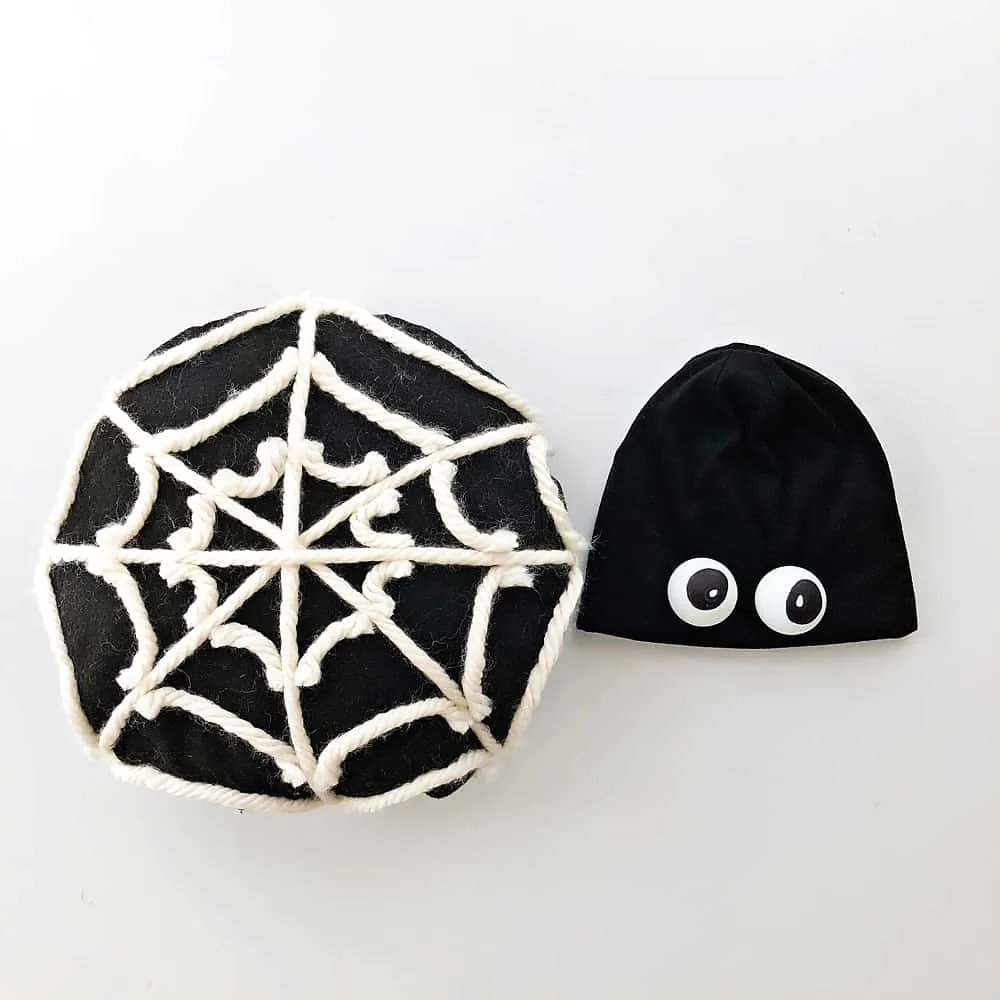
Step 2. Make a web out of yarn to put on top of your black felt circle. We just looked up “spider web” online and looked at images to inspire ours. Cut pieces of your yarn to make the spider web and glue the pieces onto of the black felt circle.
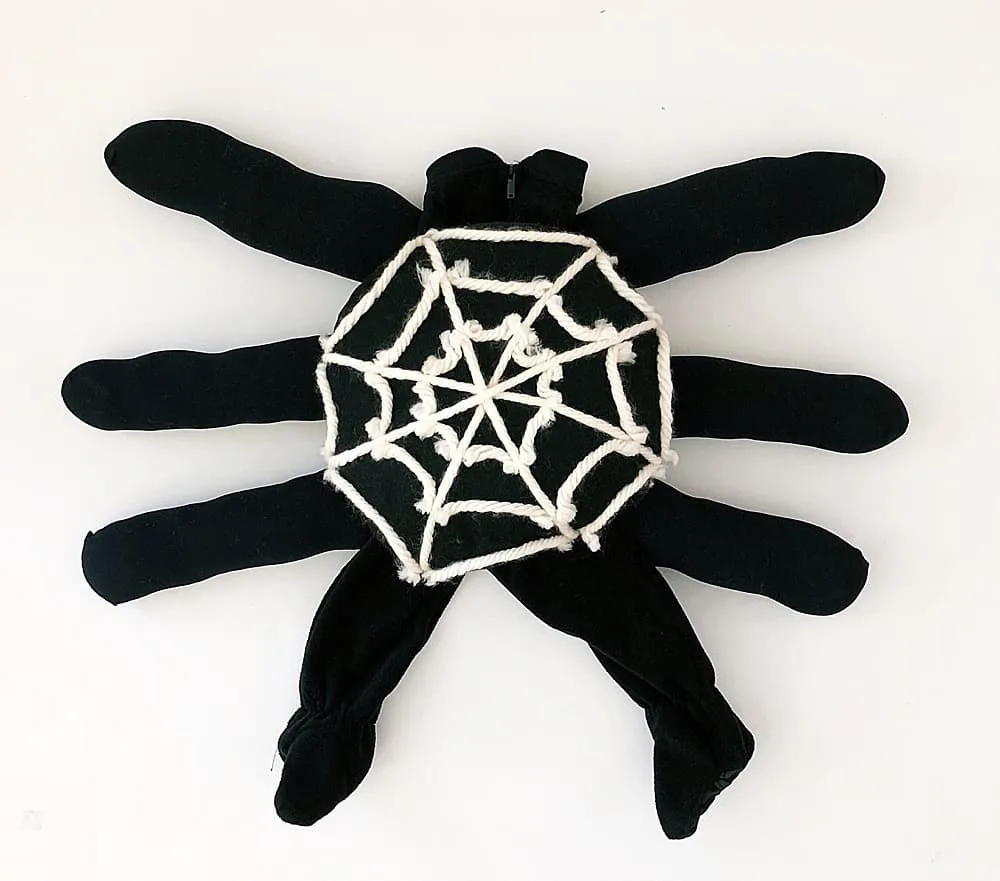
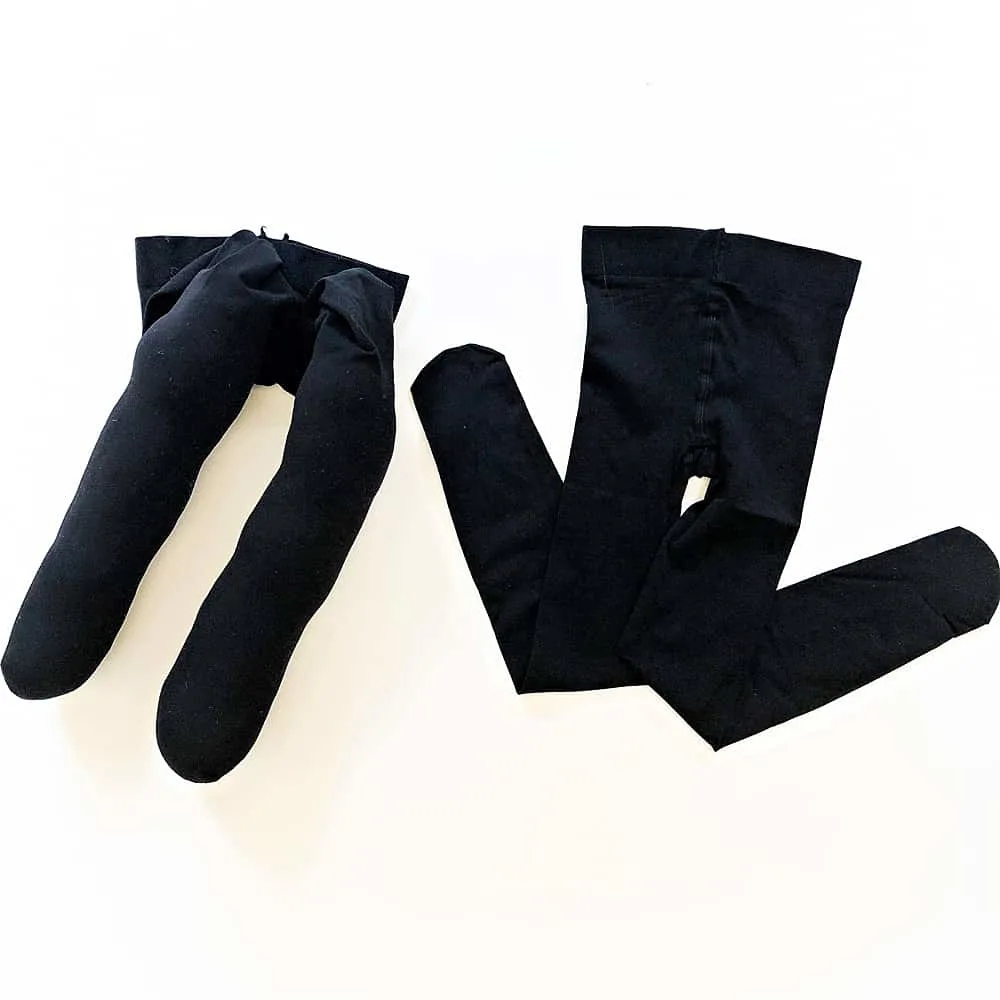
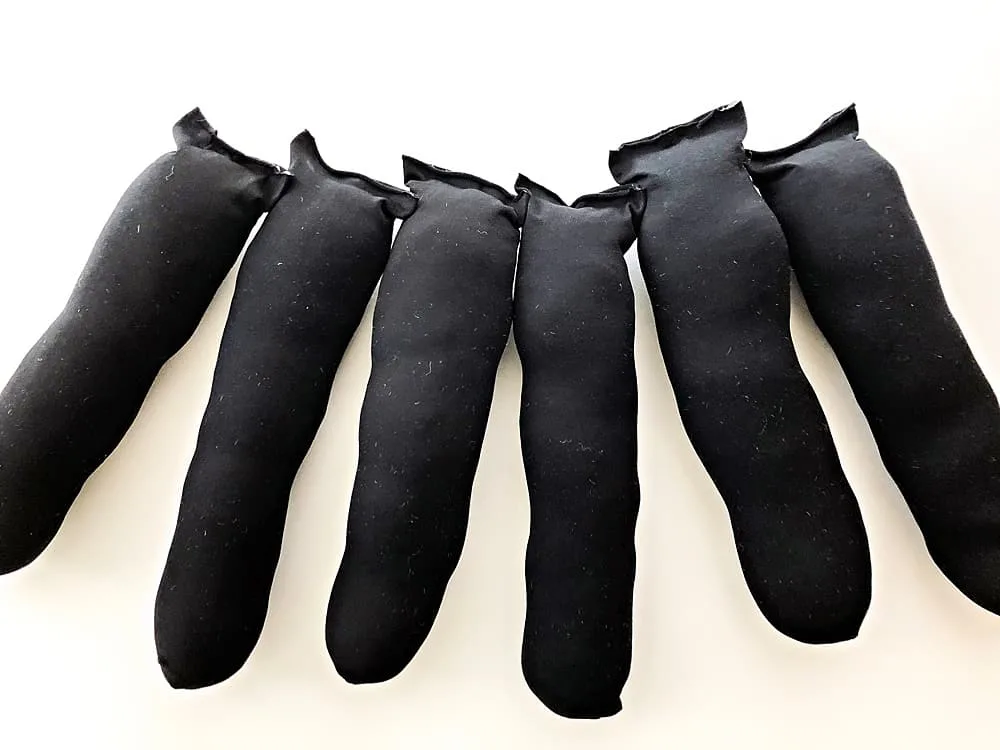
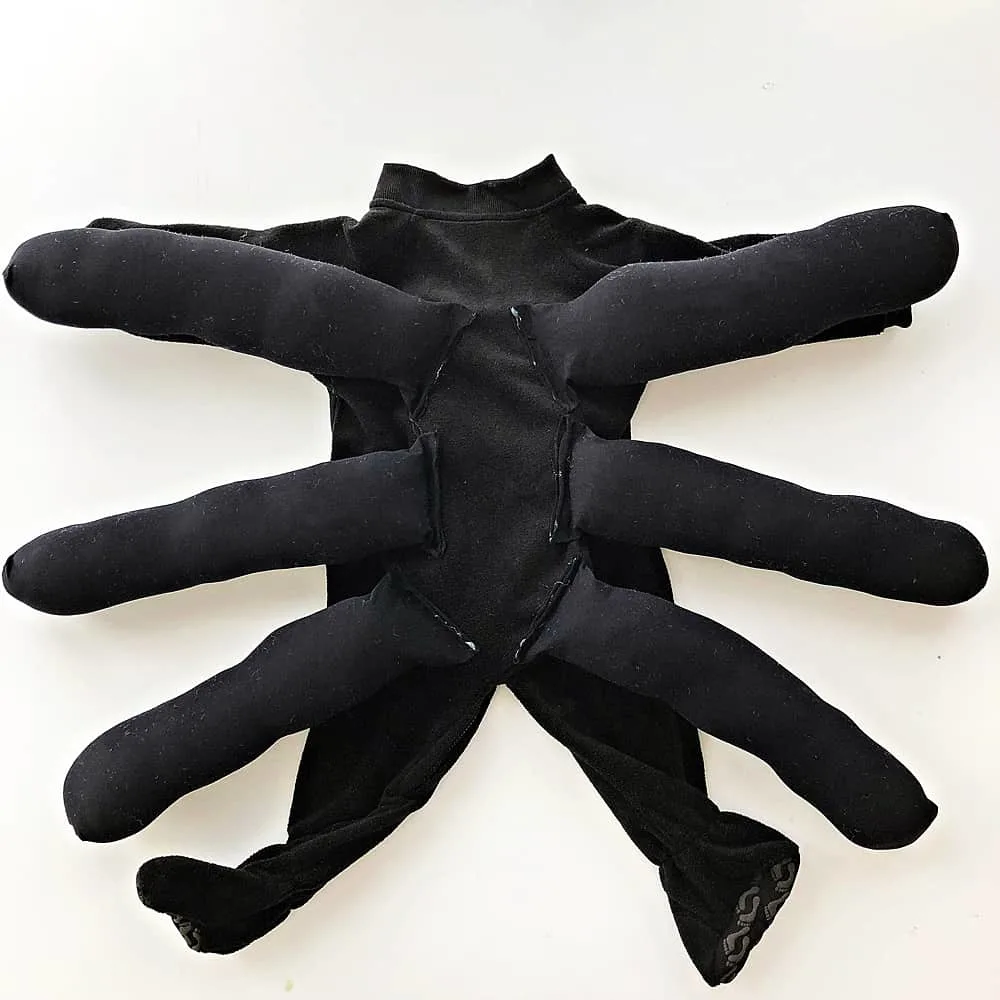
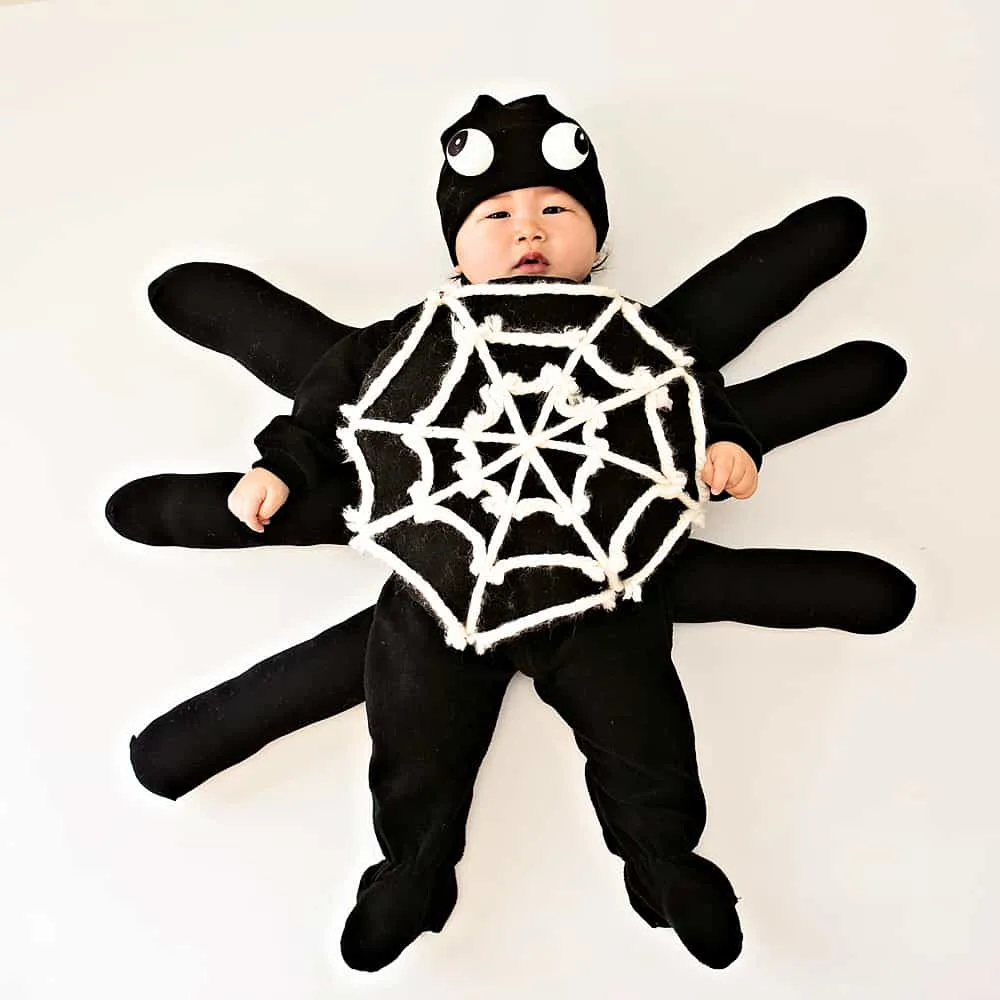
Step 3. Lay out you 3 pairs of girls black tights. Cut off each leg and stuff each leg with polyfill leaving enough fabric to glue down on your black onesie. First glue the fabric shut for each leg then glue the legs to the back of the onesie (photo below). You can also sew this step instead of glue. Do what is easiest for you and your skill level!
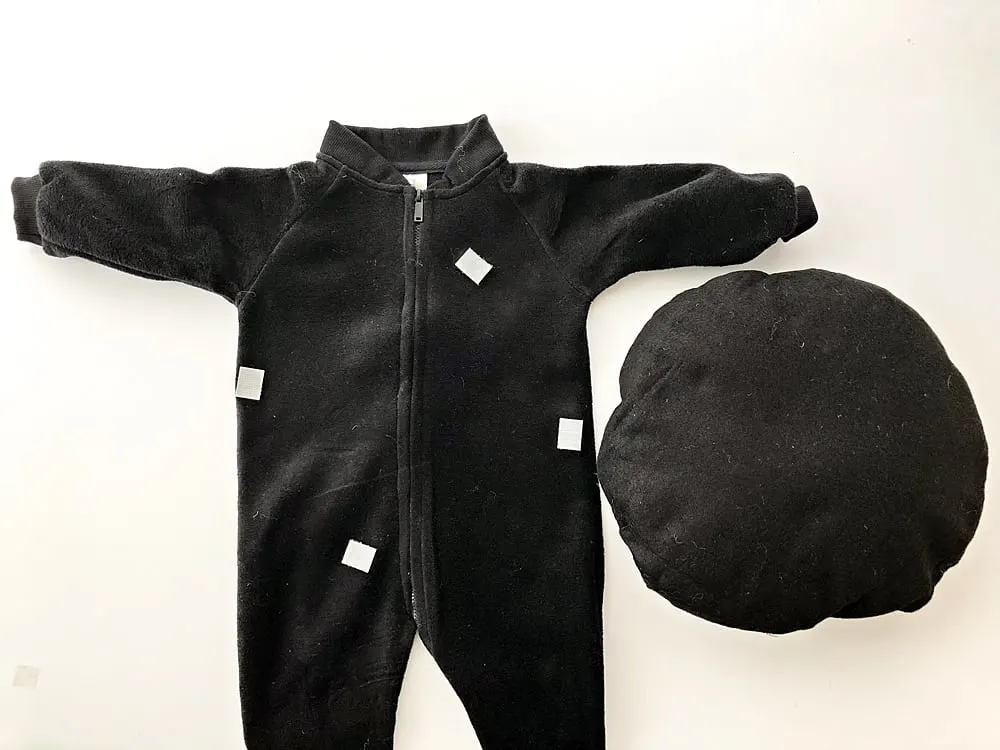
Step 4. Add velcro backing to the front of your onesie (keeping zipper intact) and the corresponding velcro tops to the black felt circle. Make sure they align.
Step 5. Almost done! Now just add black eyes to your white ping pong balls and glue to your beanie.
Step 6. Assemble your DIY Baby Spider Costume. Add your baby inside the onesie, add the black felt circle over the velcro. Put on the black beanie. Cuddle with your irresistible arachnid!
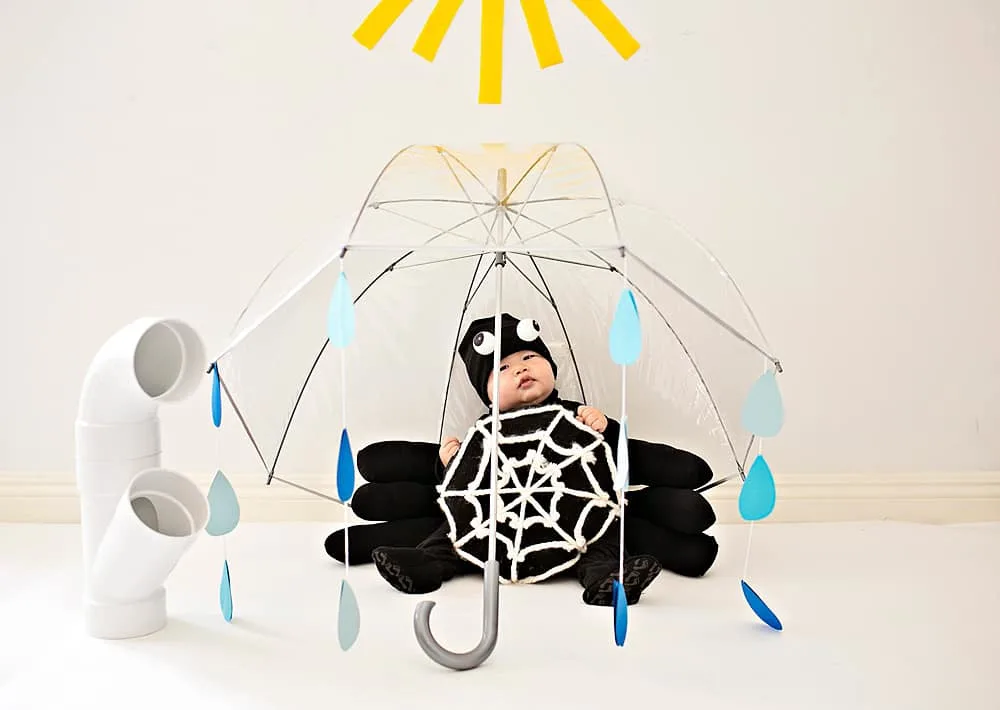
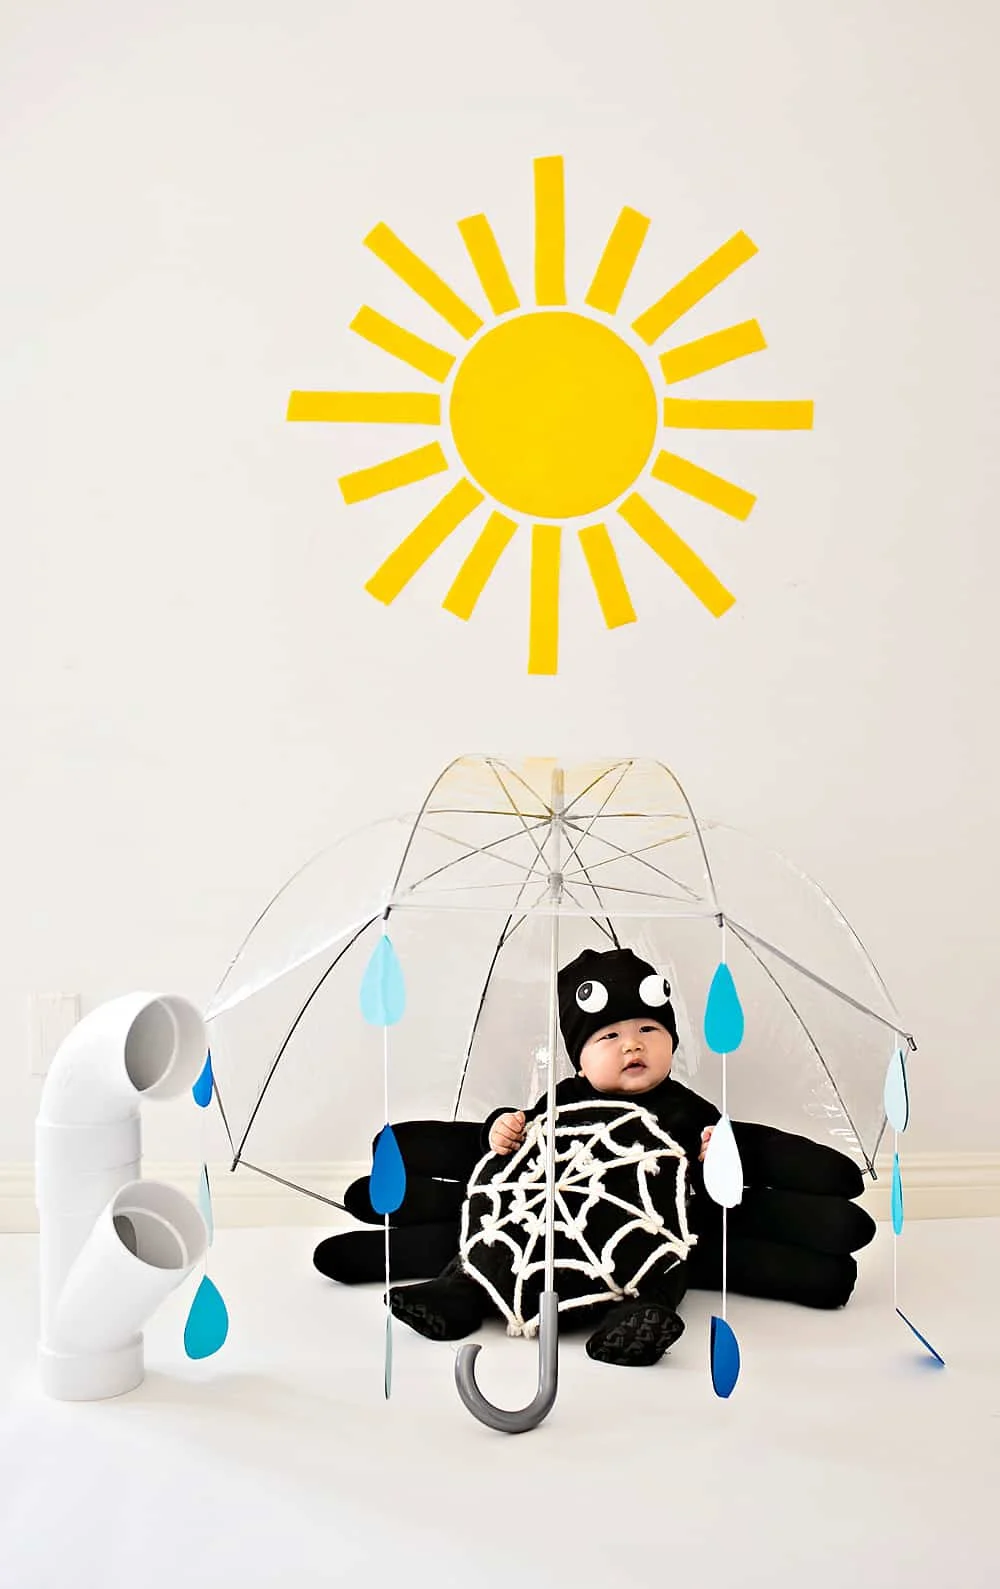
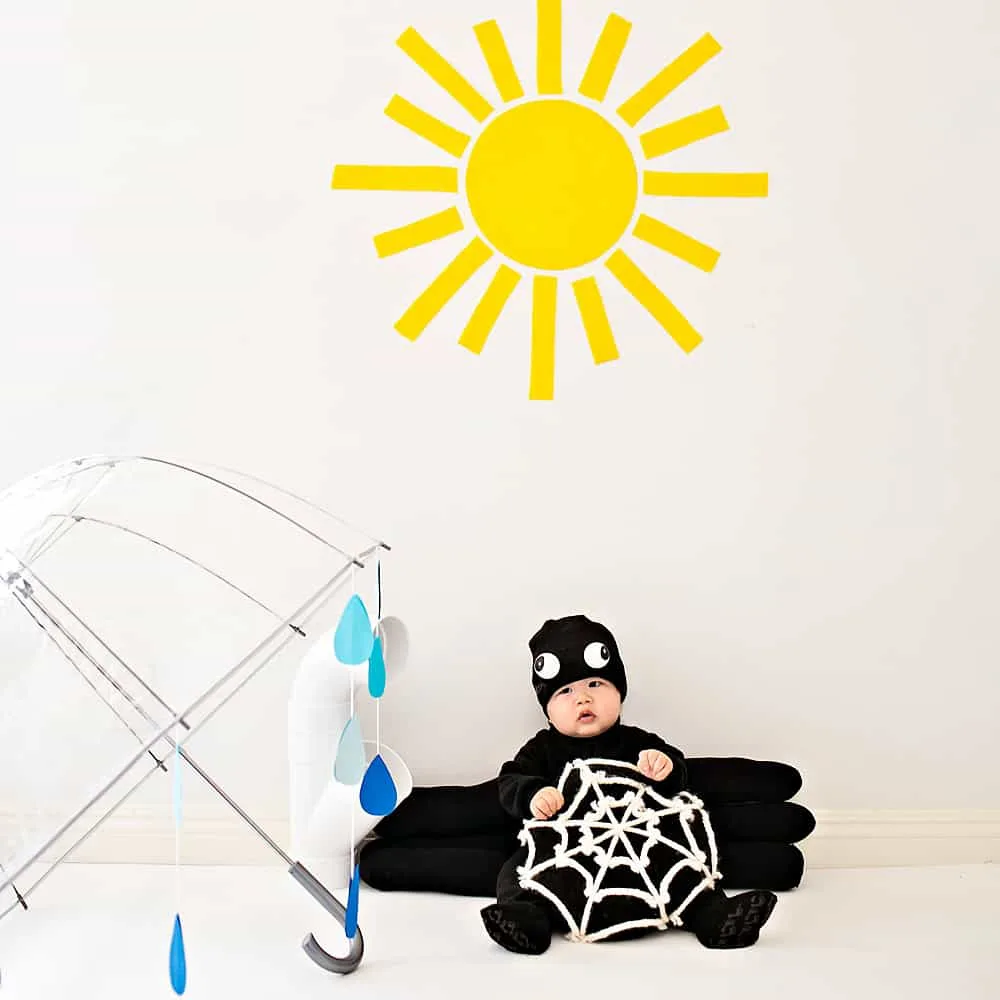
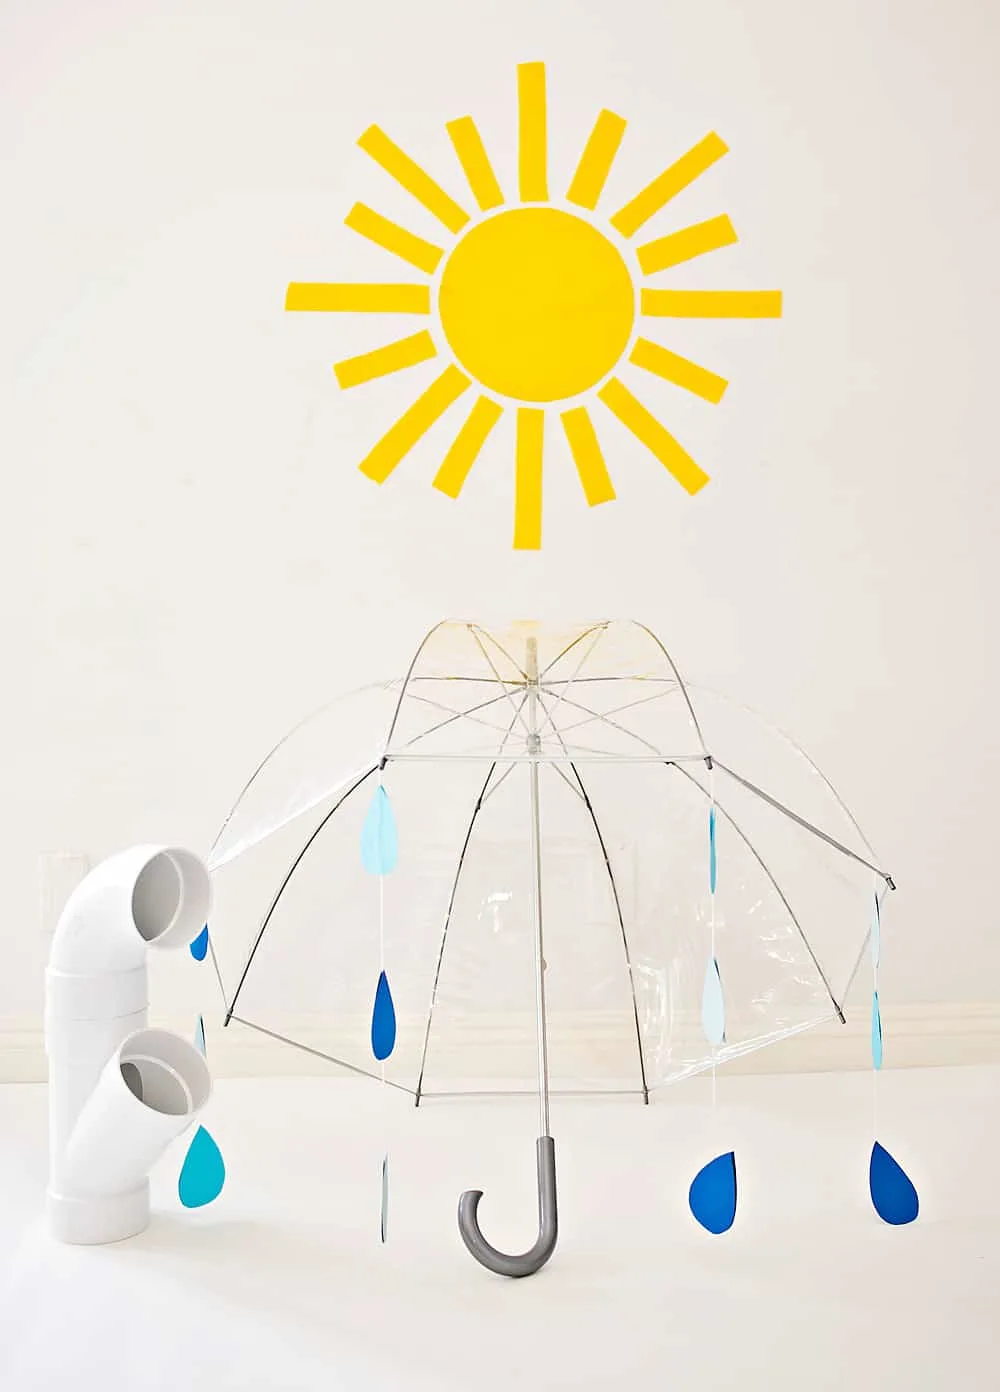
If you want to create the umbrella, spout and sun (let’s say for a baby photo shoot) here are the instructions:
Umbrella:
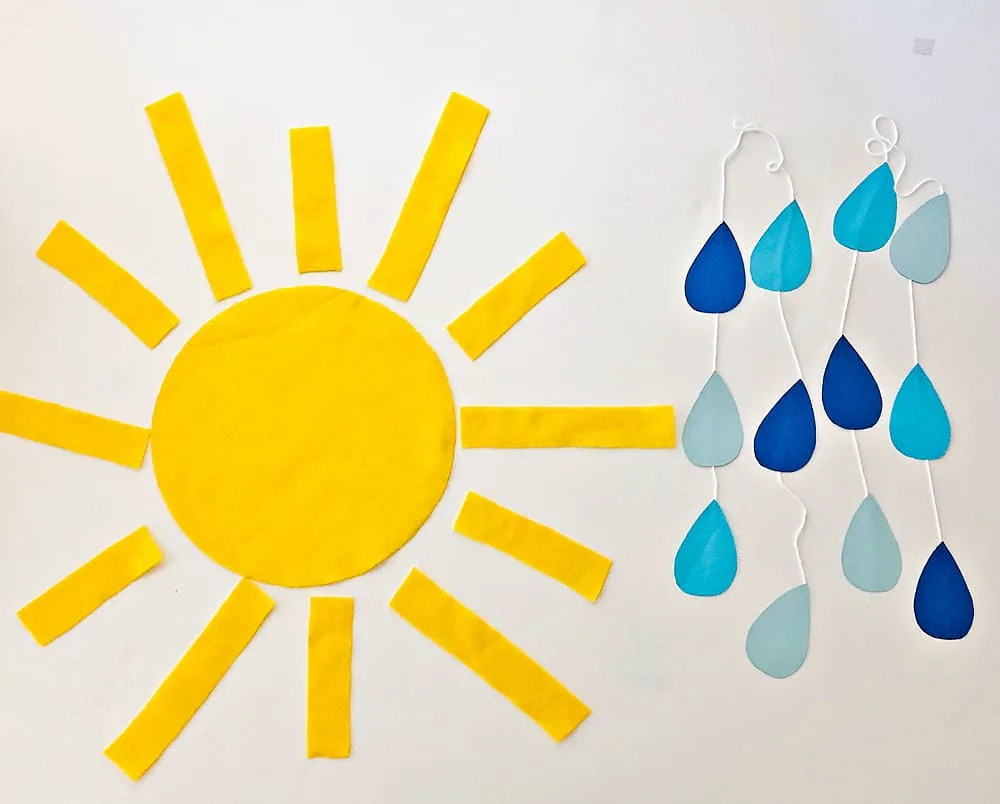
Step 1. Draw a raindrop shape on cardstock, cut that out and use that as a template to make more on blue cardstock. We used white and two types of blue paper.
Step 2. Cut out string, tape or glue two raindrop shapes to the string (so the string is invisible). Tape your dangling string of raindrop to the umbrella edges with clear packing tape.
Sun:
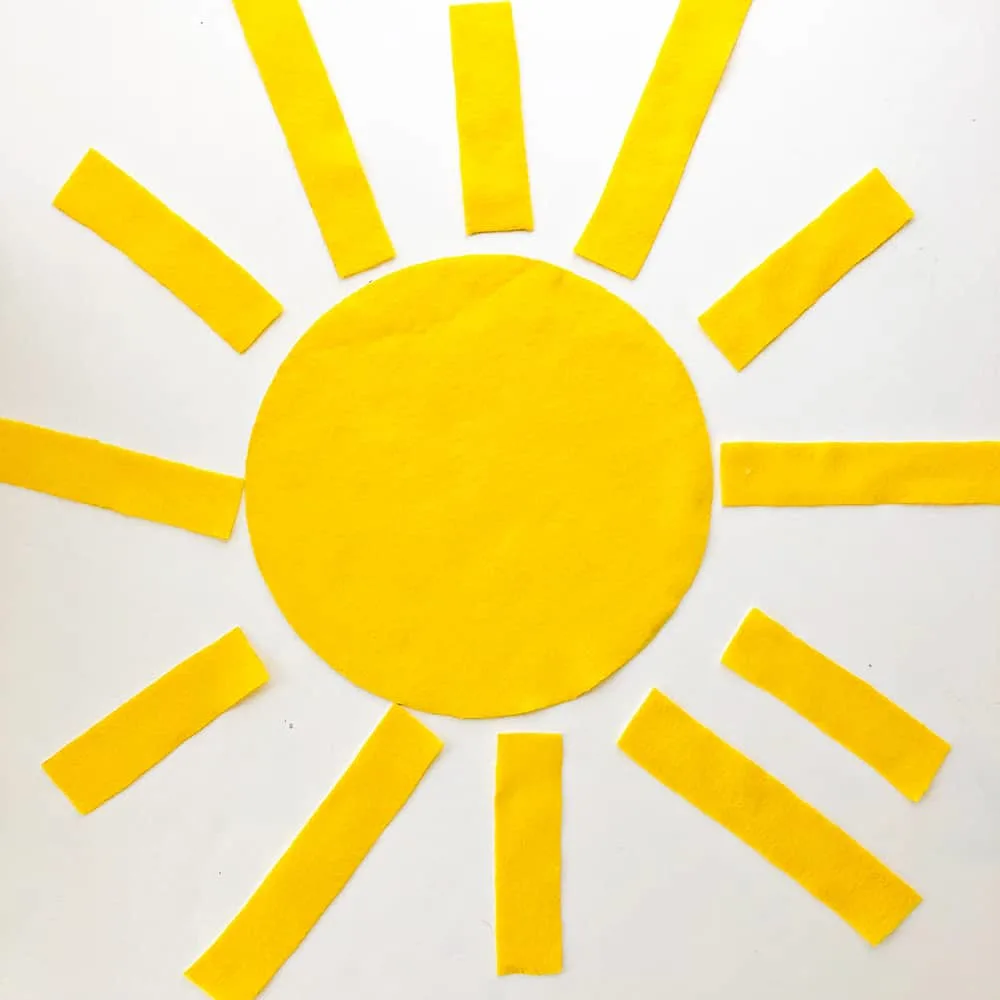
Step 1. Draw a felt yellow circle, cut out.
Step 2. Draw a skinny long rectangle and a shorter one. Cut as many out as you want rays. Alternate long and short rays on the sun. We just used double stick tape to tape ours on the wall.
Water Spout:
Step 1. Hot glue your two pieces of plastic water pipe together to make one longer pipe.

Baby costumes are the sweetest, aren’t they? I love running across new inspiration for quick and easy DIY costumes, but there are some amazing (and inexpensive) handmade options for those running short on time, too!
If you like our baby spider costume, make sure to check out more adorable DIY Halloween Costumes for Kids.
Disclosure: Some of the links in the post above are “affiliate links.” This means if you click on the link and purchase the item, we will receive a small affiliate commission. Regardless, we give our promise that we only recommend products or services we would use personally and believe will add values to our readers.

