Wach the video above to see how easy it is to make these colorful Happy Cactus Paper Plants and make sure to subscribe to our YouTube channel for more fun videos!
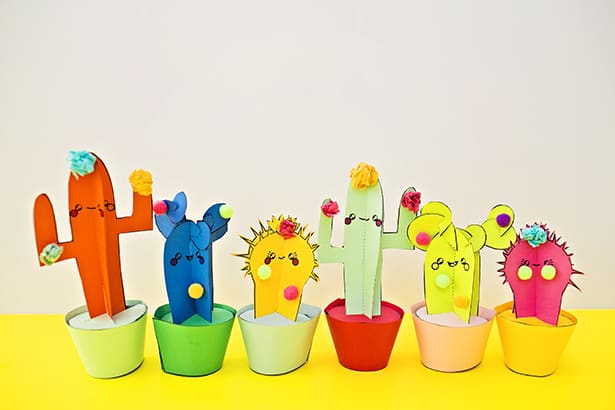
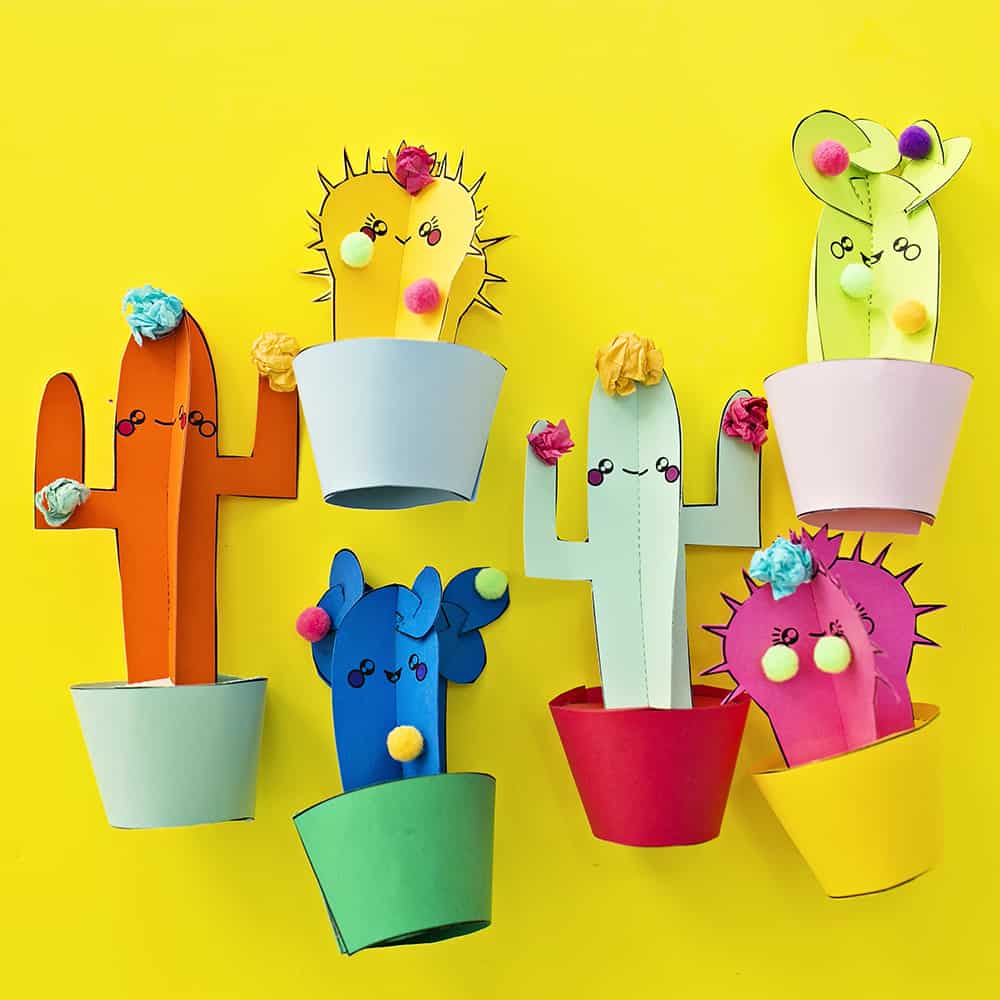
This video printable series is in collaboration with the awesome The Art Dream. Check out the video above and tutorial below to make these cute paper cactus plants and get the free printable templates to make your own over at The Art Dream!
Make sure to see more in the series, Pooping Unicorn Sprinkles, Swimming Mermaids, How to Make 3D Flower Bouquets and Flower Pop-Up Cards!
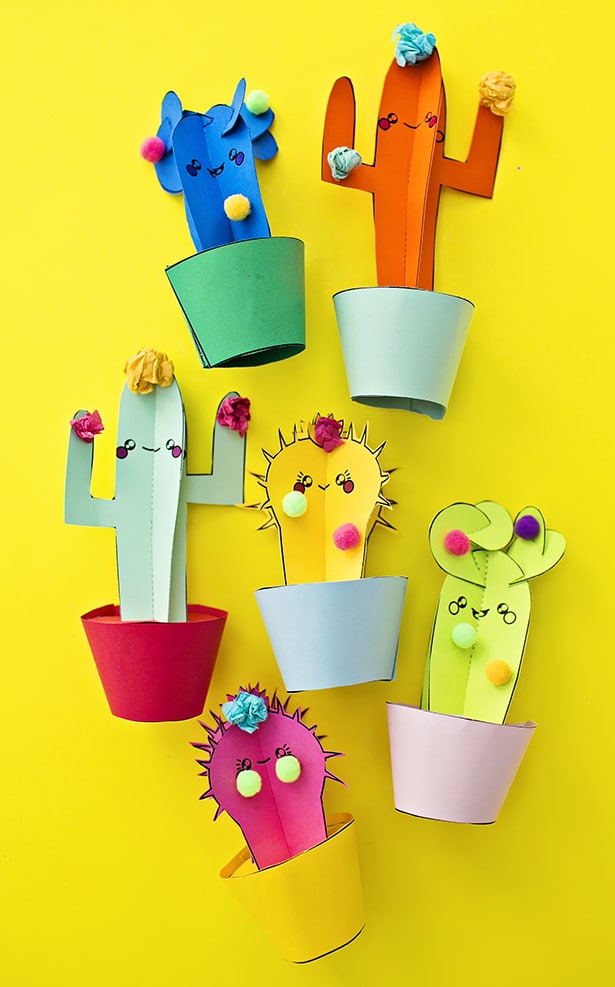
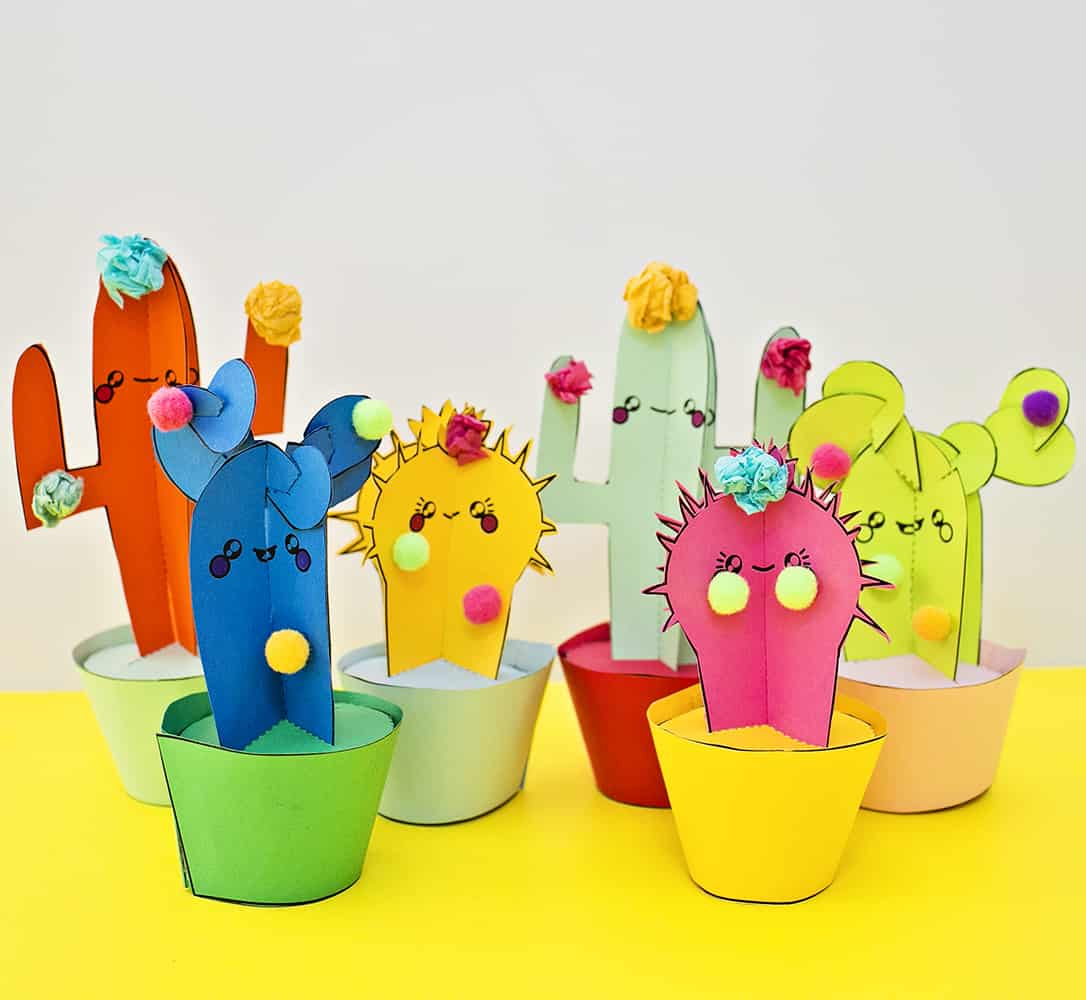
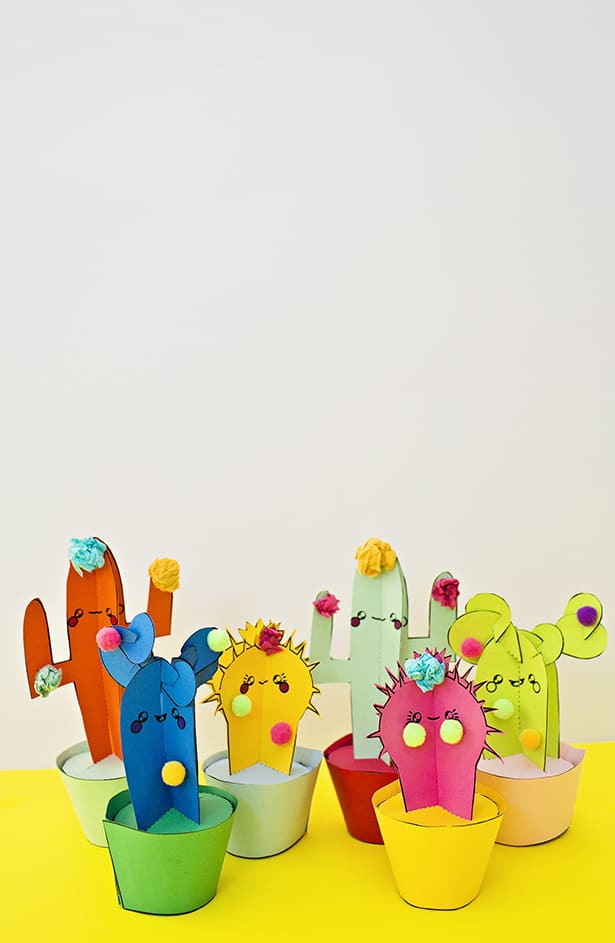
Succulents and cactus crafts are totally in season and have been popping up everywhere so we decided to put a fun twist on these spikey plants. Make these colorful cactus plants and get the kids decorating them in their own crafty way! There’s no right or wrong way to make these – print on colorful cardstock and go crazy with pom pom or tissue paper flowers. You can use whatever you have in your craft drawer. That’s what makes these happy cactus plants stand out.
Once you’re done, display them in the kids’ room, or (in our case) coffee table where they make a cheerful addition to the living room and remind us of summer fun to come.
Or why not hand these out as gifts to family members, teachers, birthdays or housewarming presents? The best houseplants are ones that require zero maintenance.
.jpg)
DIY Happy Cactus Paper Plants – Materials:
– Colored cardstock
– Scissors
– Glue (we like this paper glue)
– Crafty items like mini pom poms, scraps of tissue paper
– Free Printable Cactus Plants and Pots (option of pre-printed designs also available)
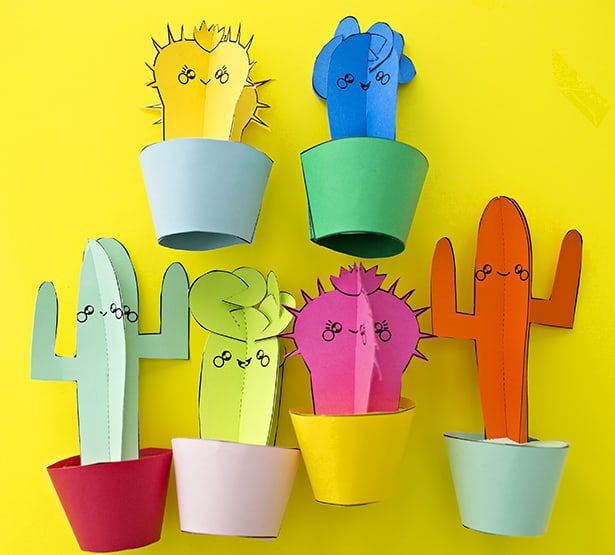
Instructions: (watch the video above for details on how to make or follow below).
Step 1. Print out the free printable templates in colored cardstock. Alternatively you can print out on white paper and color your own.
Step 2. Cut around each cactus shape and follow the dotted lines to cut, that’s where you will line up the shapes to create a 3 dimensional cactus.
Step 3. Cut out the pot (there are two pieces, the wrap-around and inside circle). Cut the dotted X on the circle. Then fold down the flaps around the circle, add dabs of glue on the flaps and wrap around the other part of the pot. This step is best shown by watching the video above. Allow your pot to dry completely.
Step 4. Insert your cactus plants inside the cut-out X of your pot.
Step 5. Add crafty decorations like mini pom poms or scrunched up tissue paper scraps for flowers. Use markers to deocrate the cheeks or body. This is the fun part that kids especially love! Invite them to use their imagination.
How are you celebrating summer this year? Check out more fun cactus crafts!
__________________________________________________________________________________________
Disclosure: Some of the links in the post above are “affiliate links.” This means if you click on the link and purchase the item, we will receive a small affiliate commission. Regardless, we give our promise that we only recommend products or services we would use personally and believe will add values to our readers.
Agnes Hsu is a mom of three and has been inspiring parents and kids to get creative with easy activities and family friendly recipes for over 10 years. She shares her love for creative play and kids food to her 2MM+ followers online. Agnes' commitment to playful learning and kindness has not only raised funds for charity but also earned features in prestigious nationwide publications.

