Follow us on Instagram for more fun ideas for kids!
By using this site, you agree to our Terms of Use. This post may contain affiliate links. Read our disclosure policy. As an Amazon Influencer, I earn from qualifying purchases.
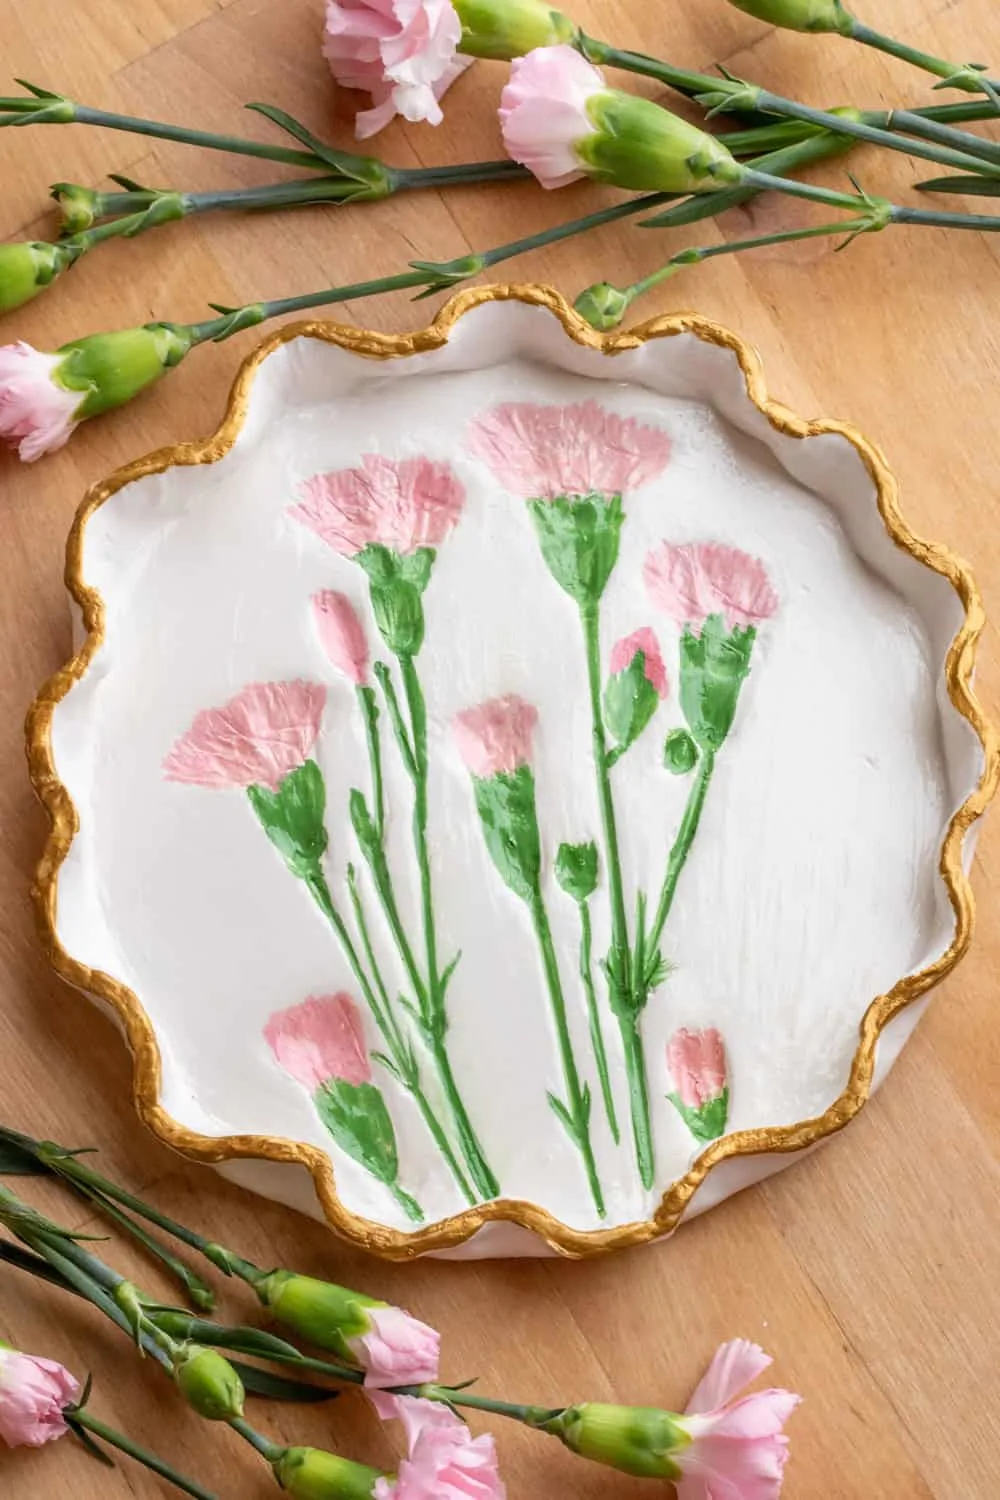
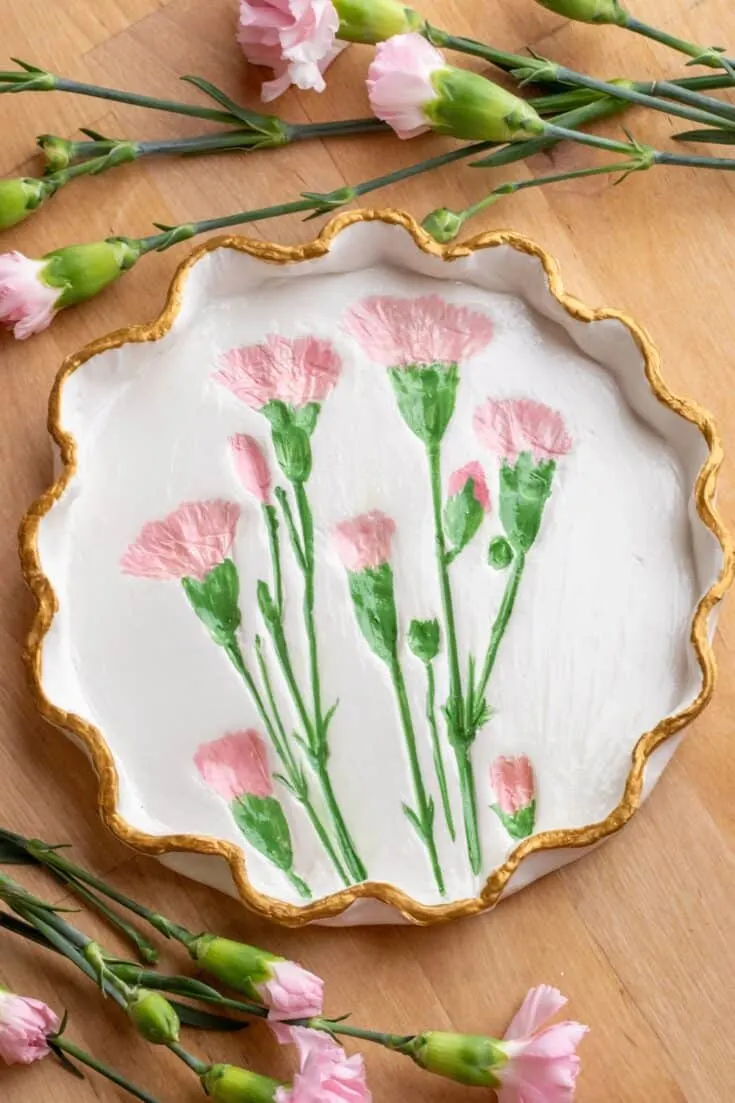
Using air-dry clay, paints, and your favorite flowers or leaves, you can create a beautiful nature clay dish that resembles an expensive ceramic piece at a fraction of the price.
Are you ready to bring a little piece of nature into your home? With just a few simple materials and some creativity, you can create your very own DIY Clay Nature Dish! This gorgeous craft combines the beauty of the outdoors with the joy of crafting.
This DIY clay dish is also a fantastic art project for kids; they will love shaping, molding, and painting the clay! Unlike kiln-fired ceramics, this pottery project is easy to make with simple inexpensive materials and requires no complicated items.
Credit for the inspiration goes to @vuvu_ceramics on Instagram.
Nature Air Dry Clay Dish – Materials
Rolling Pin
Flowers and Leaves
Small Plate (for shaping)
How to make a clay nature dish using air dry clay
Step 1: Roll Out Your Clay
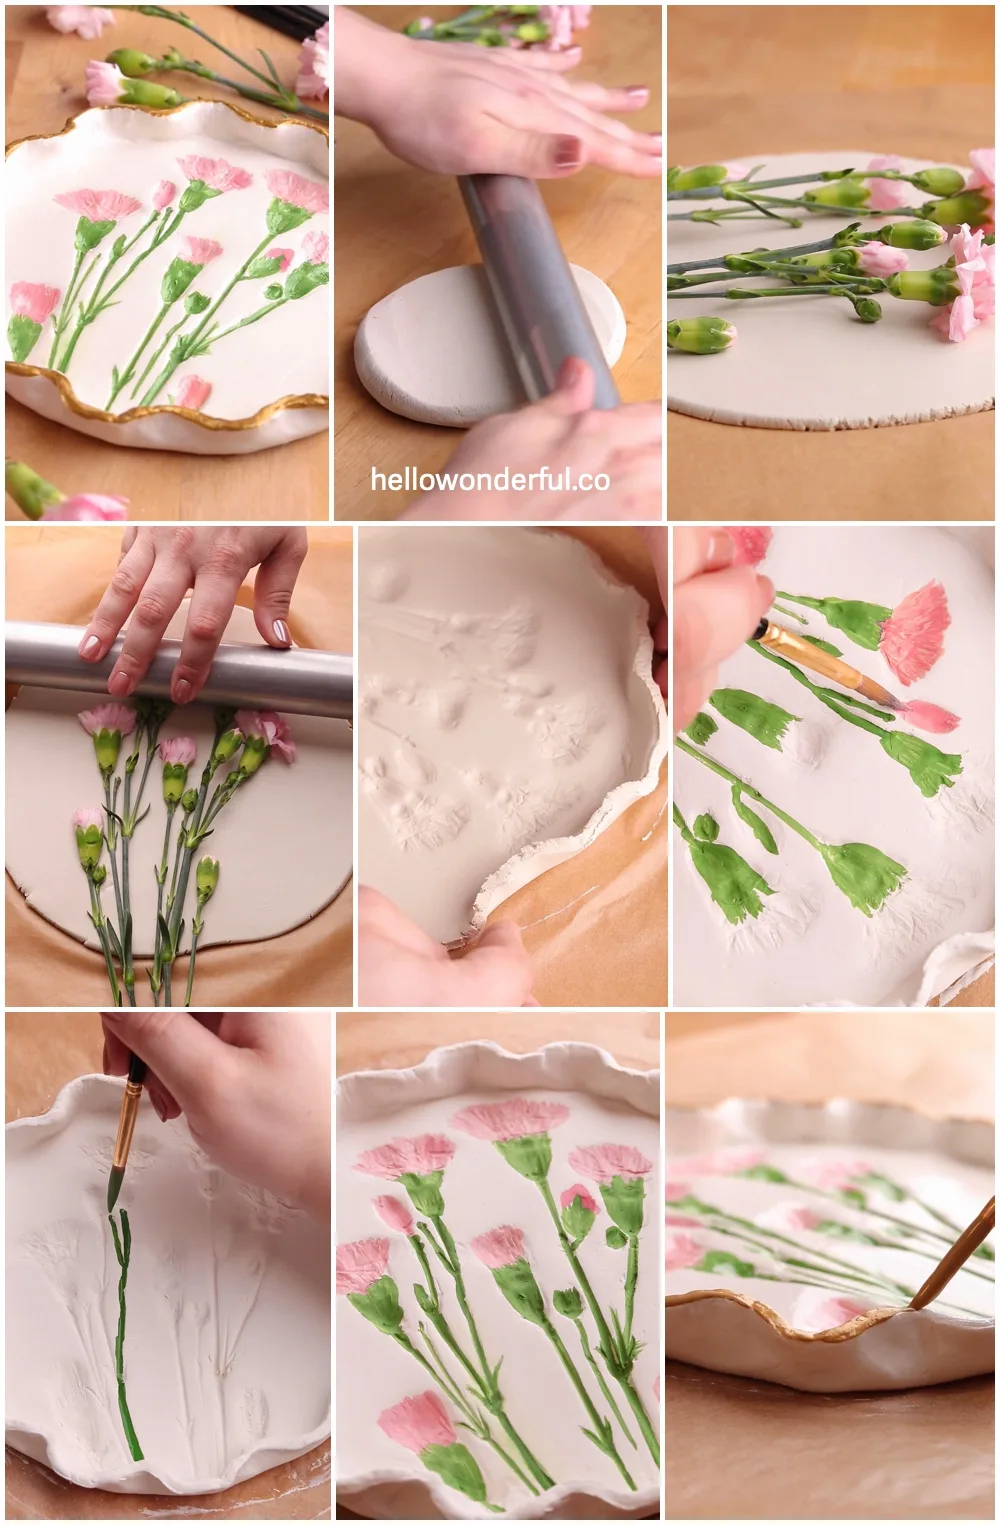
Roll out your air dry clay to about 1/4 inch thickness in a circle shape. You can use a rolling pin to help you achieve an even thickness.
Step 2: Arrange Your Flowers
Carefully select and arrange your flowers and leaves on top of the clay. Get creative with your designs! You can make a pattern or place them randomly – it’s up to you!
Step 3: Press Them In
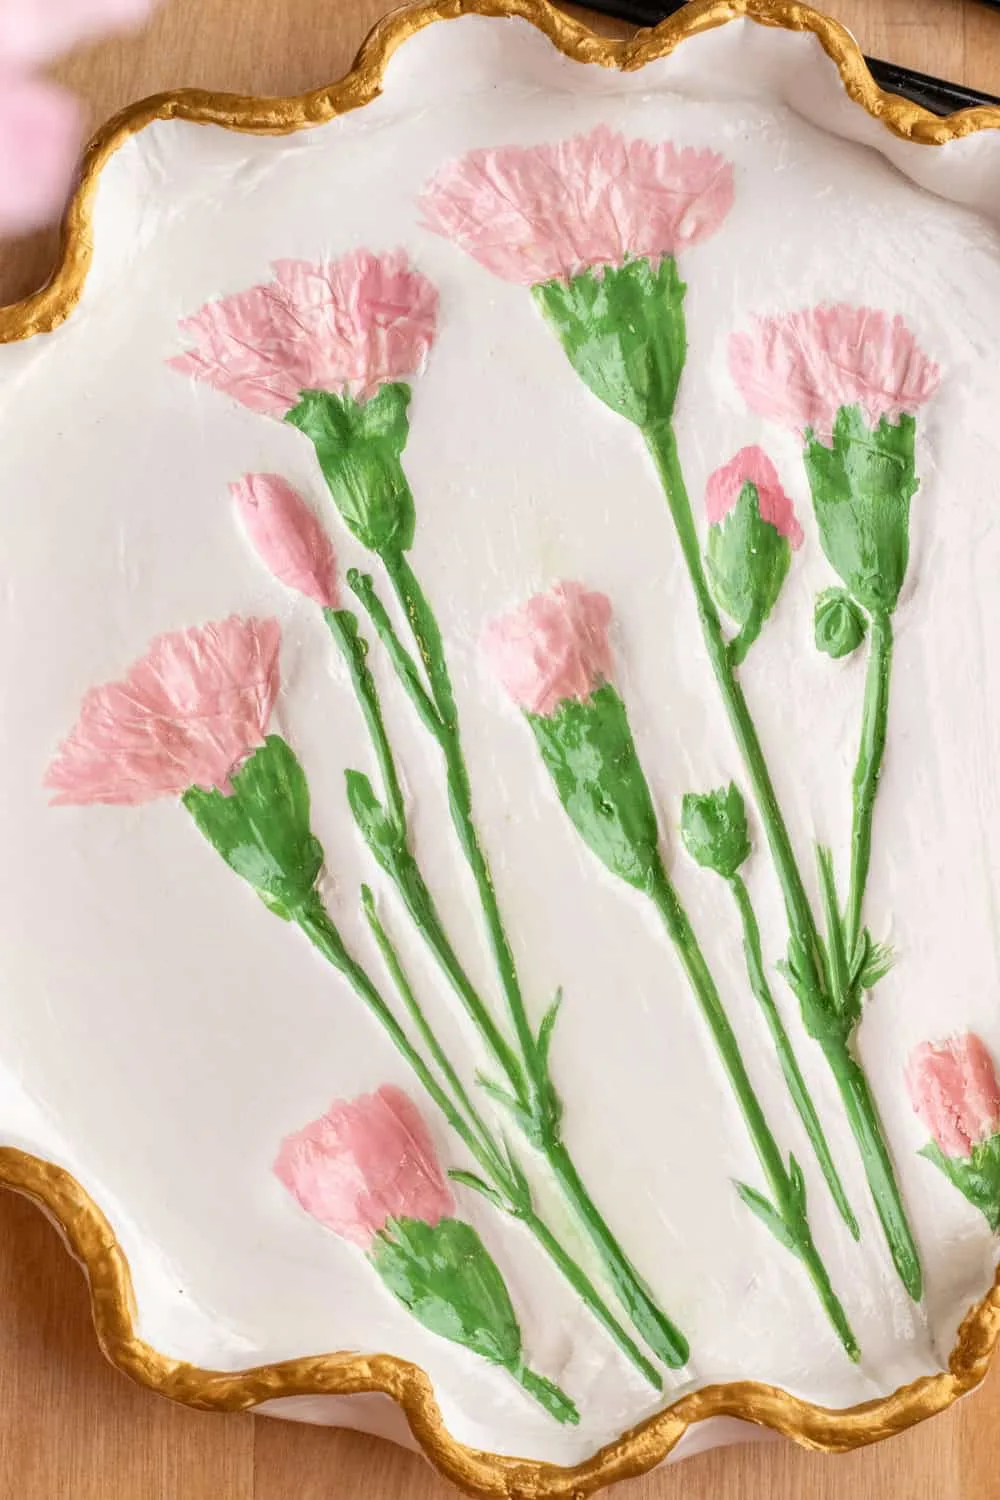
Once you’re happy with your arrangement, gently press the flowers into the clay using your rolling pin. Apply even pressure to ensure that the imprints come out clearly.
Step 4: Reveal the Imprints
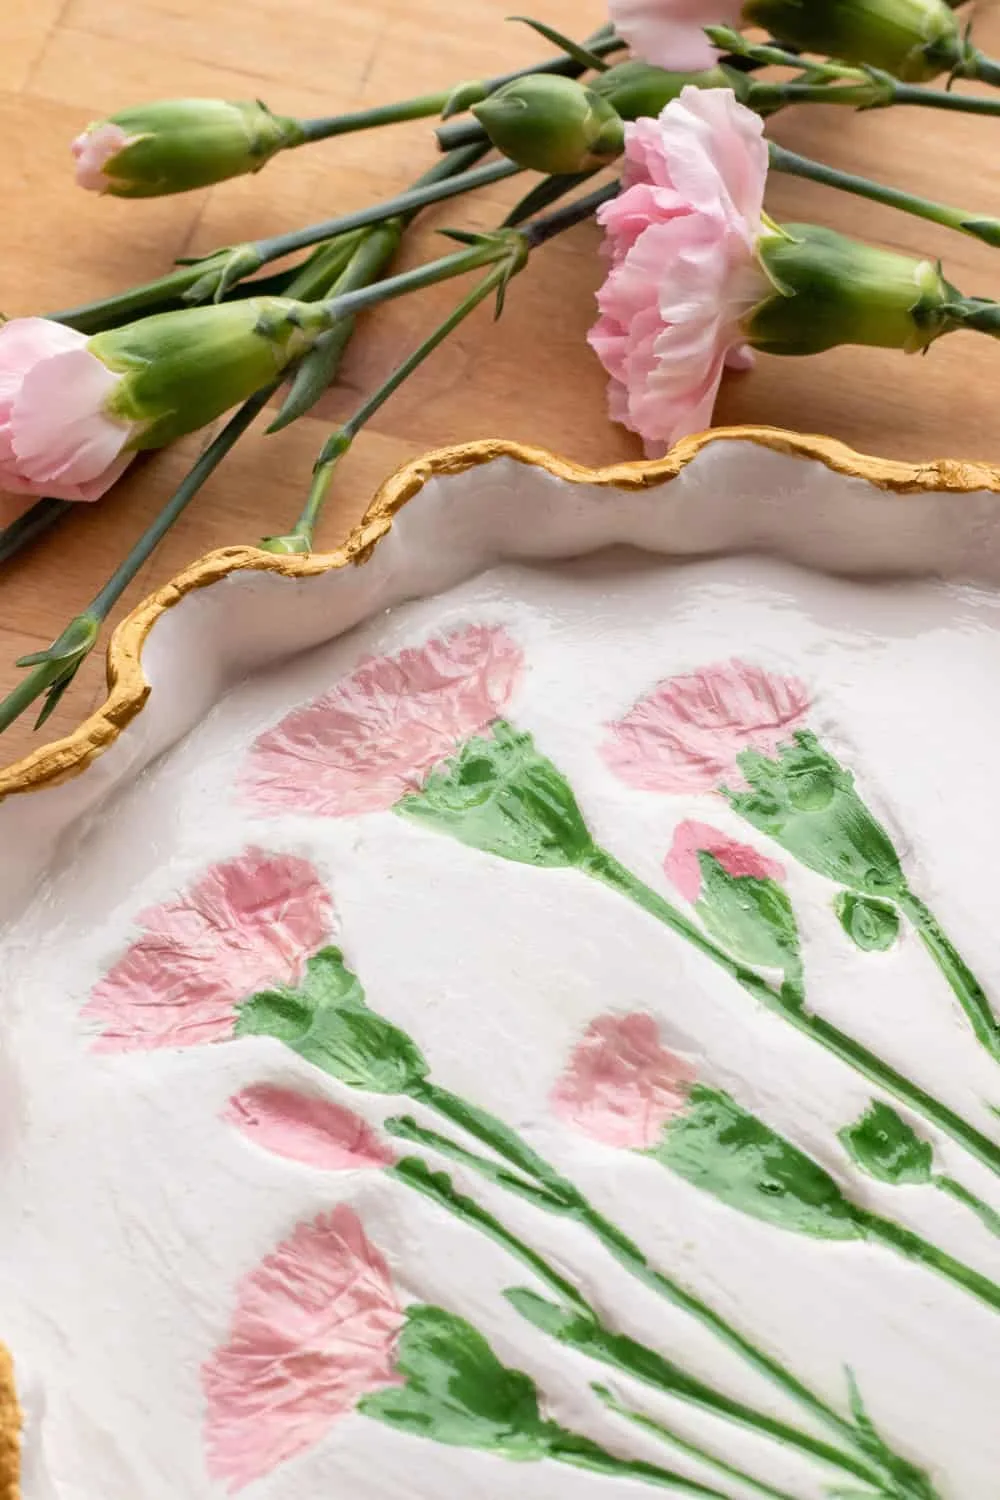
Carefully lift the flowers and leaves out of the clay to reveal the beautiful imprints they’ve left behind. This part is always so exciting
Step 5: Shape Your Dish
Using a small plate as a guide, carefully cut the clay into a circle shape. Then, fold up the edges on all sides to create the dish shape. You can use a damp sponge or cloth to help smooth out any rough edges.
Step 6: Let It Dry
Allow your clay dish to air dry completely. This may take a day or two depending on the thickness of your clay and the humidity of your home.
Step 7: Paint Your Imprints
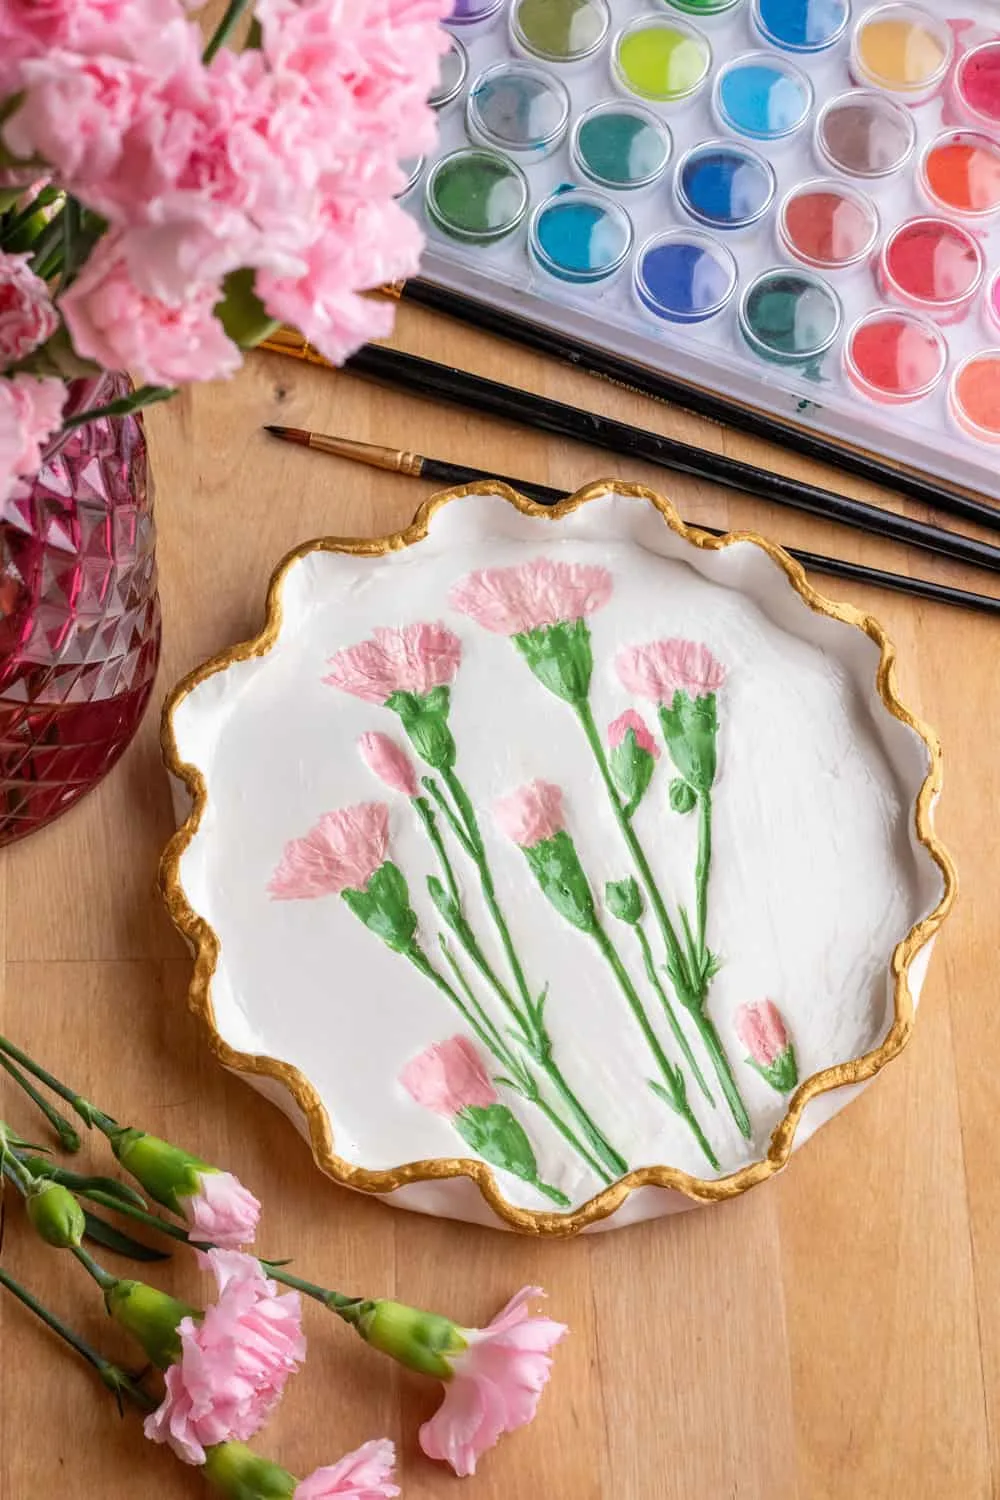
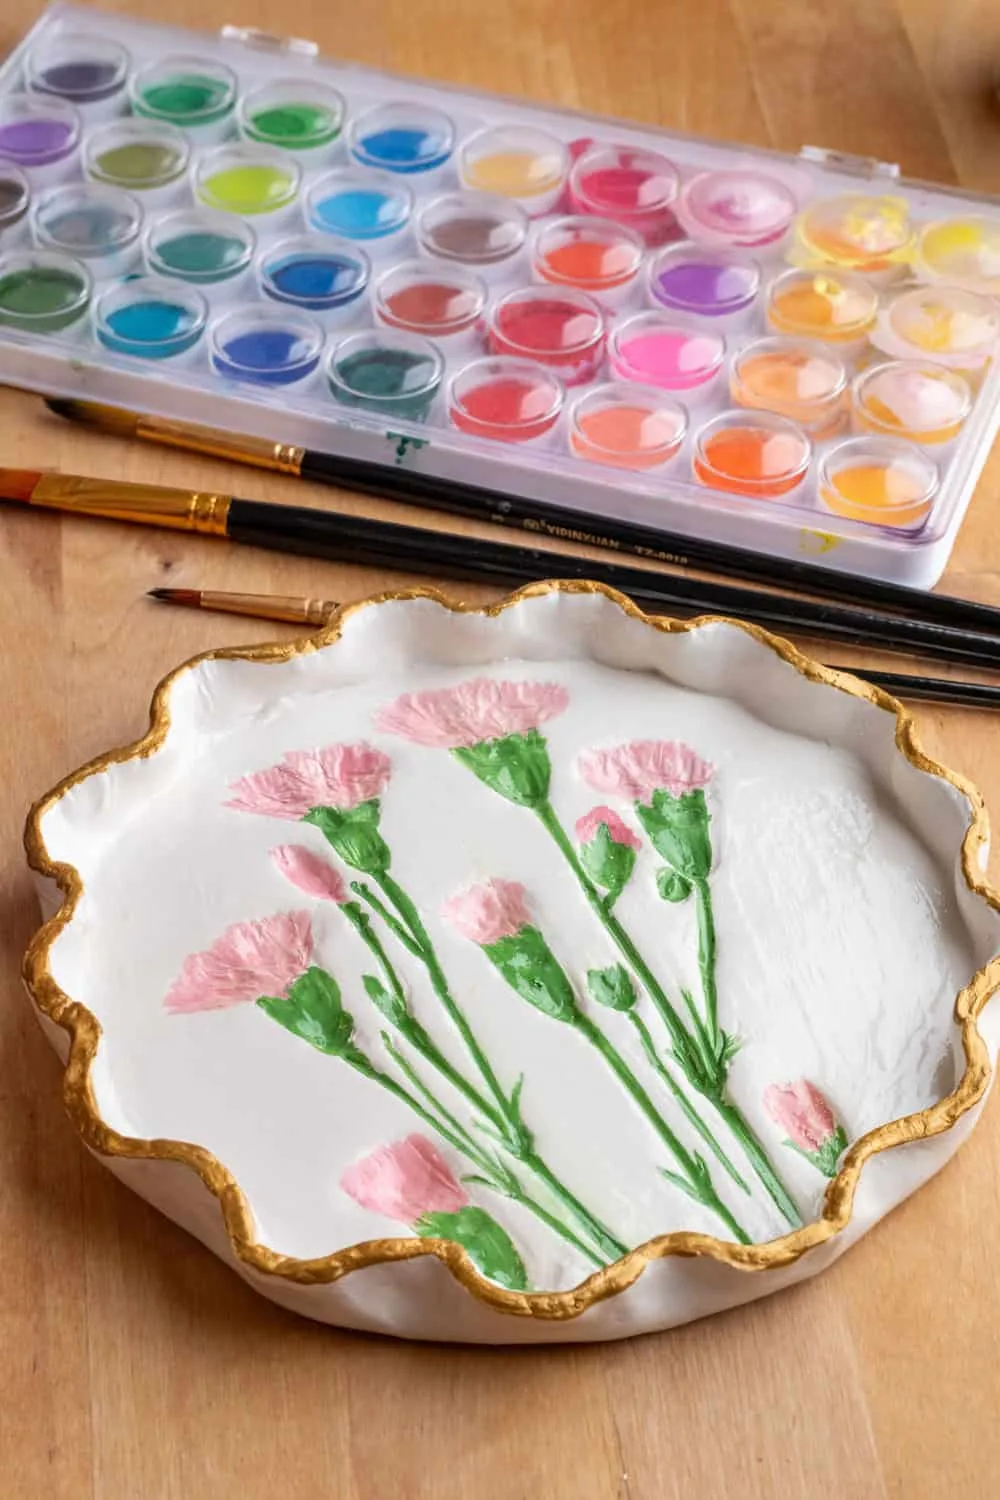
Once your dish is dry, it’s time to add some color! Use watercolor paints to fill in the imprints of the flowers and stems.
Step 8: Seal It Up
After the paint has dried completely, seal the entire dish with an even coat of sealing glaze. This will protect your masterpiece and give it a lovely glossy finish.
Step 9: Add Some Shine
For an extra special touch, paint the edge of your dish with metallic gold paint. This will give it a touch of elegance and make it stand out even more.
Step 10: Let It Dry (Again!)
Once everything is painted and sealed, allow your dish to dry completely before using it. Keep in mind that this dish should not be used for food, as the materials are not food-safe.
Final Thoughts
And there you have it – your very own Clay Nature Dish! Whether you use it to hold trinkets, or jewelry, or simply display it as a work of art! This charming creation is sure to bring a little bit of the outdoors into your home.
How to Make a Beautiful DIY Clay Nature Dish
Materials
- Air Dry Clay
- Watercolor Paints
- Metallic Gold Paint
- Sealing Glaze
- Rolling Pin
- Flowers and Leaves
- Small Plate (for shaping)
Instructions
Step 1: Roll Out Your Clay
Roll out your air dry clay to about 1/4 inch thickness in a circle shape. You can use a rolling pin to help you achieve an even thickness.
Step 2: Arrange Your Flowers
Carefully select and arrange your flowers and leaves on top of the clay. Get creative with your designs! You can make a pattern or place them randomly – it's up to you!
Step 3: Press Them In
Once you're happy with your arrangement, gently press the flowers into the clay using your rolling pin. Apply even pressure to ensure that the imprints come out clearly.
Step 4: Reveal the Imprints
Carefully lift the flowers and leaves out of the clay to reveal the beautiful imprints they've left behind. This part is always so exciting
Step 5: Shape Your Dish
Using a small plate as a guide, carefully cut the clay into a circle shape. Then, fold up the edges on all sides to create the dish shape. You can use a damp sponge or cloth to help smooth out any rough edges.
Step 6: Let It Dry
Allow your clay dish to air dry completely. This may take a day or two depending on the thickness of your clay and the humidity of your home.
Step 7: Paint Your Imprints
Once your dish is dry, it's time to add some color! Use watercolor paints to fill in the imprints of the flowers and stems.
Step 8: Seal It Up
After the paint has dried completely, seal the entire dish with an even coat of sealing glaze. This will protect your masterpiece and give it a lovely glossy finish.
Step 9: Add Some Shine
For an extra special touch, paint the edge of your dish with metallic gold paint. This will give it a touch of elegance and make it stand out even more.
Step 10: Let It Dry (Again!)
Once everything is painted and sealed, allow your dish to dry completely before using it. Keep in mind that this dish should not be used for food, as the materials are not food-safe.
Agnes Hsu is a mom of three and has been inspiring parents and kids to get creative with easy activities and family friendly recipes for over 10 years. She shares her love for creative play and kids food to her 2MM+ followers online. Agnes' commitment to playful learning and kindness has not only raised funds for charity but also earned features in prestigious nationwide publications.

