
Follow us on Instagram for more fun ideas for kids!
By using this site, you agree to our Terms of Use. This post may contain affiliate links. Read our disclosure policy. As an Amazon Influencer, I earn from qualifying purchases.
Create festive Christmas trees using real leaves, paint, and your imagination! This simple holiday craft is a fun and easy way to celebrate the holiday season.
Winter is almost here and what better way to transition from fall crafts to Christmas crafts than by turning beautiful fall leaves into festive Christmas trees! This Christmas tree leaf craft is a fun and simple way for kids to decorate their own mini Christmas trees! This festive leaf craft makes a creative and unique decoration you can hang or use for gift tags.
Use real leaves, green acrylic paint, and paint markers and turn into Christmas tree shapes complete with colorful ornaments and sparkling garlands.

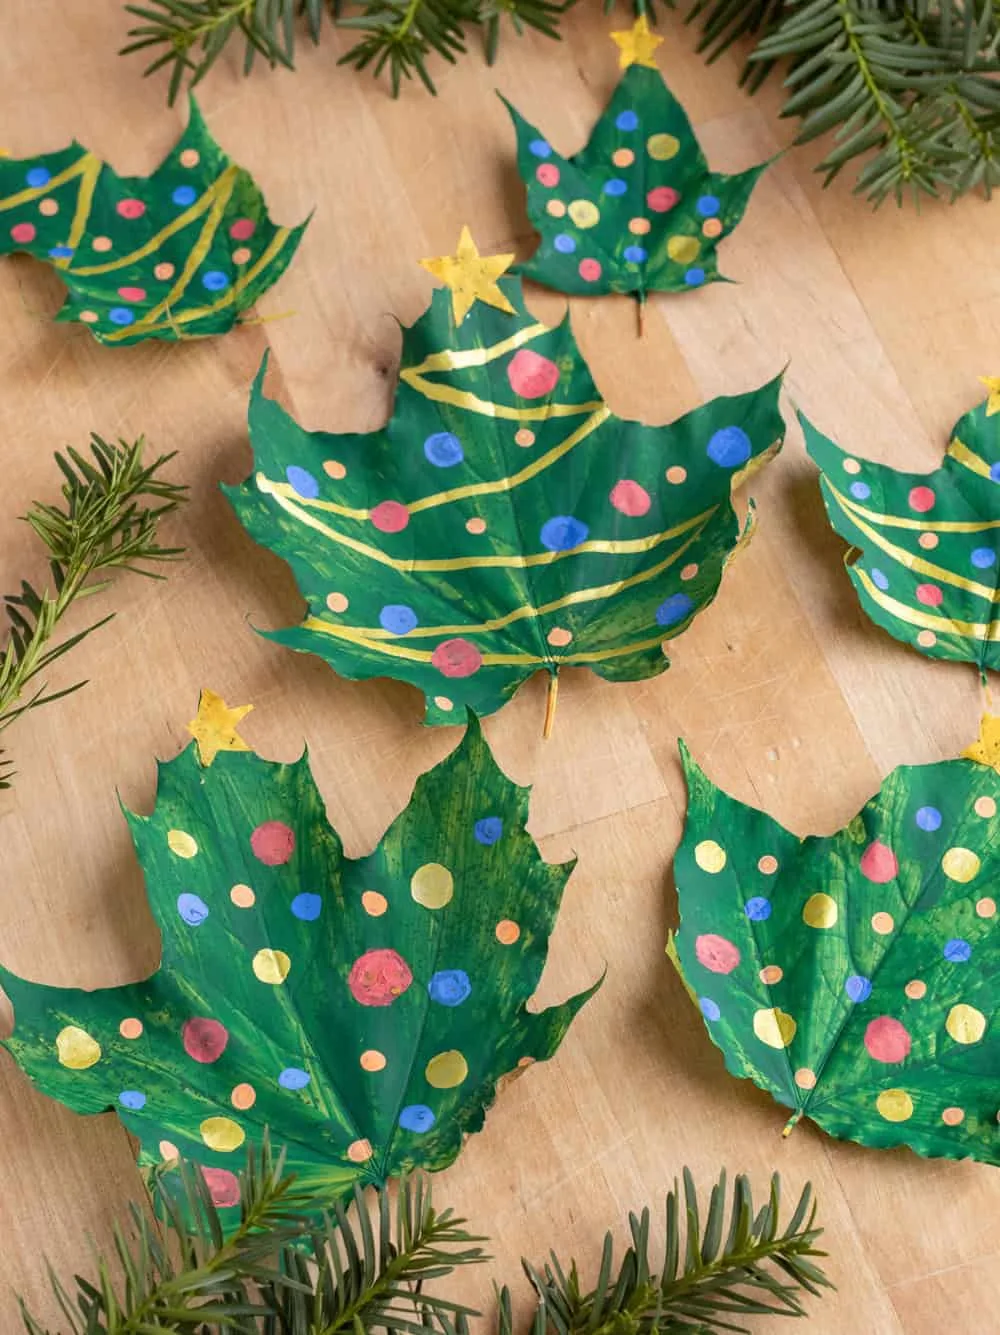
Christmas Tree Leaf Craft
- Fresh fall leaves (preferably large and flat – you can flatten in a book beforehand)
- Green acrylic paint (for the tree)
- Yellow leaves (for the stars)
- Scissors
- Yellow acrylic paint (optional, for stars)
- Acrylic paint markers (gold, red, green, and other colors for ornaments and garland)
- Paintbrush
How do I flatten leaves?
If you don’t have a leaf press you can flatten leaves by placing them between two sheets of paper or parchment. Then press them inside a heavy book for a few days, checking occasionally to ensure they are drying evenly. For faster results, use an iron on a low setting with the leaves sandwiched between two pieces of parchment paper.
How do I preserve this leaf craft?
If you have a laminator you can laminate the leaves after the paint dries and cut around it. Then hole punch and add a ribbon to make an ornament!
You can also cover the leaves with clear packing tape which is a more affordable way to keep the leaves from breaking.
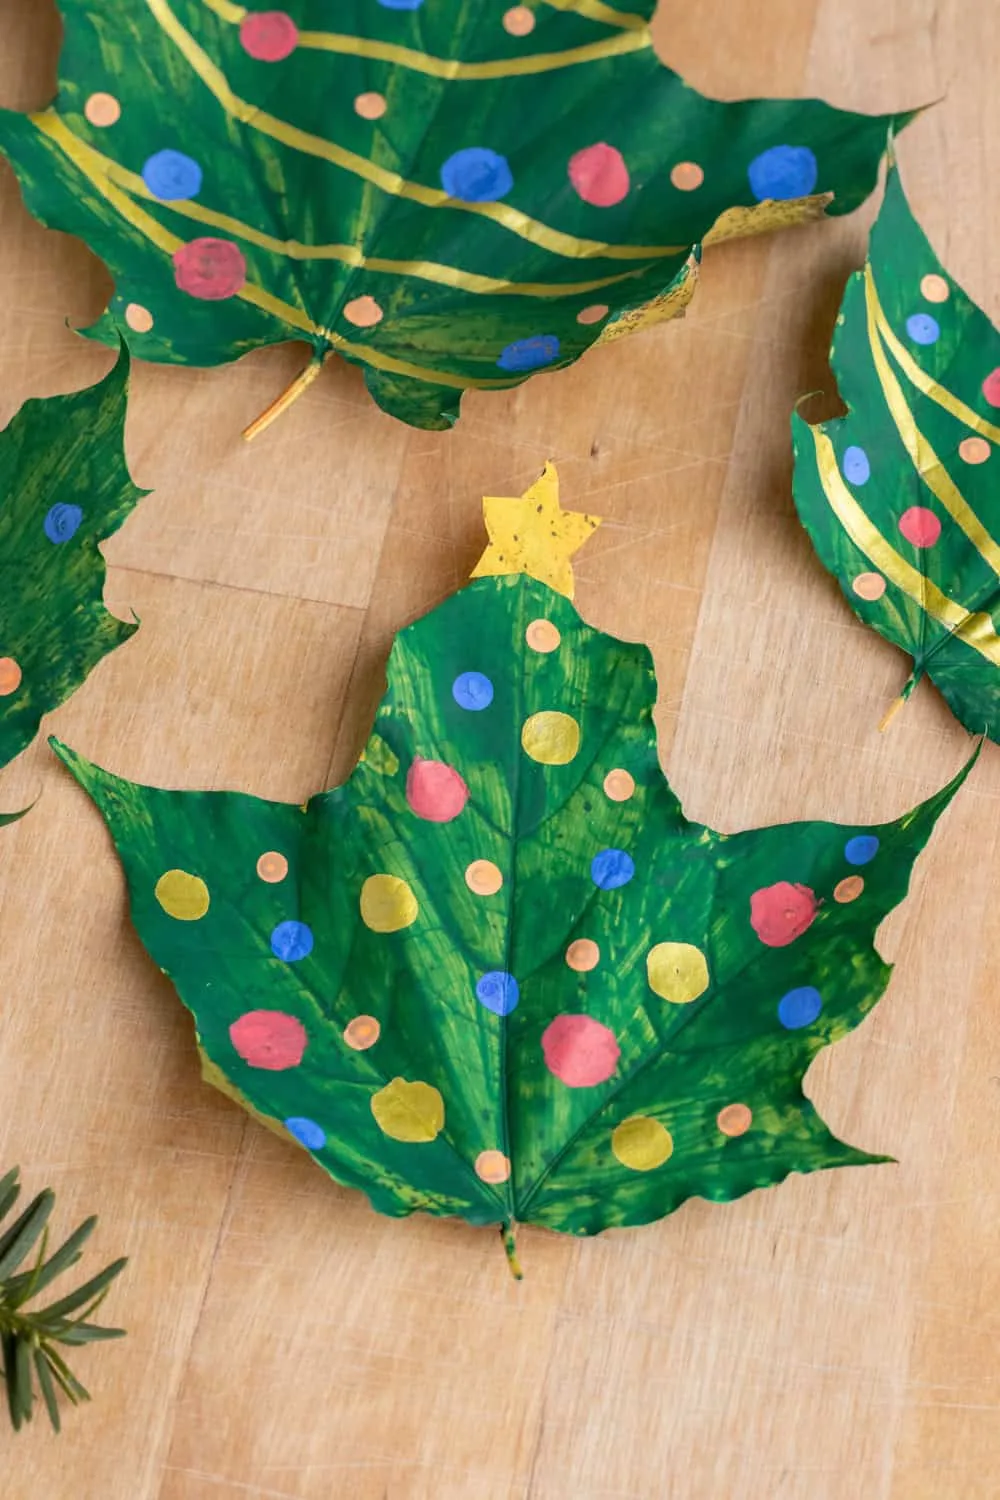
How to make Christmas Tree leaves
Step 1: Prep the Leaves
Start by gathering your fall leaves. Choose large, flat leaves that resemble a triangle or teardrop shape for the Christmas tree. If you have multiple types of leaves, you can experiment with different shapes to see which ones make the best trees.
Lay the leaves flat on a surface and give them a quick rinse if they’re dusty or dirty. Pat them dry with a paper towel. If your leaves are relatively flat you can continue on to the next step. If not, take a look at the recommendations above to flatten your leaves.
Step 2: Paint the Leaves Green
Using a paintbrush and green acrylic paint, cover the entire surface of each leaf. The green paint will represent the tree’s foliage. Make sure the paint is spread evenly over the entire leaf, especially in the nooks and crannies. You can also add a second coat if the first coat doesn’t fully cover the leaf’s surface.
Let the green paint dry completely. This should only take a few minutes, as acrylic paint dries relatively quickly.
Step 3: Create the Stars for the Tree Top
While your leaves are drying, take some yellow leaves and cut out star shapes. You can either freehand cut the stars or use a template to make them more uniform. If you don’t have yellow leaves, you can paint them yellow with acrylic paint before cutting them into stars.
Once the stars are cut out, secure them to the top of each painted leaf/tree. To do this, press into the top of the tree while the green paint is still wet. This will secure the star as the paint dries. You can of course, use a dab of glue to adhere more securely.
Allow the paint to dry completely before moving on to the next step.
Step 4: Add Garland and Ornaments
Once the green paint is dry and the stars are securely in place, it’s time to add some sparkle! Using gold acrylic paint markers, draw a simple garland along the branches of your tree. You can create loops, zigzags, or even dotted lines to give the effect of garland twinkling around the tree.
Next, use acrylic paint markers in different colors (red, yellow, blue, etc.) to add ornaments to the tree. These can be simple circles or more elaborate designs, depending on how detailed you want the tree to look. Have fun with it and add as many ornaments as you like!
Step 5: Let the Paint Dry
Once your garland and ornaments are added, set the painted leaves aside to dry completely. Acrylic paint markers dry quickly, but it’s always a good idea to let your project sit for 20–30 minutes to ensure everything is set.

Final Thoughts:
These Christmas Tree Leaves are the perfect way to bring the festive spirit of Christmas into the fall season. They make great decorations for your home, or you could even turn them into gift tags or ornaments for the tree! The best part? You’re combining two seasons into one craft, creating beautiful, one-of-a-kind art from nature.
So gather up those gorgeous fall leaves, break out your paint and markers, and get crafting to make your very own leafy Christmas trees! Whether you hang them on your tree or display them in a fun holiday arrangement, they’re sure to bring a little extra cheer to your holiday season.
Agnes Hsu is a mom of three and has been inspiring parents and kids to get creative with easy activities and family friendly recipes for over 10 years. She shares her love for creative play and kids food to her 2MM+ followers online. Agnes' commitment to playful learning and kindness has not only raised funds for charity but also earned features in prestigious nationwide publications.

