By using this site, you agree to our Terms of Use. This post may contain affiliate links. Read our disclosure policy.
Follow us on Instagram for more fun ideas for kids!
Scroll all the way down to watch the video below for the step-by-step video in how to make this incredible Blow Dryer Pour Painting. Make sure to subscribe to our YouTube channel for more fun videos!
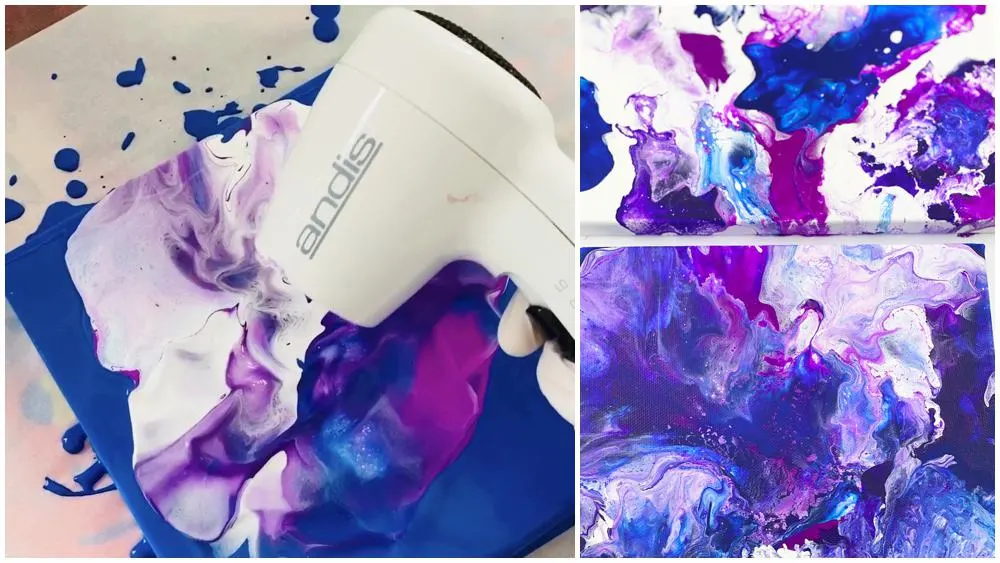
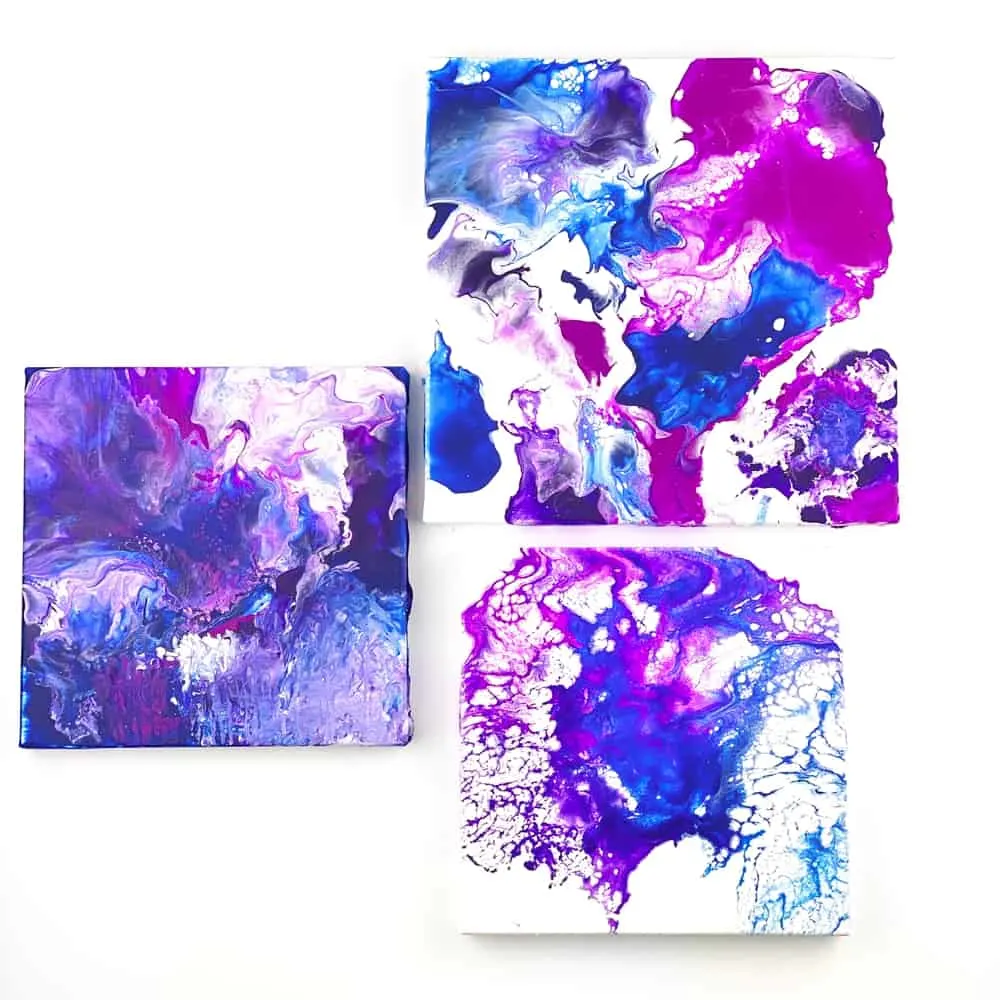
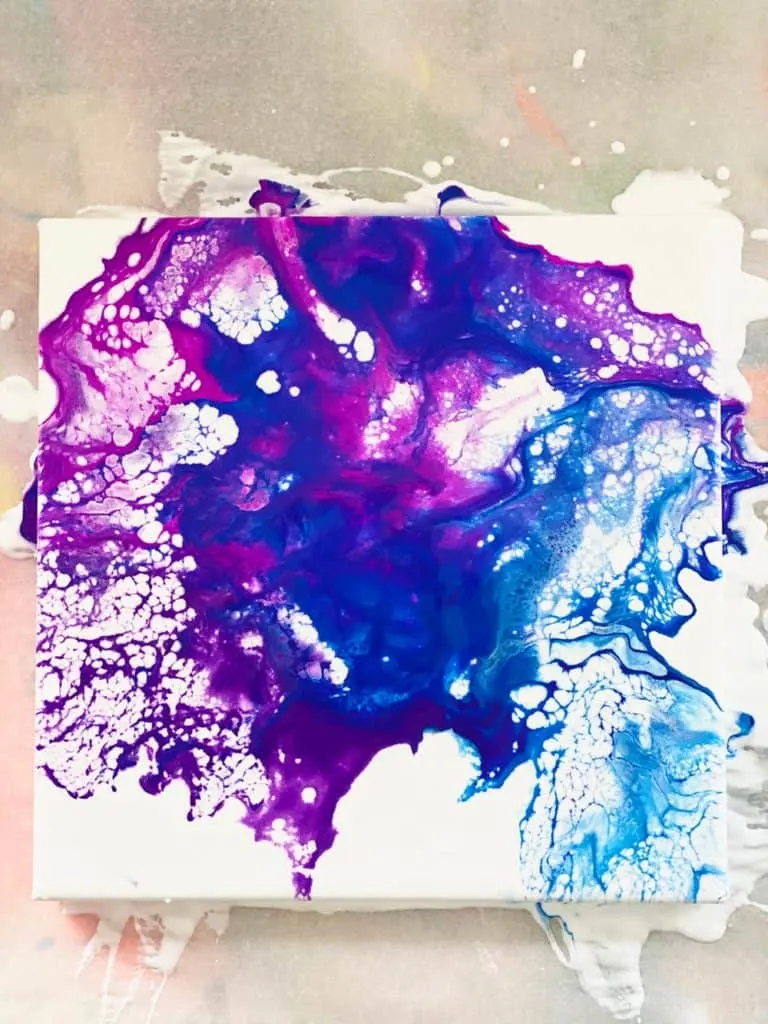
This incredible Blow Dryer Pour Painting results in amazing flow art in seconds and is mesmerizing to watch!
You will not believe how incredibly easy this mesmerizing Blow Dryer Pour Painting is to set up and create! It’s a great art project to try with a group of kids on a playdate, classroom or art class!
My daughter and her friends created some fun pour paintings using a blow dryer and enjoyed dripping the paint and taking turns.
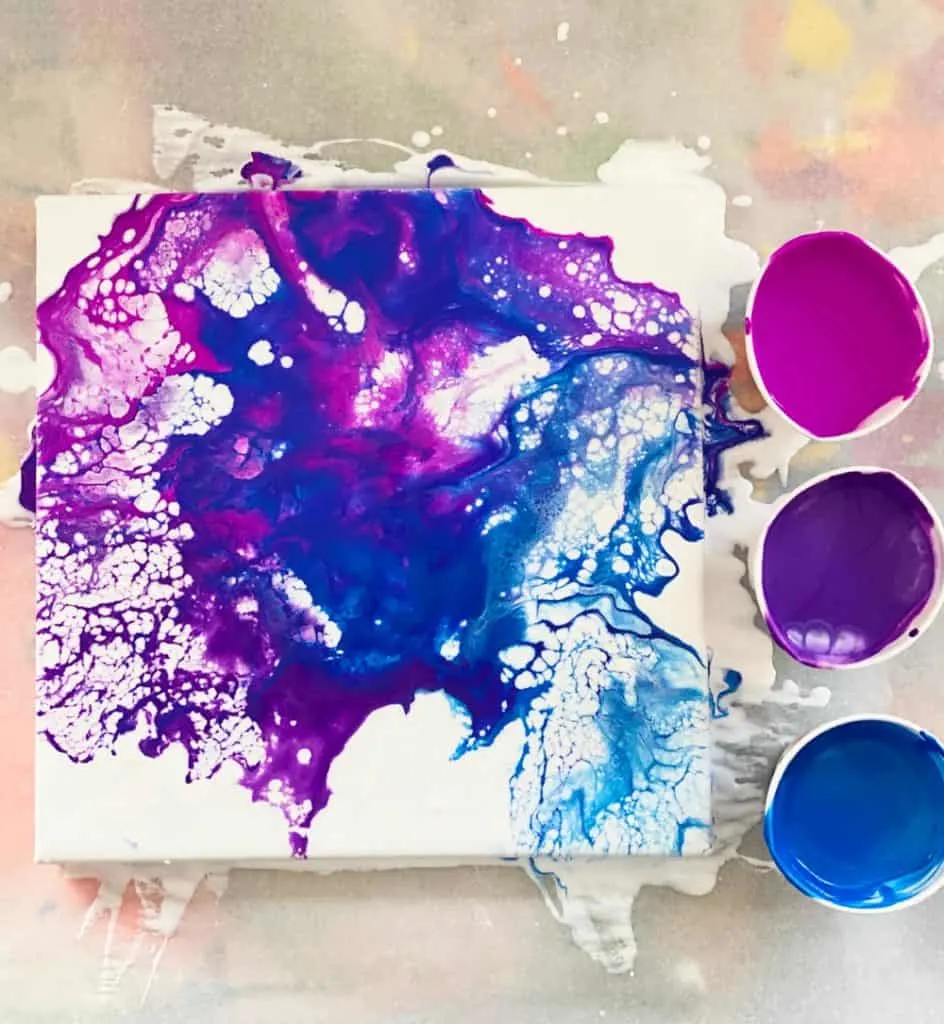
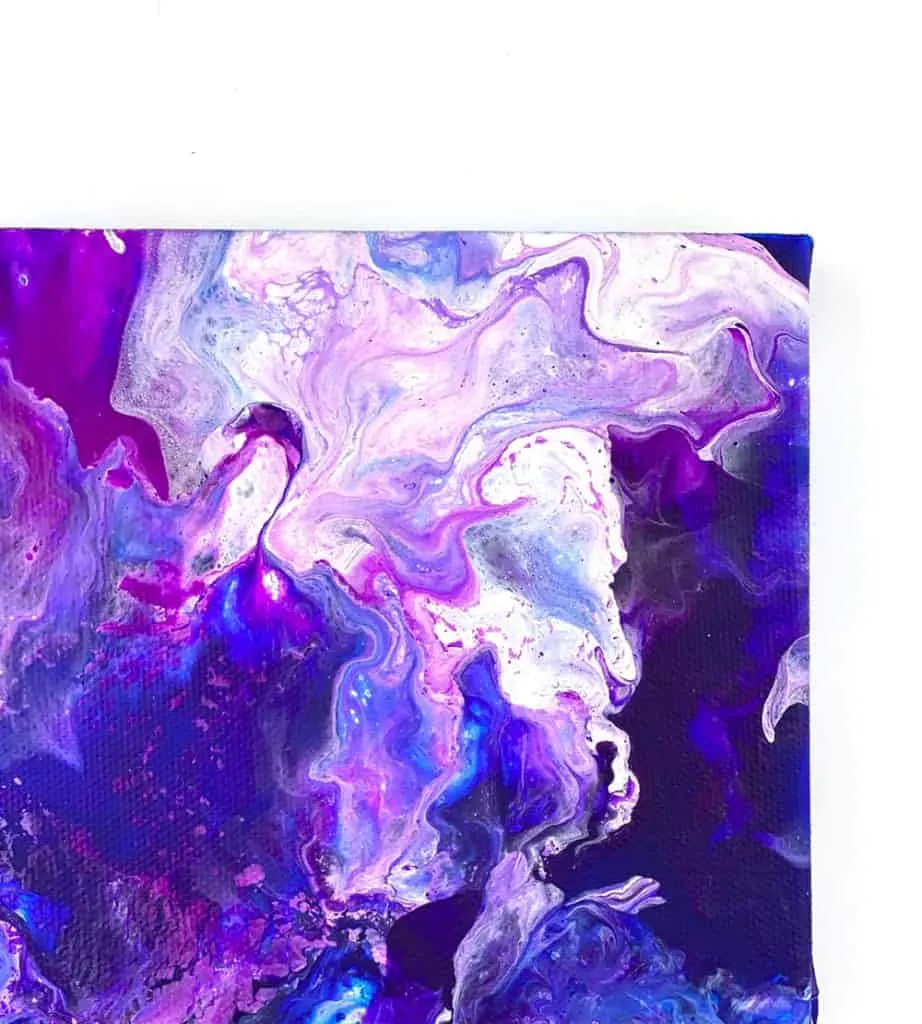
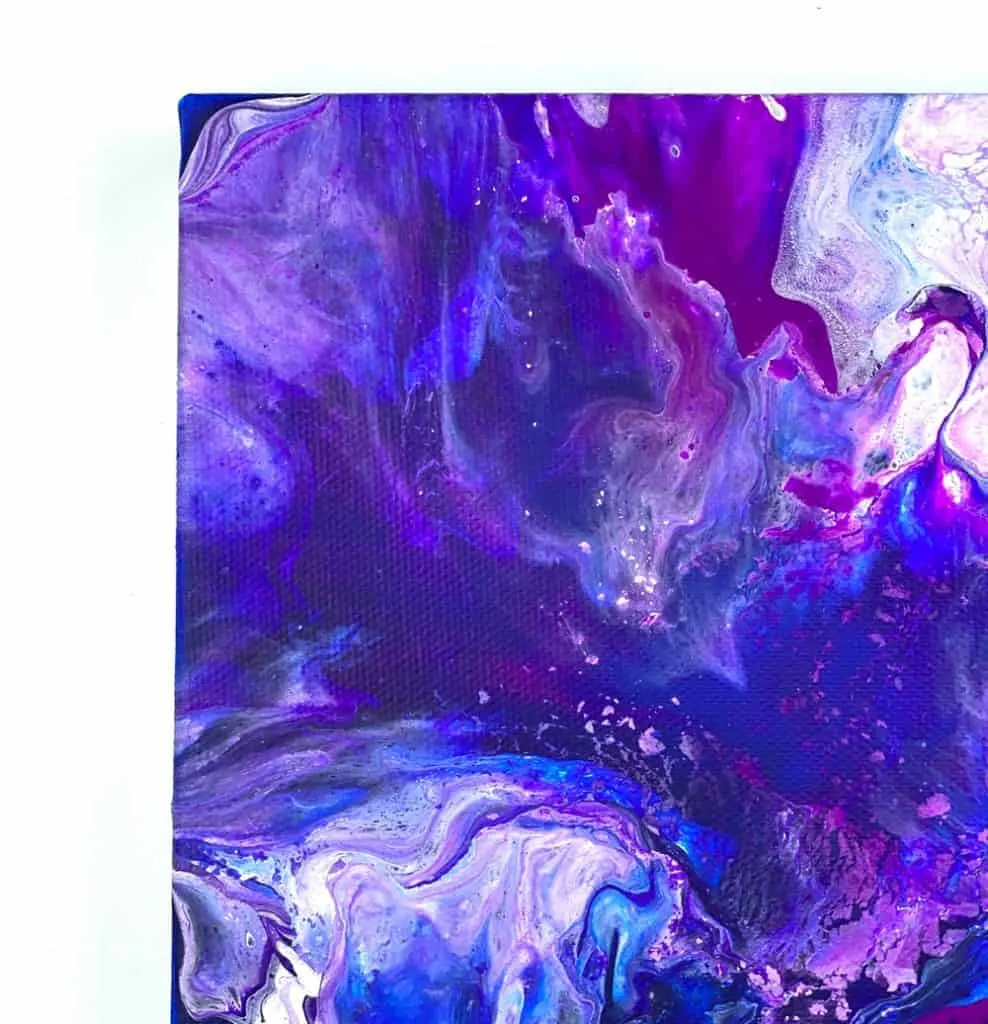
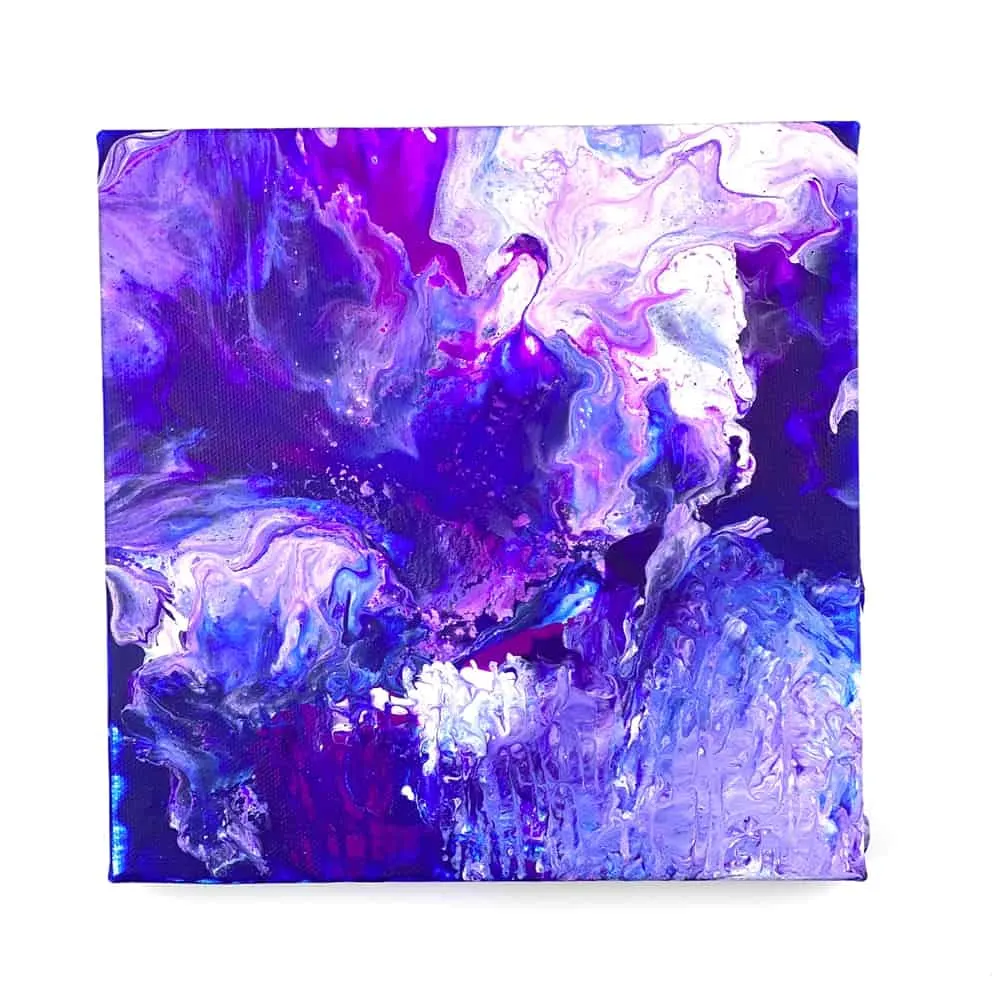
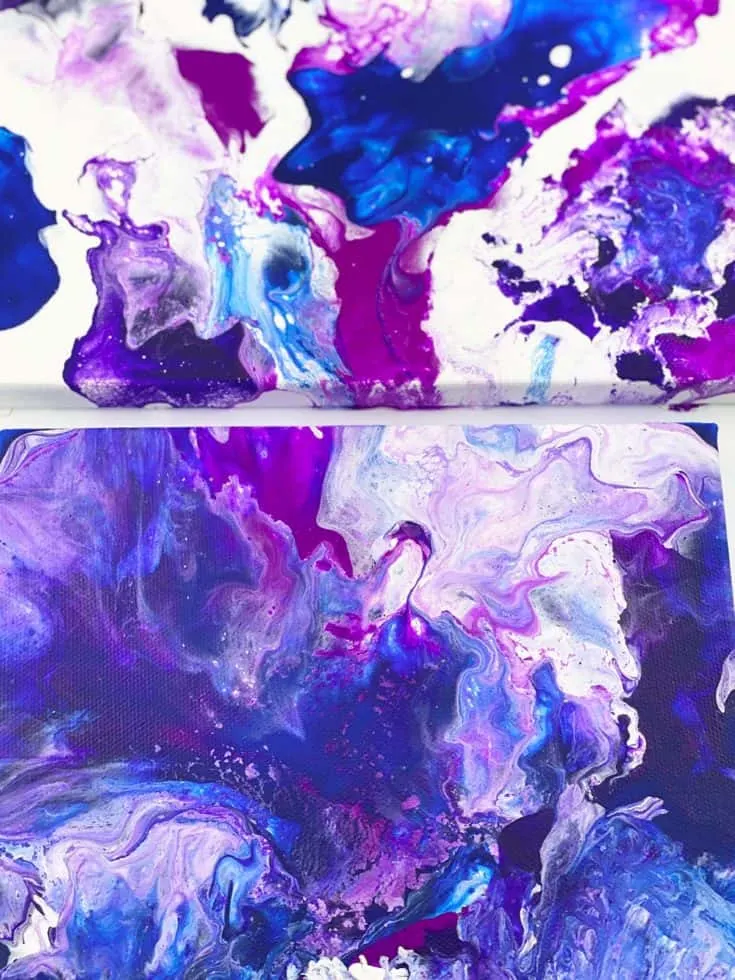
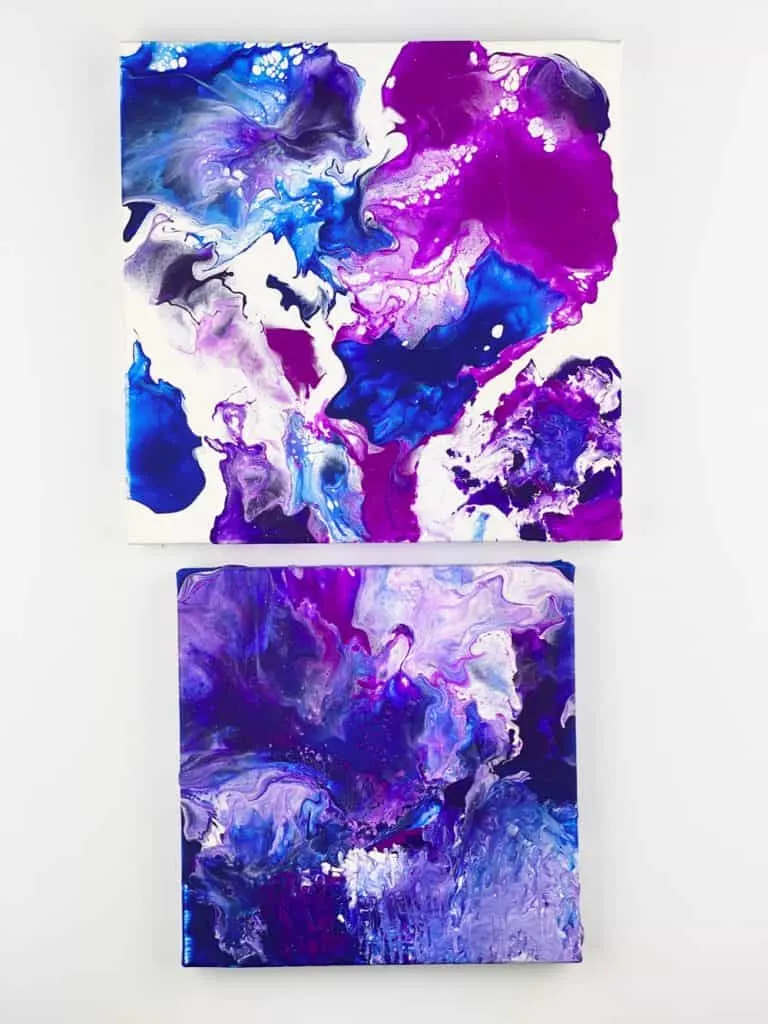
We decided to create a galaxy themed pour painting as shown here, but you can use any color combination you’d like following the instructions below.
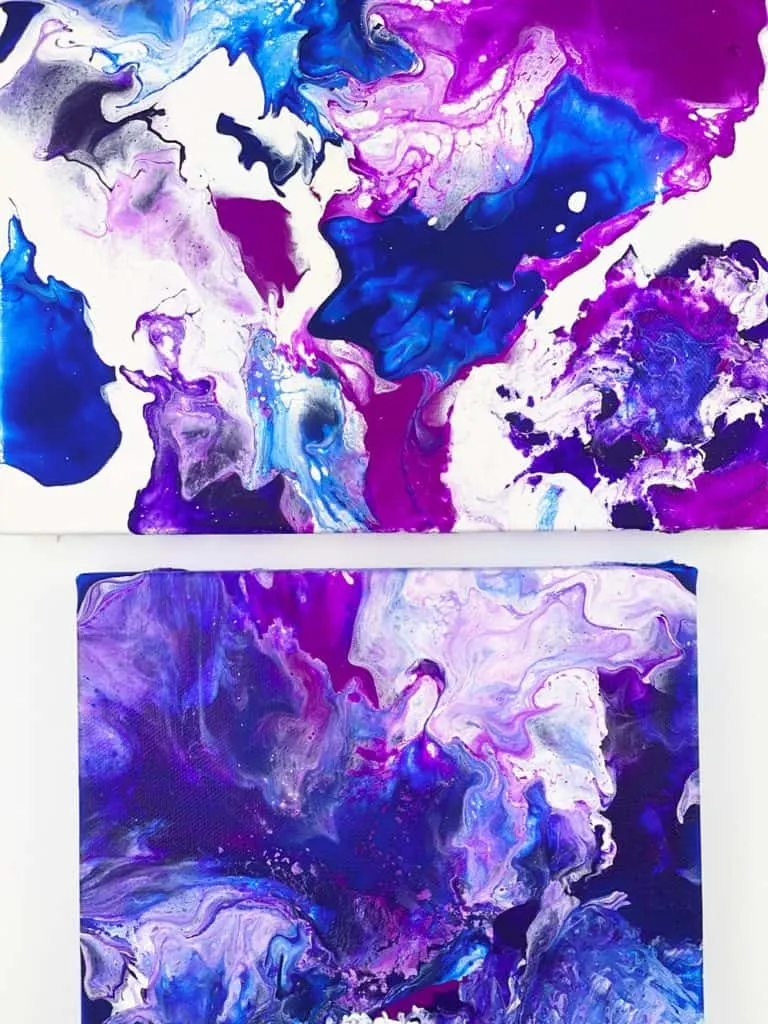
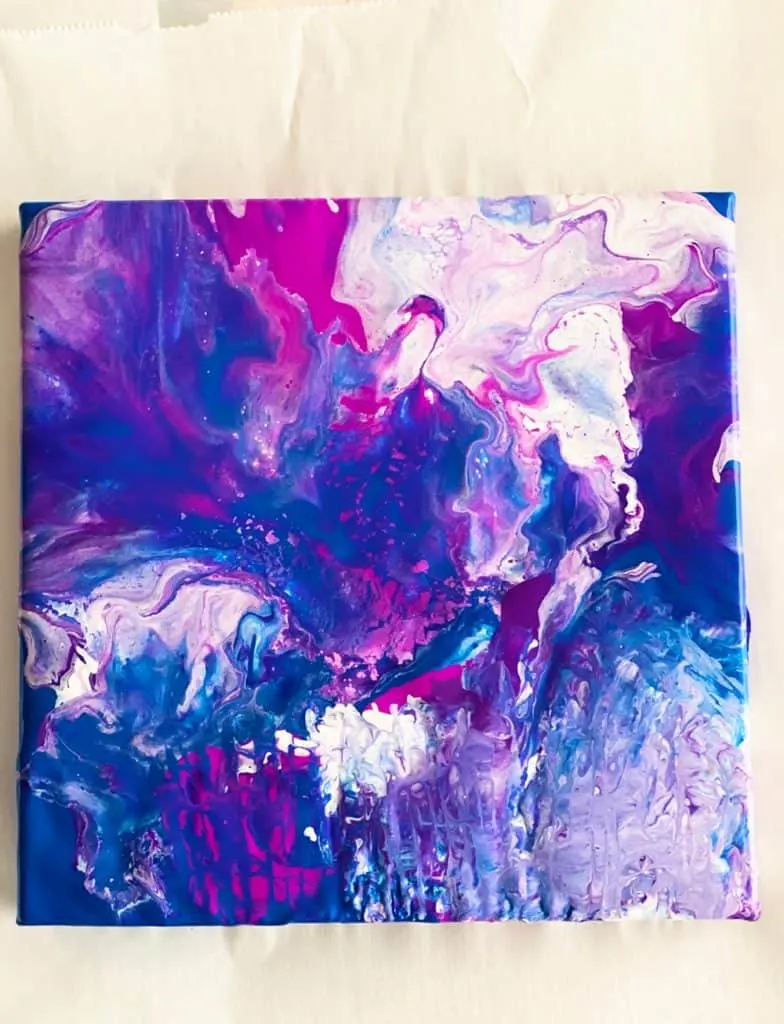
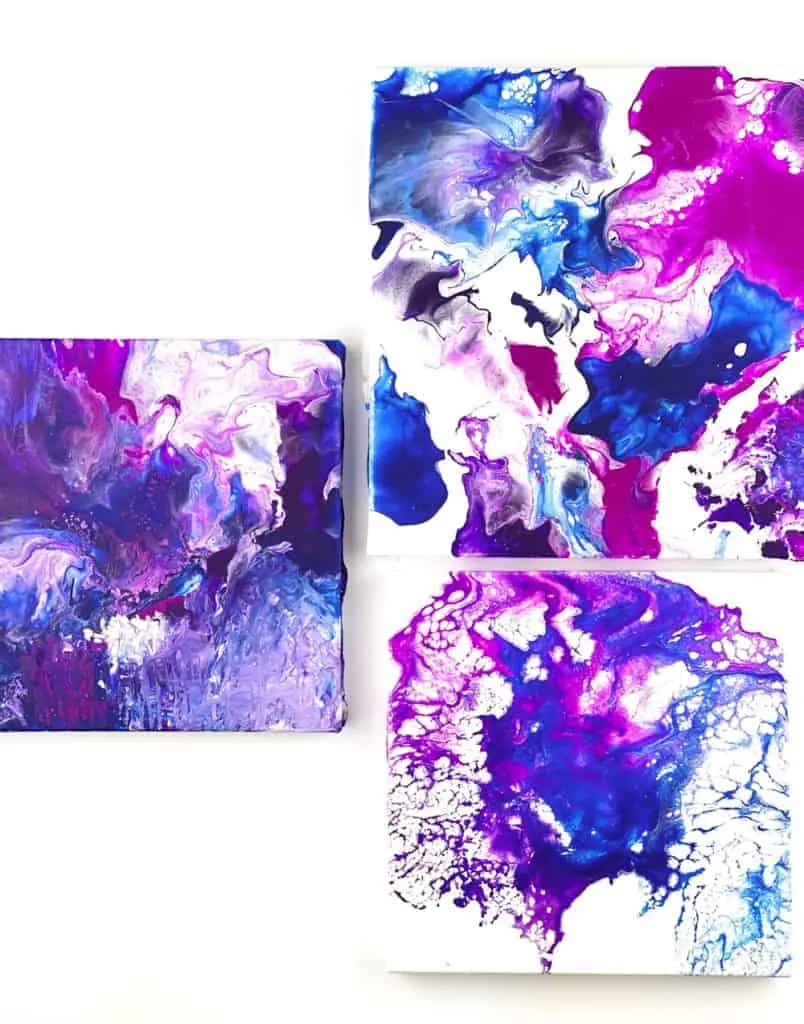
What are the benefits of using a blow dryer while painting?
-
One thing is if you’ve ever done the traditional pour painting method of filling a cup with layers of paint, this method uses less paint and is less wasteful. You simply splatter plaint and then use the blow dryer’s air force to splatter the paint around.
-
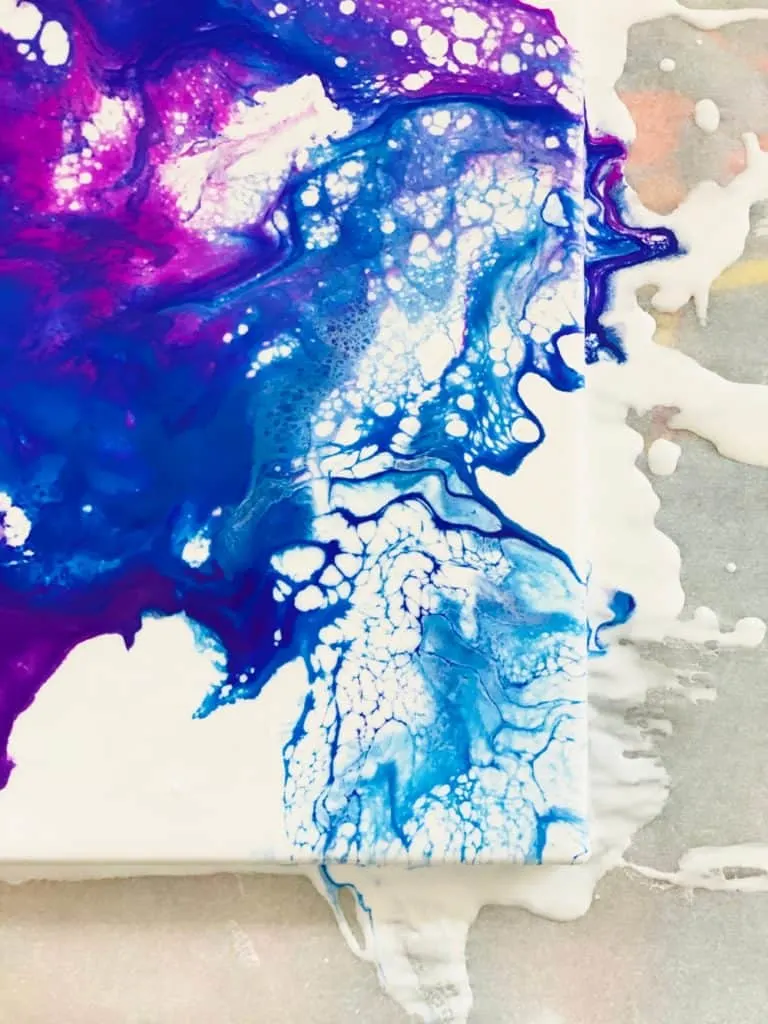
It is incredibly fun to watch and you can have an impact on where the paint goes and splatters. It’s fun for the kids to experiment too. What happens if you spread the paint too far or not enough? How much air or force do you need to get those beautiful paint cells? How does the amount of paint you use affect the paint’s flow and rate?
-
With a blow dryer, everyone can take turns “painting” and have a hand in creating a gorgeous kid-made masterpiece!
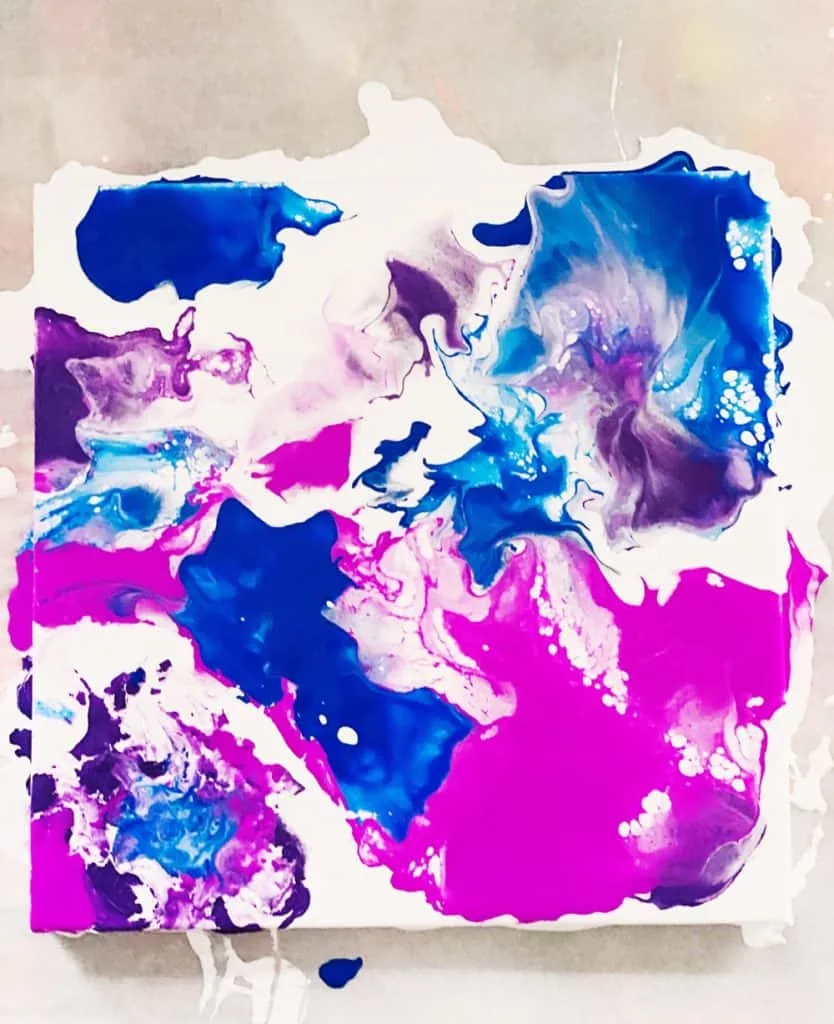
How to set up Blow Dryer Painting with Kids
-
To make this incredibly simple, we love doing this in an area we don’t mind where some paint may accidentally splatter and is easy to clean up. We did this on a table in the garage with the door wide open for ventilation.
-
We love using a wide canvas paint drop cloth for all our messy art project (although this one isn’t that mess, promise!) because it’s reusable and the more you use it, the better it looks with all the different dried on paint splatters.
-
Simply lay your drop cloth on top of a table and also add a large piece of parchment paper on top. This catches all the drips so that the drop cloth doesn’t get totally soaked and really minimizes the mess.
What type of paint do you use for Pour Painting?
Traditionally, pour painting is done with acrylic paint as that sticks more and is more durable. However that is much more expensive than tempera paint which is cheaper and more kid-friendly.
Tempera is also thinner and washes off, key when working with kids so we went with tempera here. Try both and see what you think!
What flow or pouring medium did you use for your fluid art painting?
With flow or pour painting you need to dilute your paint with a flow medium so it’s not thick and clumpy and flows well on canvas. Water isn’t great because it breaks down the pigments.
We used Floetrol which is a paint additive and commonly used as well in pour painting to thin out your paint. The ratio we used is 50:50 Floetrol to Paint.
There are many pouring mediums for fluid art you can research online to find the best one for you.
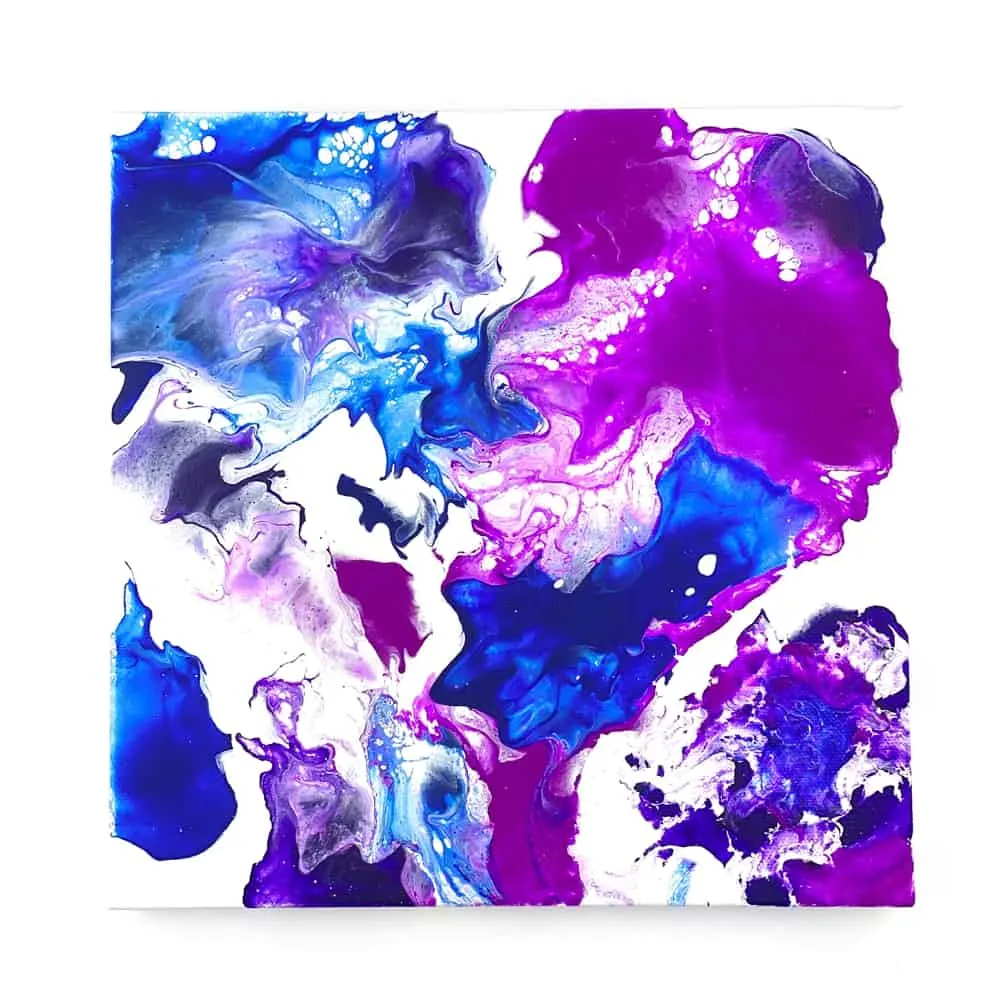
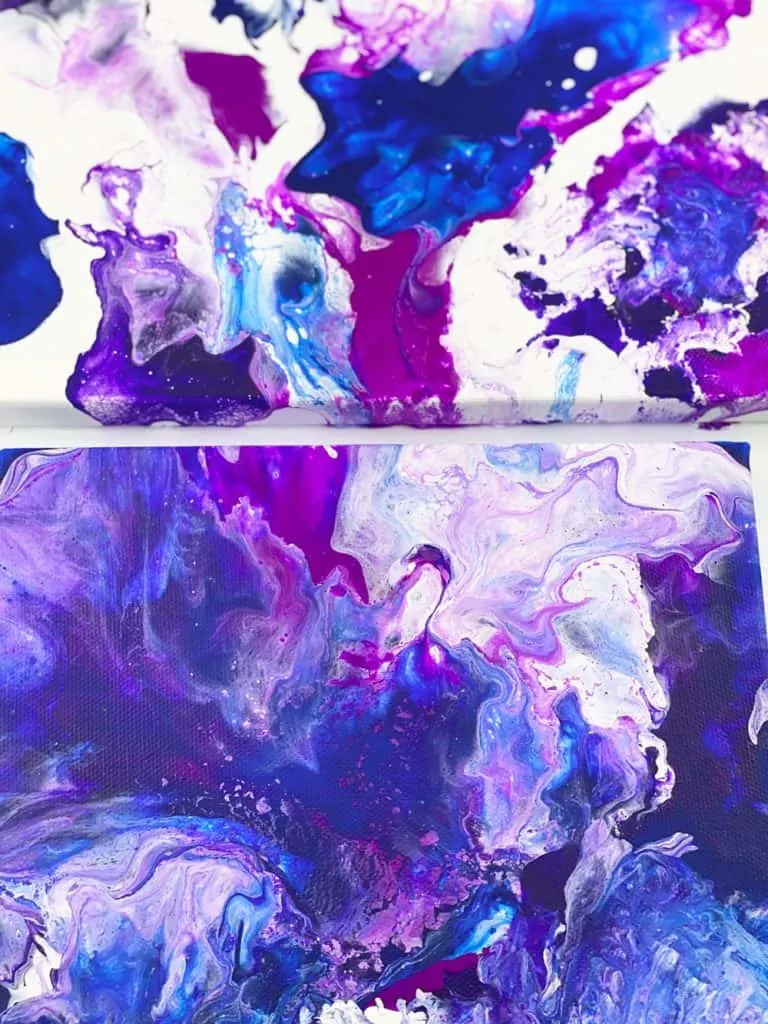
BLOW DRYER POUR PAINTING – MATERIALS:
*Instructions below to make galaxy pour painting but you can use any color you’d like.
-
Blank white stretched canvas
-
White, purple, dark blue and dark pink tempera paint
-
Floetrol
-
Small paper cups
-
Paint drop cloth
-
Parchment paper
-
Blow dryer
-
Disposable gloves
-
Paint varnish spray (optional to prolong and protect canvas)
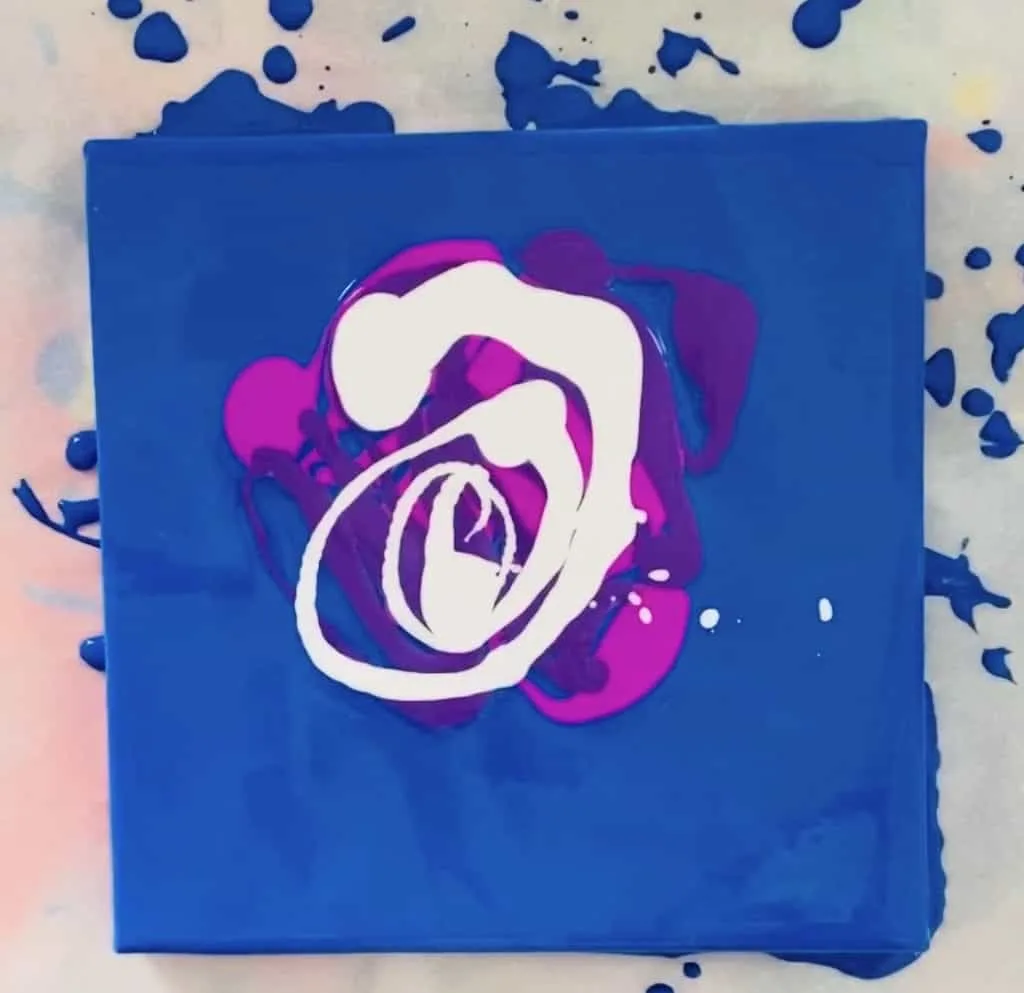
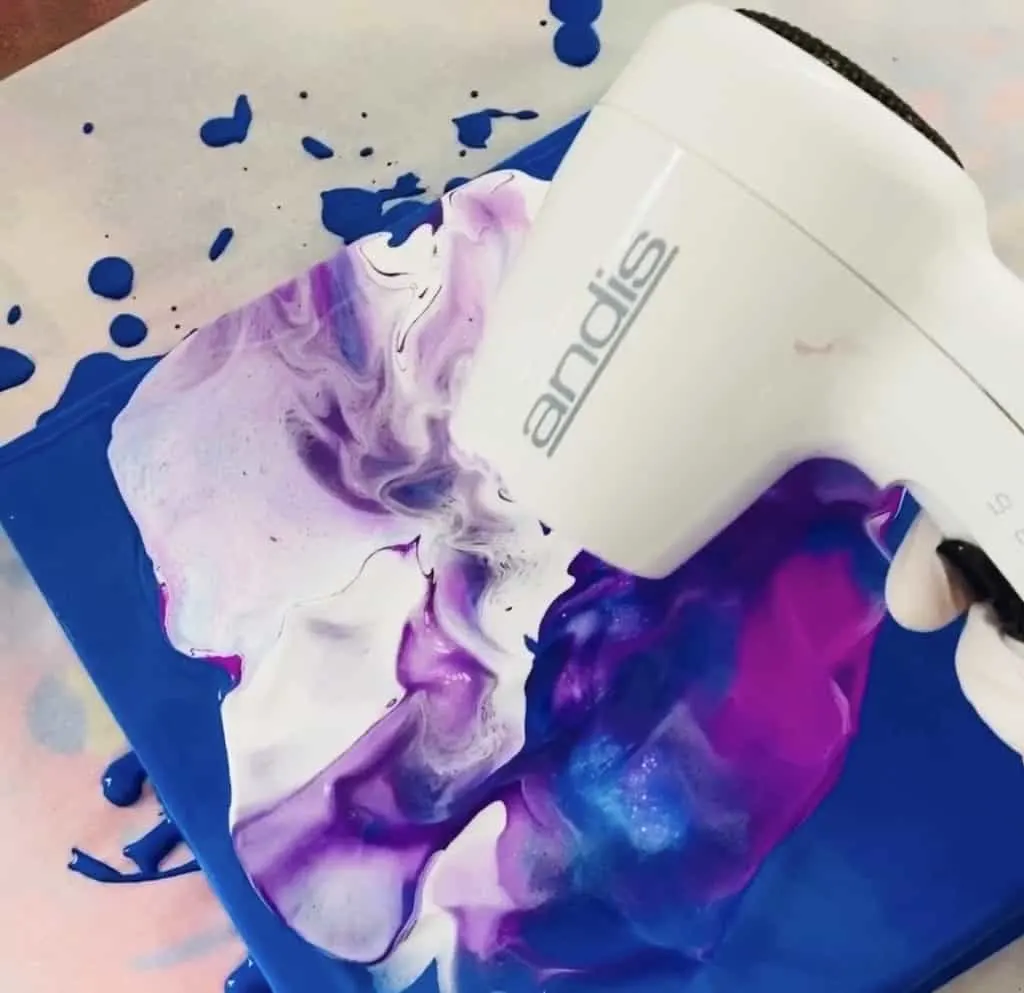
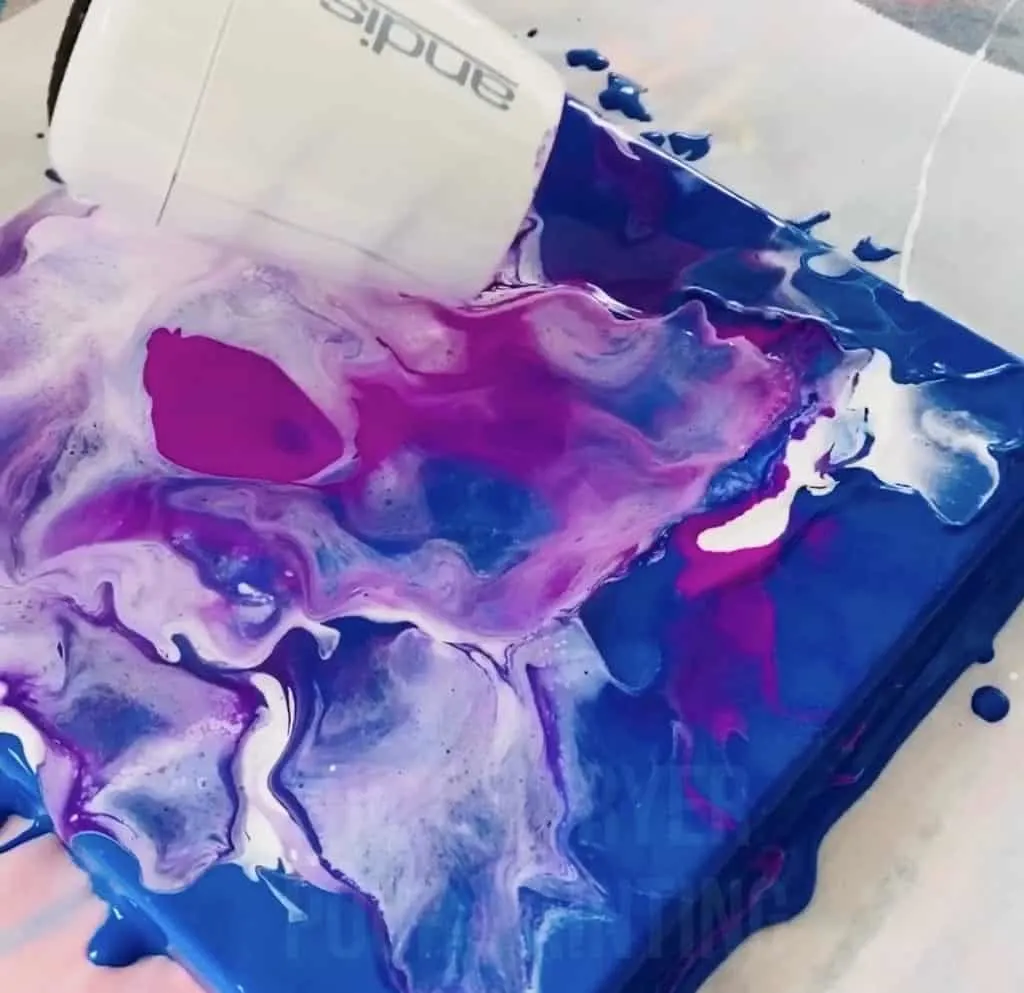
Step 1. Lay out a paint drop cloth on a table and parchment paper on top to catch most of the drips. Step 2. Dilute your paint. We diluted Floetrol and Tempera paint to an approximate 50:50 ratio. We used paper cups. Step 3. Put on your gloves and lay your canvas on top of the parchment paper and add your base color layer evenly by dropping a good amount in the center and swirling to cover canvas and sides completely with paint. Use your fingers to adhere paint on the sides of the canvas. Step 4. Lay your canvas back down on the parchment paper. Add your other diluted paint colors. This is where it's up to you! Add globs or just streaks or dotted paint all around. There isn't a right or wrong way. Step 5. Use your blow dryer on low speed and start to flow the paint outwards to the direction you want. This is something you will have to experiment and play around with! See how your blow dryer flow action takes you and how it results in different patterns. Act fast though as the more you do this an the longer it gets the paint will start drying and not flow as fast anymore. Step 6. Gently transfer your canvas to another parchment lined surface and allow to dry for at least two days uninterrupted. When it is fully dried you can spray a paint varnish to preserve the paint and colors. BLOW DRYER POUR PAINTING
Materials
Tools
Instructions
Check out other amazing art ideas for kids:
Big Canvas Matisse Art
Giant Kid-Sized Spirograph Drawings
Drill Spin Art With Kids
Agnes Hsu is a mom of three and has been inspiring parents and kids to get creative with easy activities and family friendly recipes for over 10 years. She shares her love for creative play and kids food to her 2MM+ followers online. Agnes' commitment to playful learning and kindness has not only raised funds for charity but also earned features in prestigious nationwide publications.

