By using this site, you agree to our Terms of Use. This post may contain affiliate links. Read our disclosure policy.
Follow us on Instagram for more fun ideas for kids!
This simple method translates your child’s words and/or illustrations onto pages of a book to help self-publish your kid’s first book!
I’m so excited to share this tutorial with you today because reading is something that is so near and dear to my heart. Ever since I was a little girl, I’ve had my nose stuck in a book. I loved story telling and reading then – and still do to this day. It’s my hope to instill a love of reading to my children by reading to them often and asking them to tell me their own imagined tales.
Recently, my daughter learned how to read and it’s been amazing to see her picking up some of her old books and reading them. She’s figuring out the words and at the same time, connecting them to the story. It’s fascinating to watch!
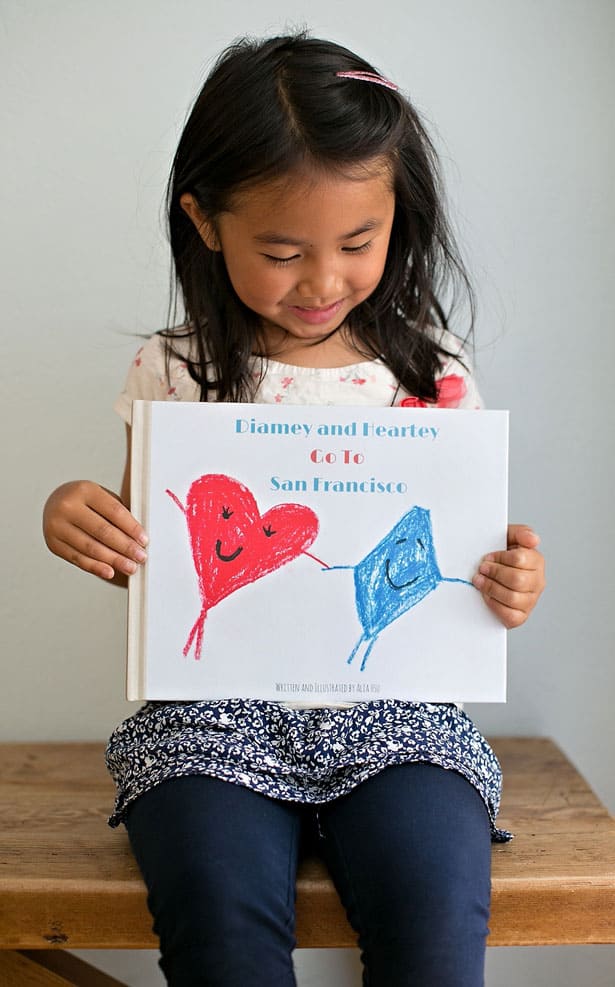
To encourage her love of story telling and reading, we decided to “self-publish” her first book. Read on find out how fun this can be for children, but not only that, how impactful it can be to fostering a child’s creativity into something tangible they can proudly share and hold on to.
READ PAST THIS SIMPLE TUTORIAL DOWN BELOW TO SEE HOW WE RECENTLY DID A MORE INVOLVED VERSION FOR MY 10 YEAR OLD SON!
How To Publish Your Child’s First Book – Materials:
– Paper and colored pencils/crayons or markers
– A camera (it doesn’t have to be a fancy one, this is just to capture a shot of each illustrated page)
Steps:
1. Guide your child through character development. In my case, I asked my daughter what characters she wanted to portray. She said she wanted a diamond and heart shaped character. I then asked her what they should be called and she said “Diamey” and “Hearty.”
2. Create storyboards for each page. I asked my daughter what Diamey and Heartey were going to do in the story. She said “Go to San Francisco!” (That is where we are from.)
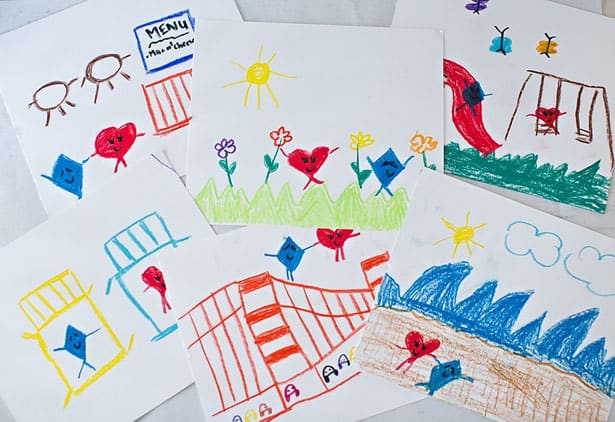
3. Once you have the characters in place and framework (going to San Francisco in our case) guide your child and ask specifically what the characters will be doing. We worked through it one at a time, drawing a page (story board) for each adventure.
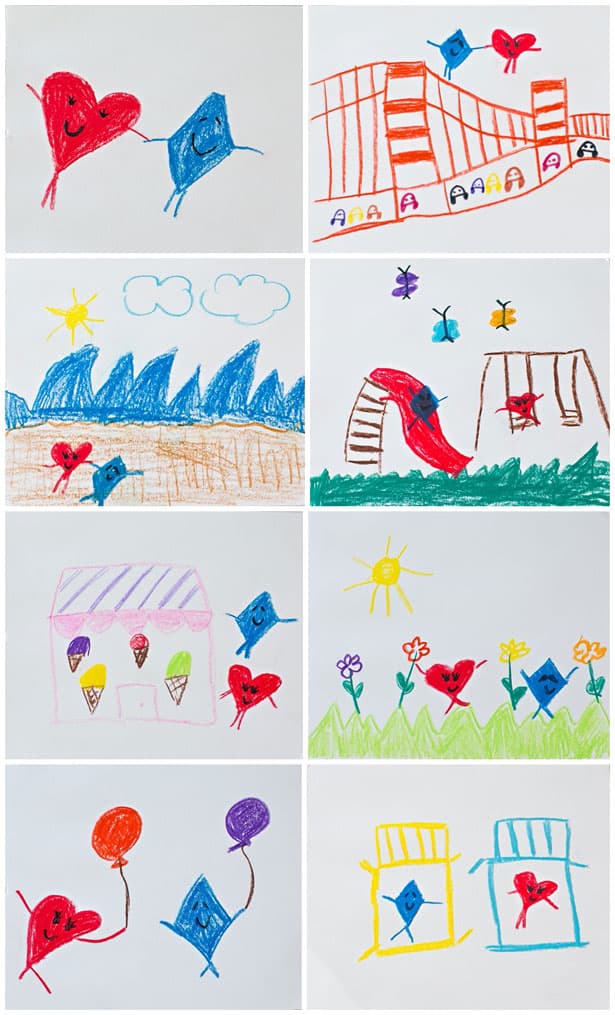
4. Ask your child to illustrate each page based on their adventures. As you can see above, Diamey and Hearty are doing many fun things like crossing the Golden Gate Bridge, going to the beach, eating ice cream, flying balloons, etc. These are all things my daughter came up with and coincidentally, things she loves to do with her brother 🙂
It is totally fine to help with the illustrations if it’s something more difficult. For the Golden Gate bridge for example, we looked at a photo online of the bridge and I traced it out in pencil so she could color it in.
5. Once you have your illustrations, take a photo of each page. Using a photo editing software like Photoshop (or a free one like Canva) you can crop the photo to just show the illustrations and also add text.
6. For the text, walk your child through each page and let them guide you into what to write down. It is their story, but you are helping them capture it on paper.
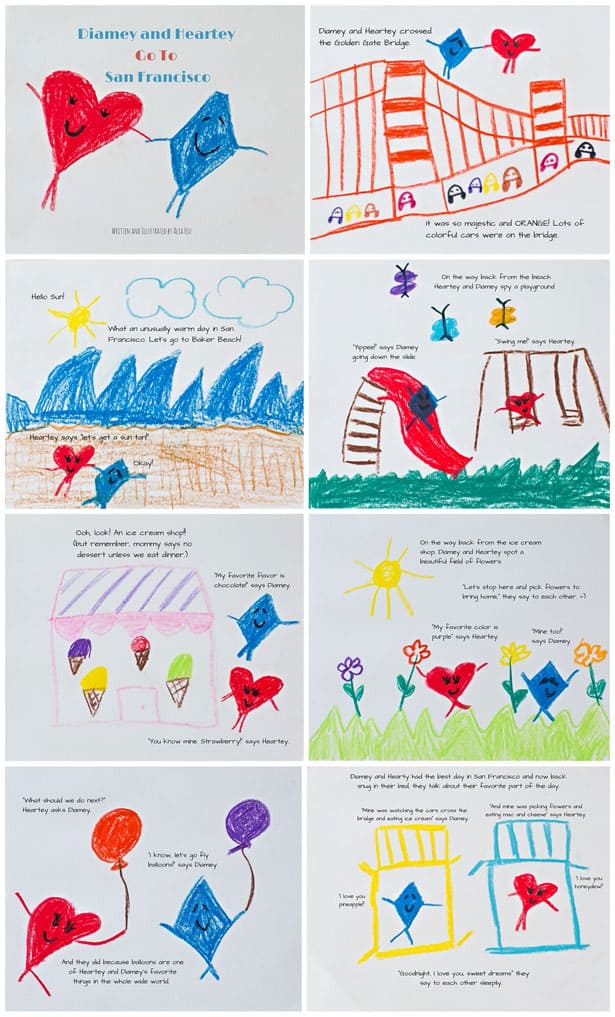
7. The photo above shows the illustrated pages with text. Once you have saved each of these as an image, you can use any type of photo book creator to make a book. We used Shutterfly since they have an easy photo book maker online with great quality for the price. However you could easily use any of the many options available online.
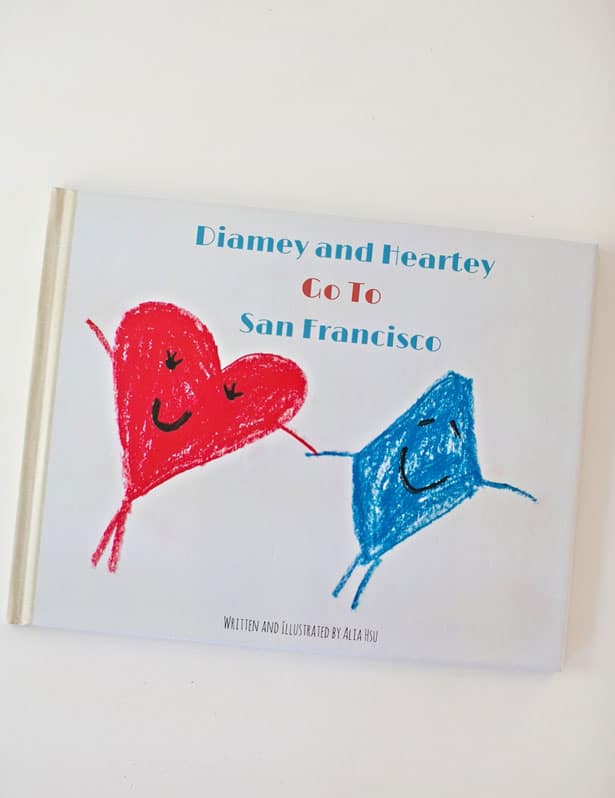
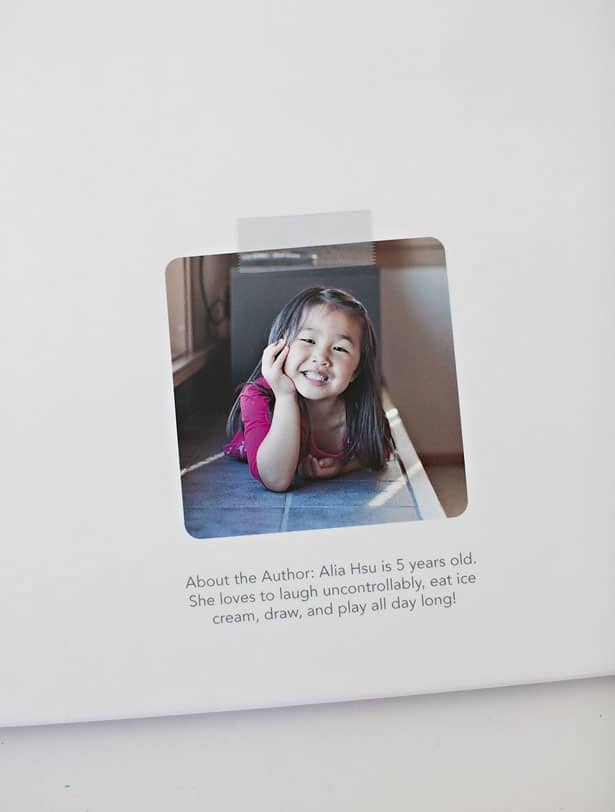
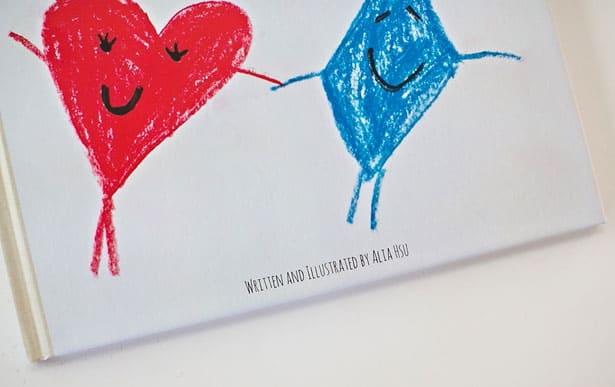
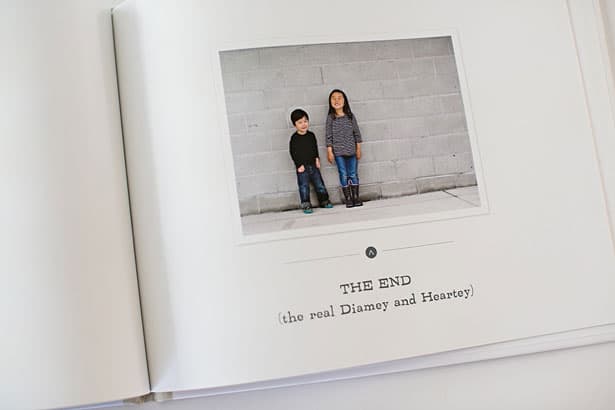
8. it’s fun to personalize the book a bit. We added a fun “About the Author” bio at the back of the book. The last page stating “The End” shows a photo of my son and daughter with the caption “The Real Diamey and Hearty” as it became very clear as the story developed who Diamey and Hearty really were 🙂 Each time the kids see this page, they can’t help but laugh.
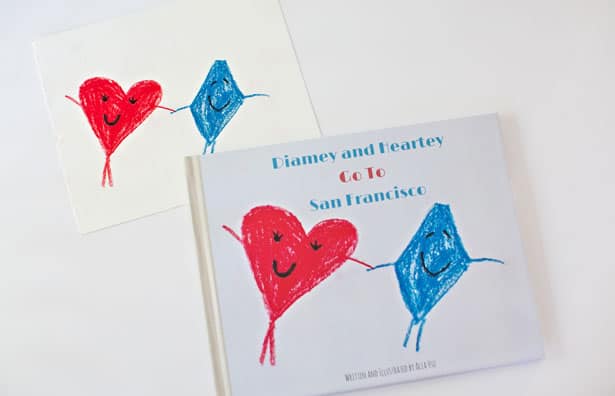
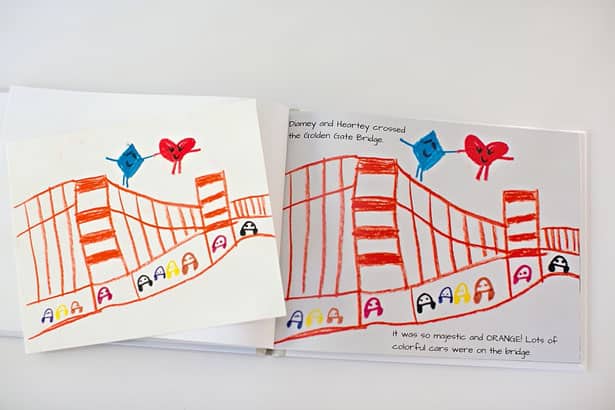
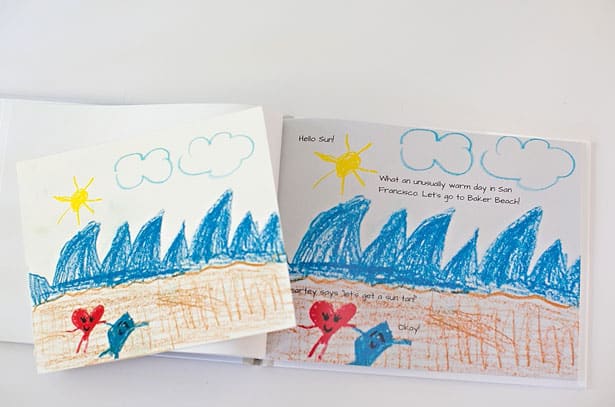
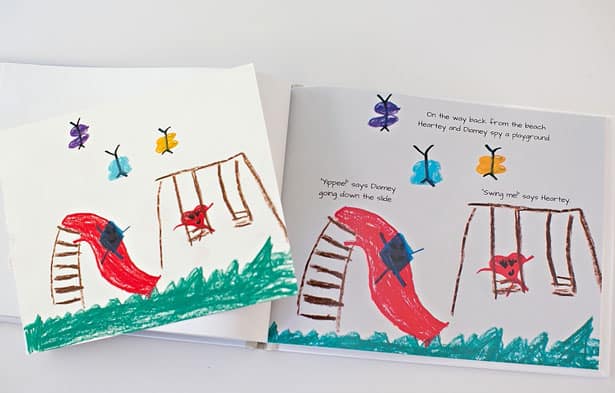
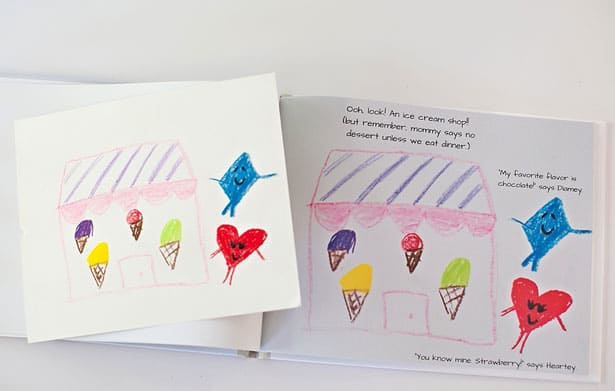
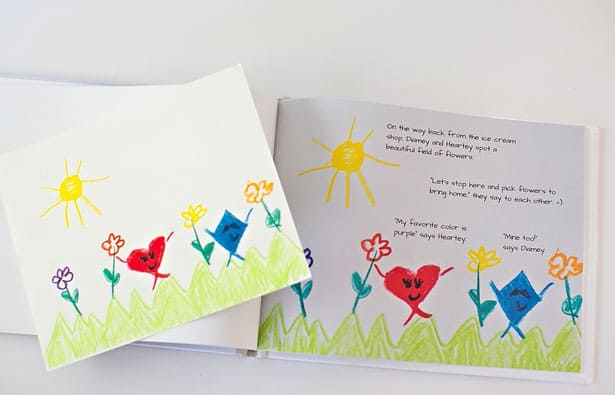
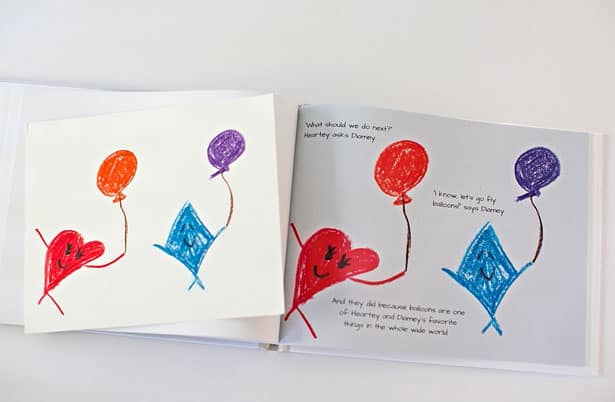
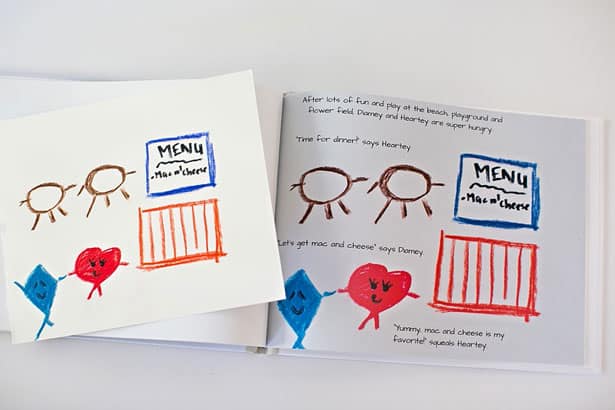
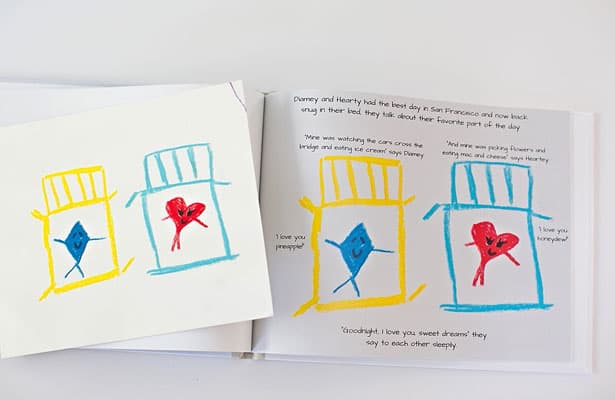
It was amazing to go from the pages my daughter drew to holding a book in hand. My daughter was excited beyond words and so incredibly proud.
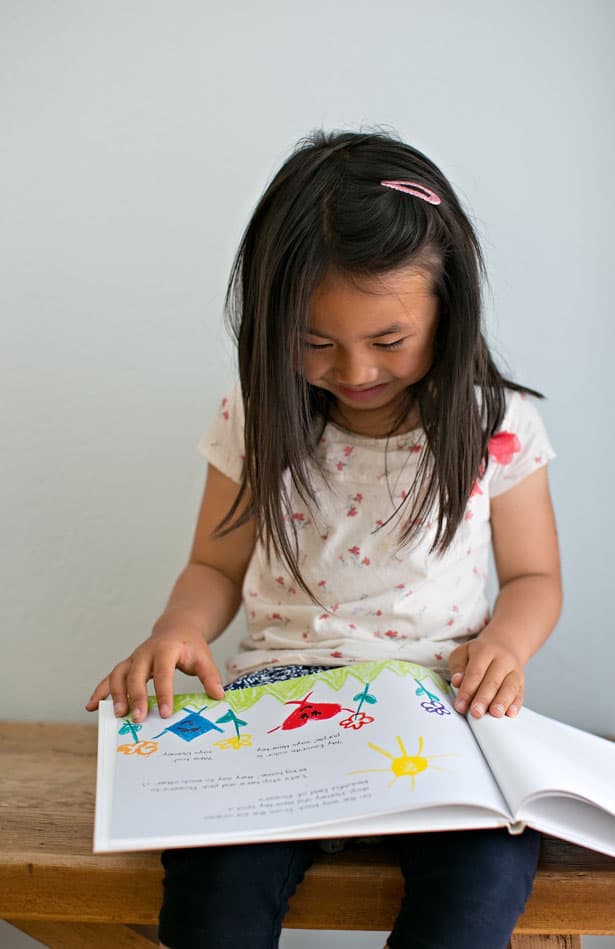

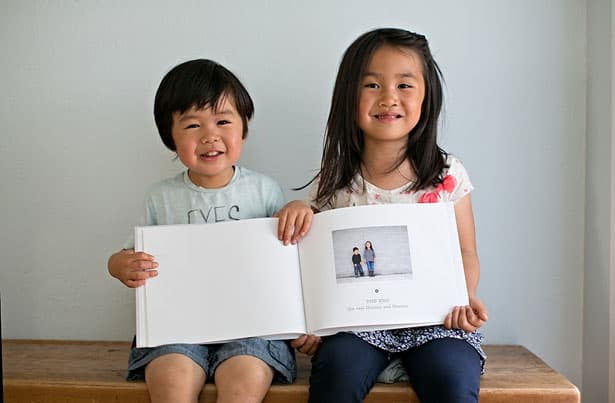
She can read the book cover to cover and especially loves reading it to her brother. We also brought the book in to her school and she read it to her classmates.
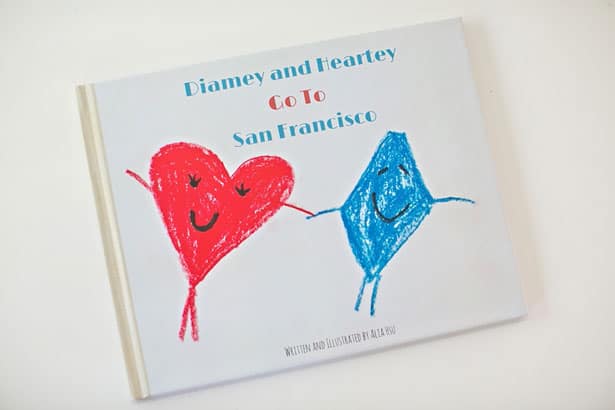
This book has become our favorite to read each night and I know it will be a special one to hold on to our collection.
What are some fun ways you encourage story telling and reading with your children?
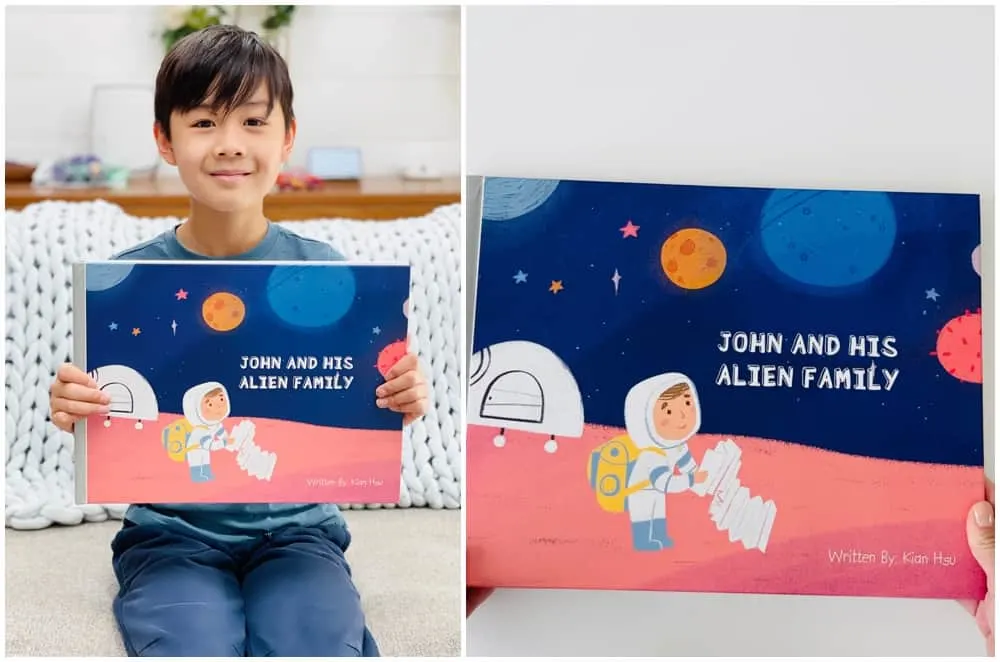
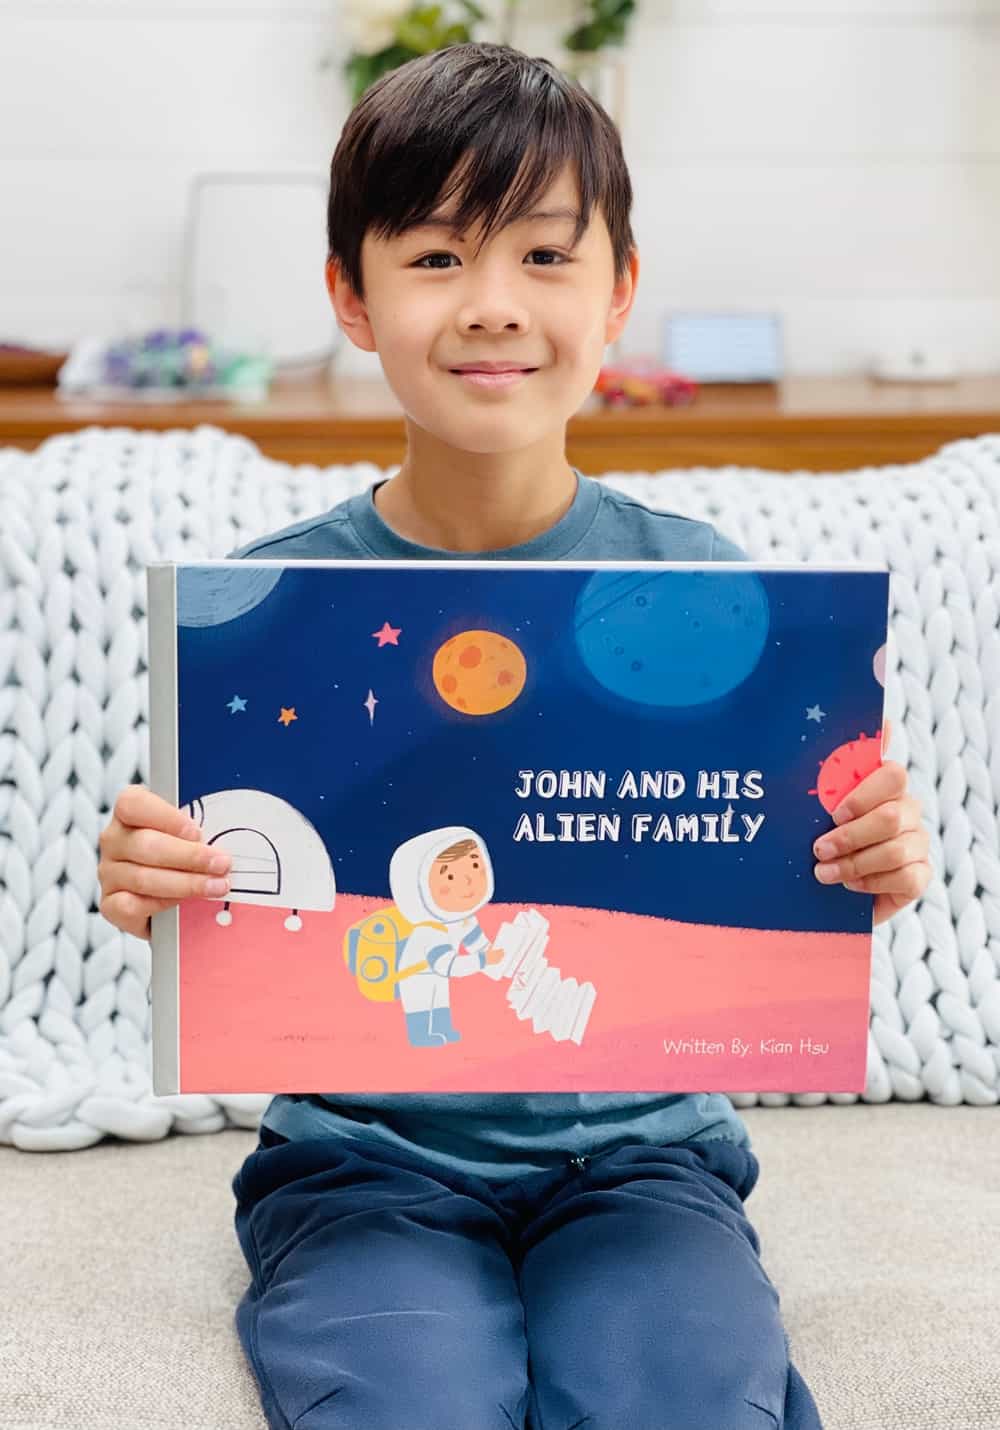
UPDATED 4/22/21 – WE PUBLISHED A SECOND BOOK WITH MY NOW 10 YEAR OLD SON!
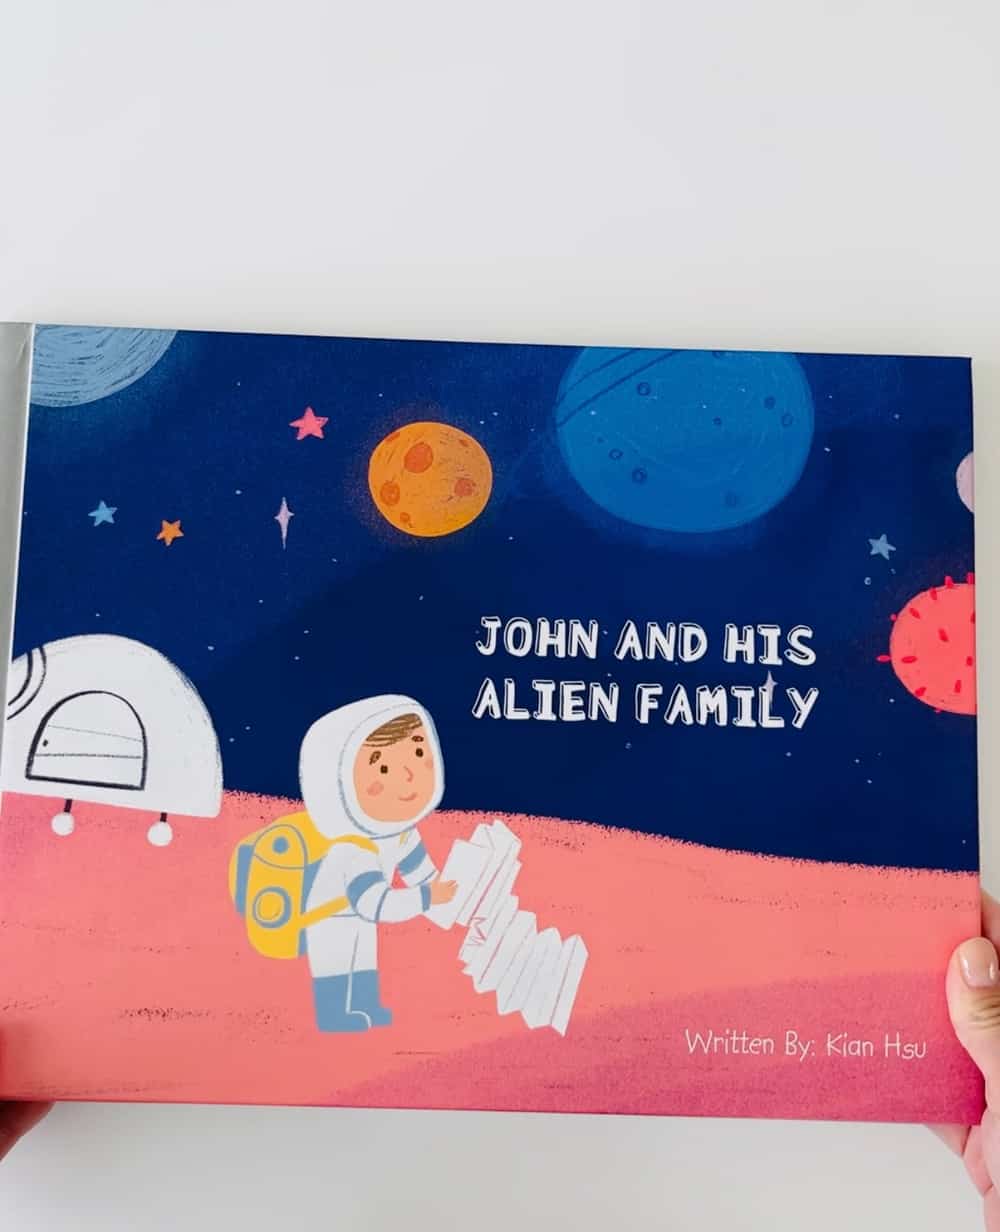
We created a second book to surprise my son for his 10th birthday. In this updated version, we actually hired an affordable illustrator on Fiverr and typed the words on a word document since the focus was on story telling. My son is at the age where his imagination is vast and he can conjure up many different characters and story arcs. The above example is great for younger child to create more of a “picture book” with simple text and drawings.
In this more advanced example, the steps are a bit different but similar.
Check out the video in this post to see the steps to publish your kid’s first book.
Step 1. Ask your child to tell you a story. You may want to do this over several days and stop only when your child feels the story is complete.
Step 2. As they are telling the story, type away their words on a computer, or laptop so you can capture their story. Some may ask why I didn’t ask for him to type it himself. My intent was for my son to tell a story freely with no bounds and restrictions for correct grammar, spelling or book structure. This was all about encouraging his imagination and love for story telling.
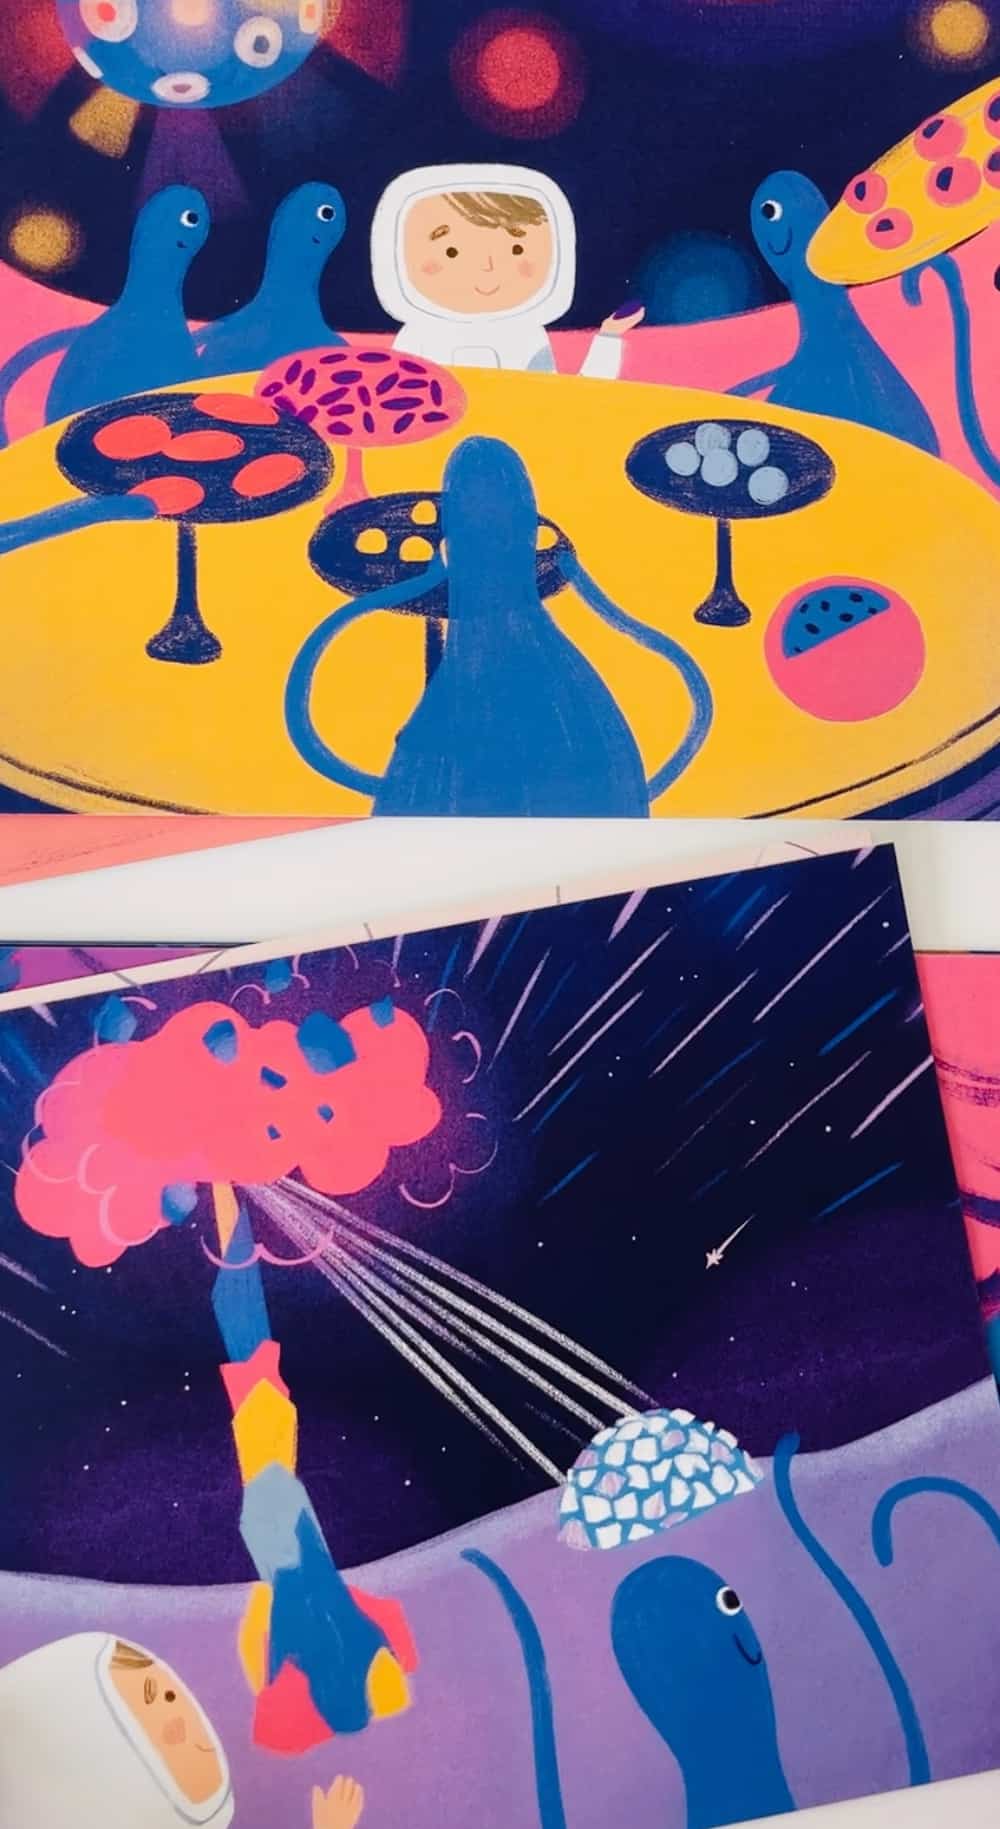
Step 3. Once the words were on paper, I showed them to an amazing illustrator on Fiverr and she created 8 key scenes from the book. Ruxandra is someone I’ve worked with for years to create graphics for my blog and I cannot recommend her services highly enough! She provided digital illustrations. Note ff your child loves to draw or illustrate they can do this part themselves. However, my son isn’t into illustrating as much as story telling so I didn’t make that a focus for his book.
Step 4. Like the picture book example above with my daughter, we used Shutterfly’s photo book template to create the book. We simply dropped in the text and digital illustrations!
Step 5. As an additional gift, I also used Shutterfly’s wall art service to print out them out and then framed them so I could place them on the wall as an additional reminder of his amazing book!
My son loved this special gift and I love that it reminds him of his amazing creativity and story telling talents!
Agnes Hsu is a mom of three and has been inspiring parents and kids to get creative with easy activities and family friendly recipes for over 10 years. She shares her love for creative play and kids food to her 2MM+ followers online. Agnes' commitment to playful learning and kindness has not only raised funds for charity but also earned features in prestigious nationwide publications.

