Follow us on Instagram for more fun ideas for kids!
Watch the video below to see how to make this cute and easy Pine Cone Christmas Craft. Make sure to subscribe to our YouTube channel for more fun videos!
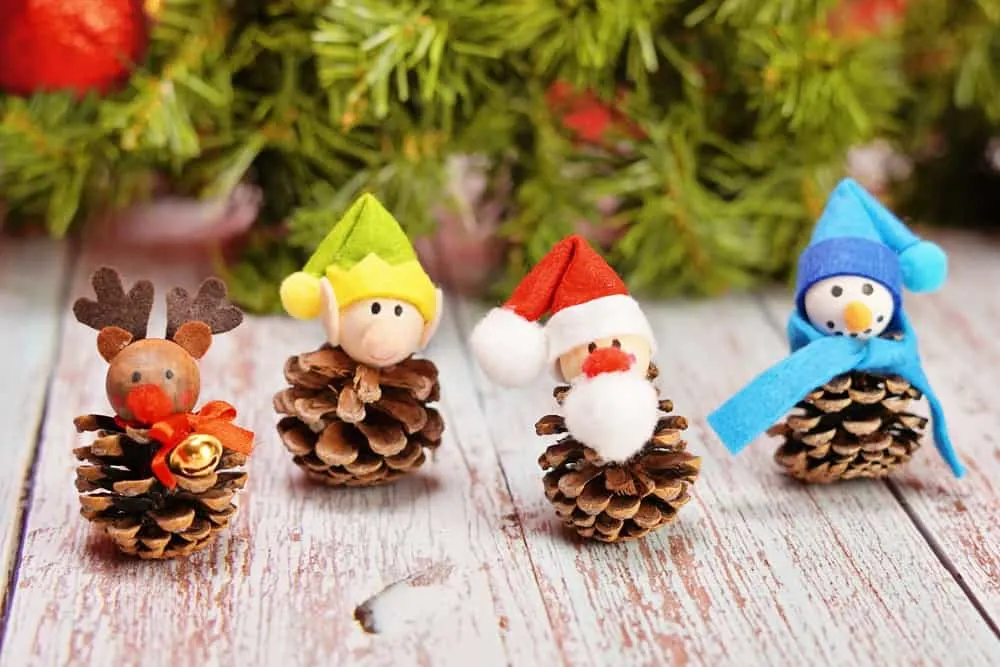
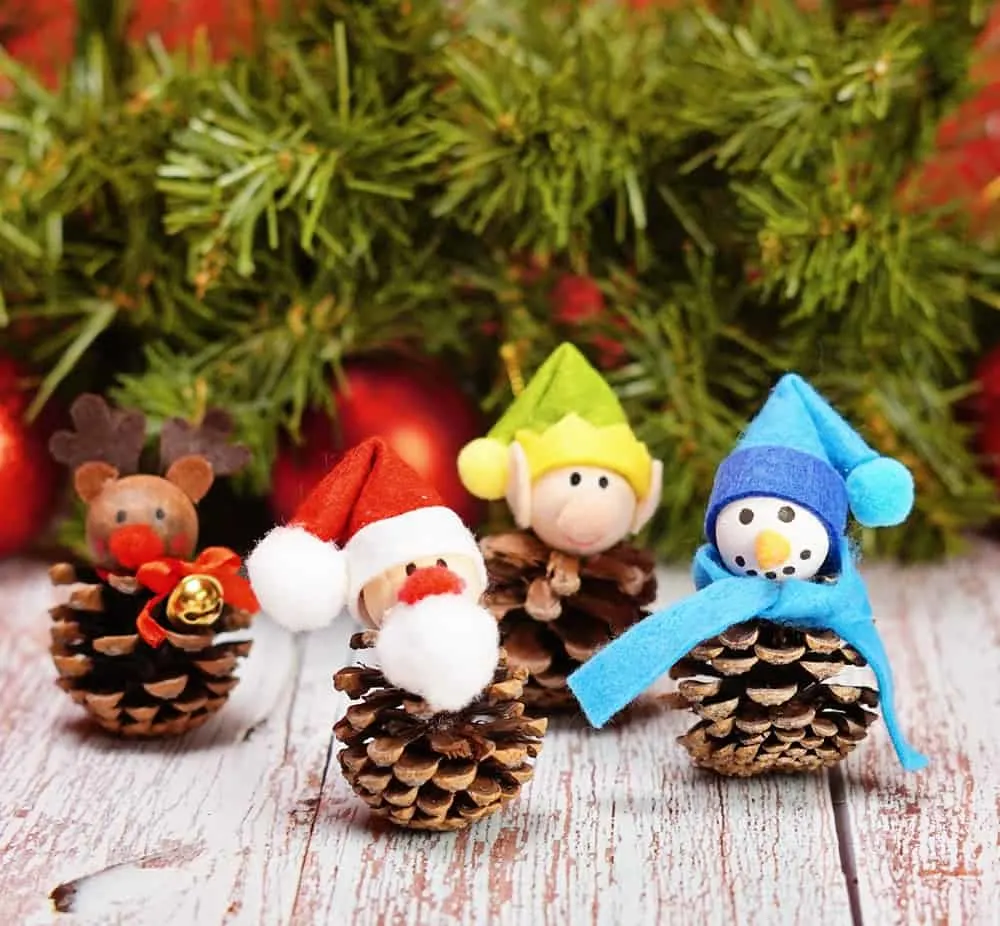
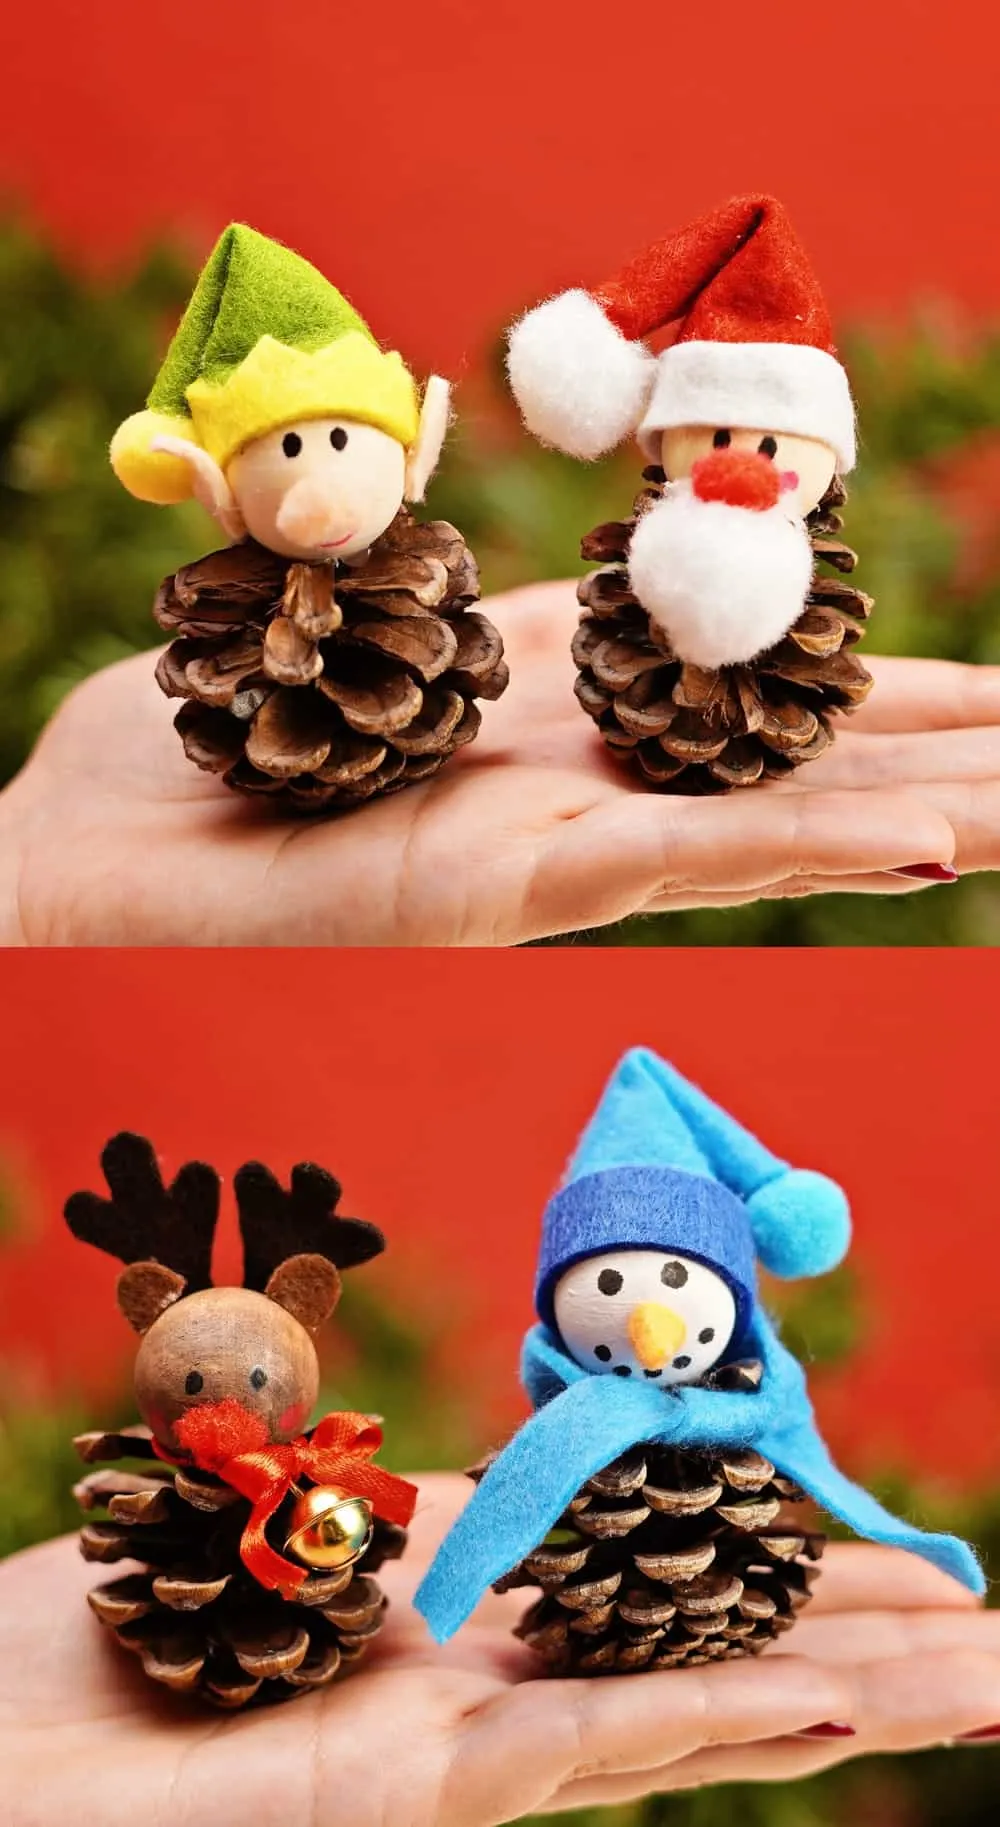
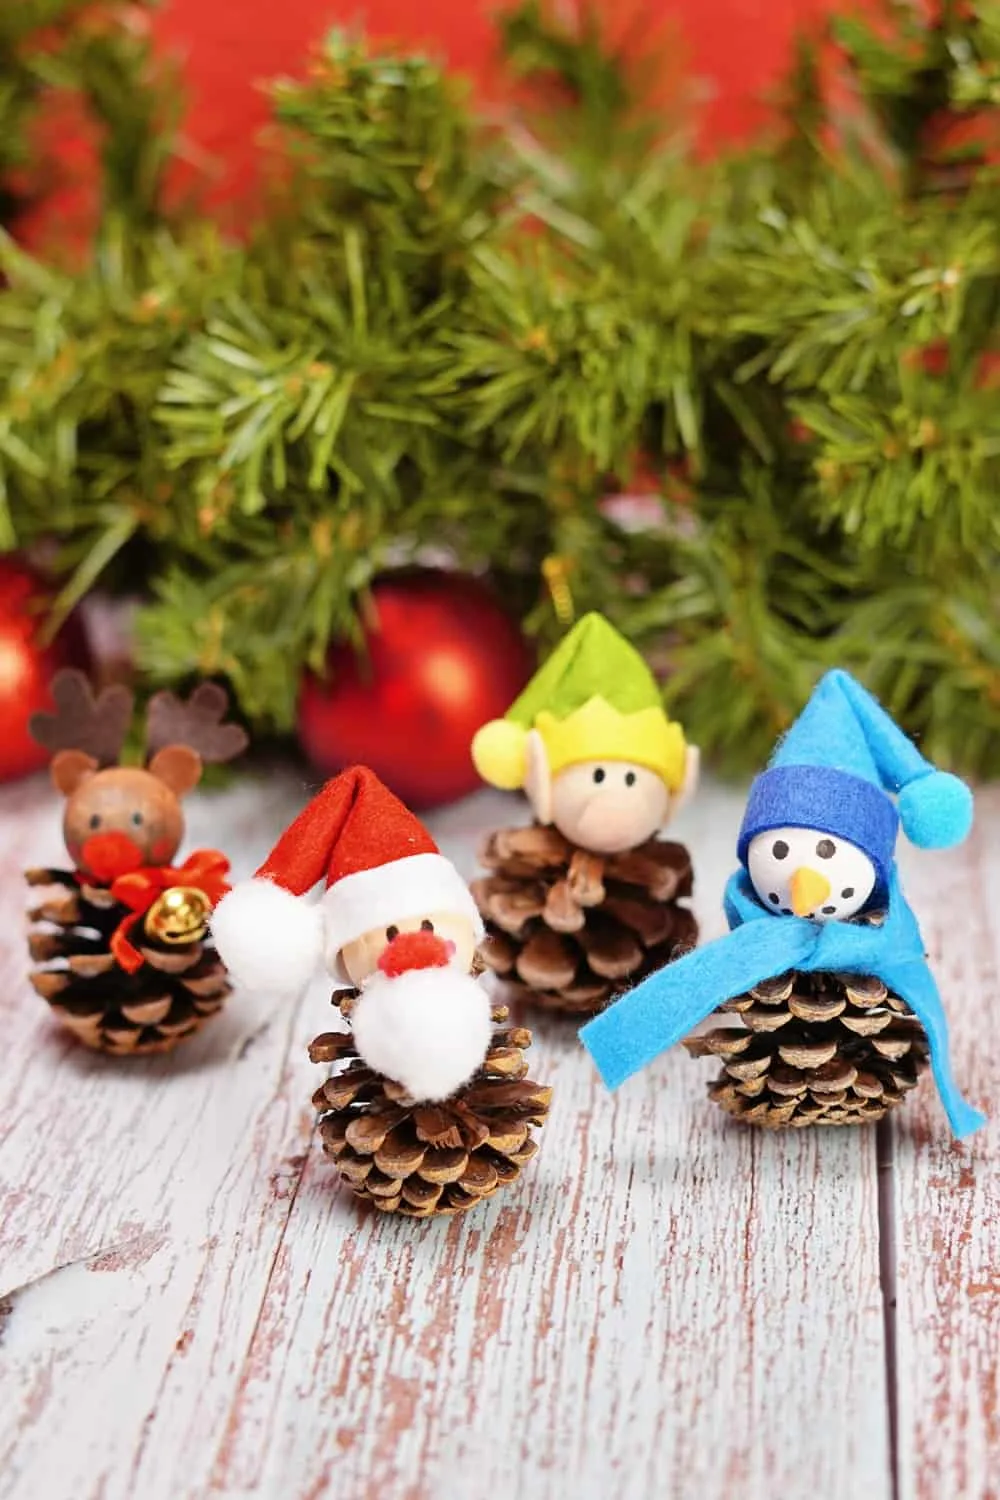
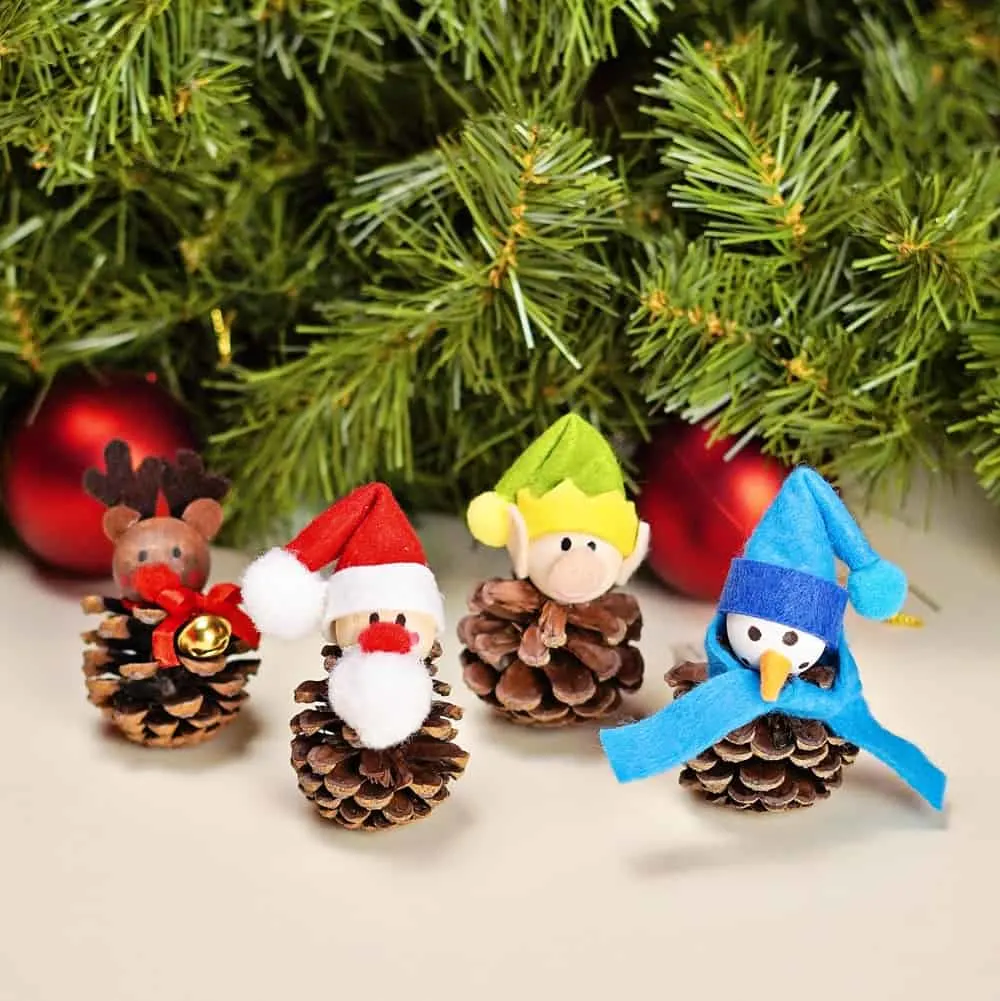
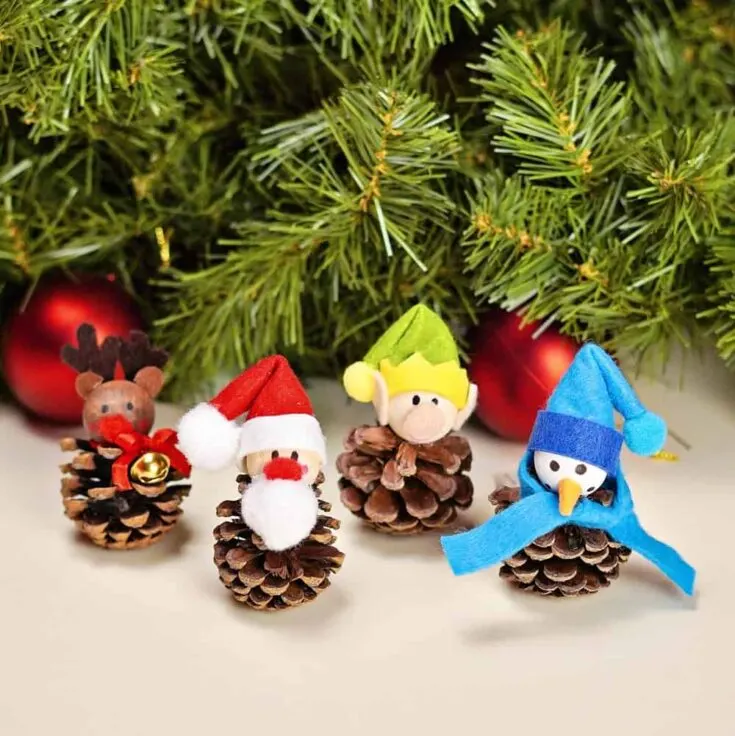
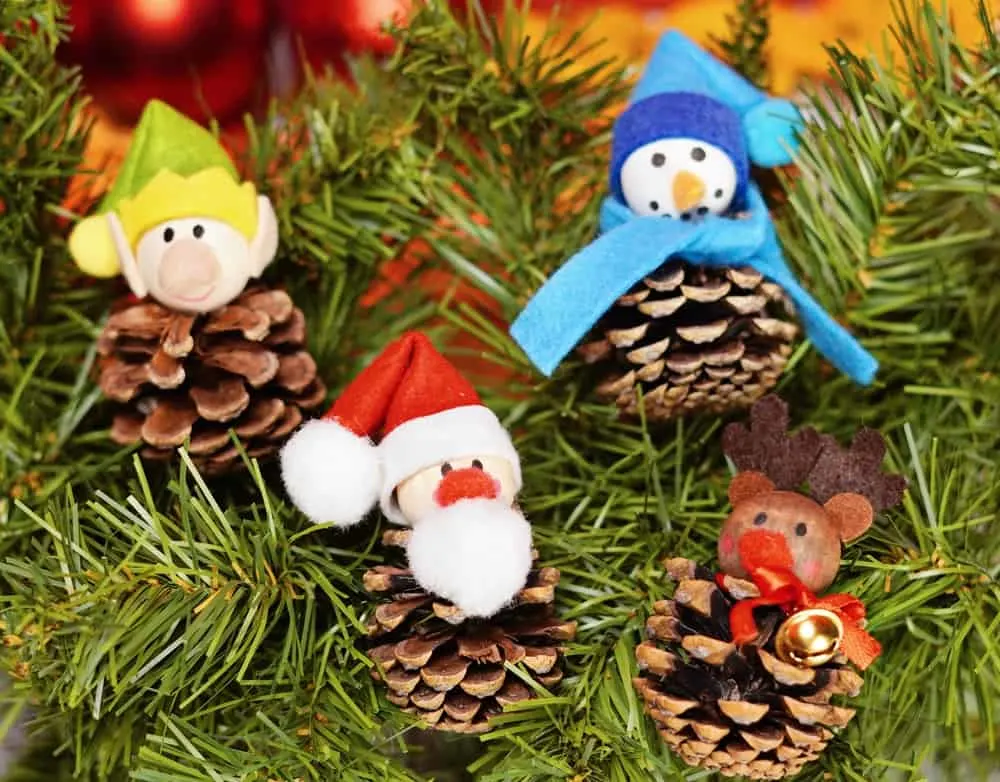
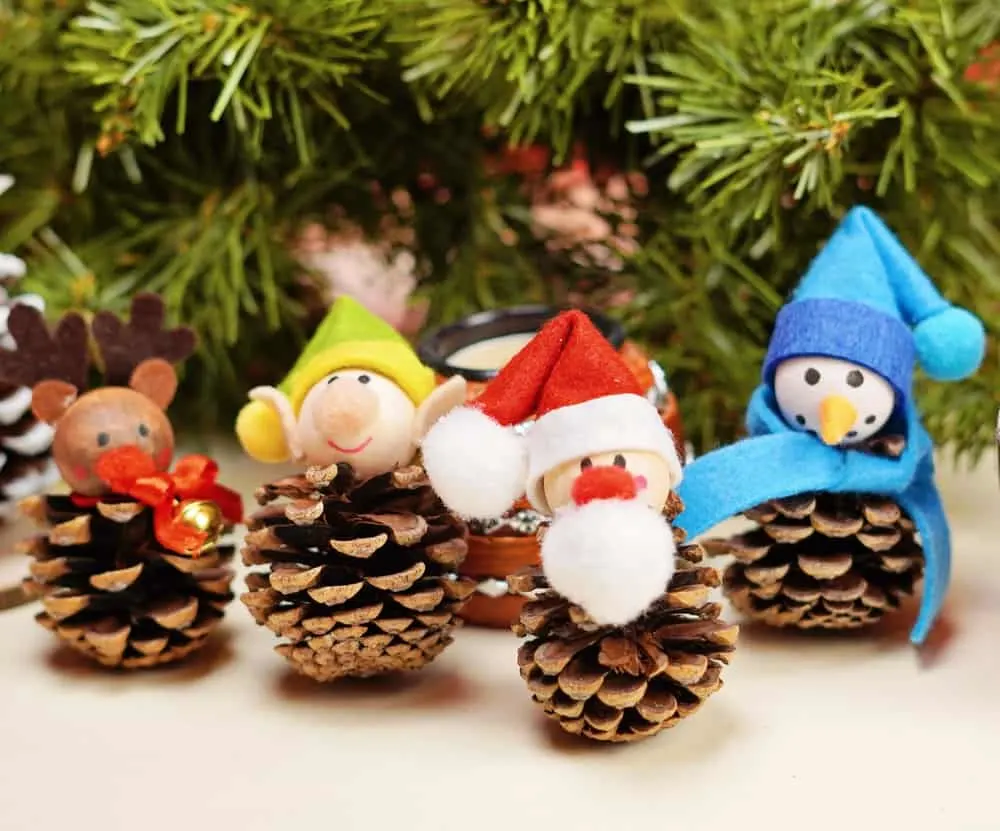
This adorable Pine Cone Christmas Craft will get you in the holiday spirit in no time! Find out how to make these cute and and easy Santa, elf, snowman and Rudolph reindeer pine cones.
Pine cones are wonderful materials for making cute nature Christmas crafts. We decided to make this Pine Cone Christmas Craft to add some holiday cheer around the home! You can easily attach a string to them to make ornaments like our Pine Cone Penguin ornament or add some Pine Cone Christmas Trees around these cute holiday characters.
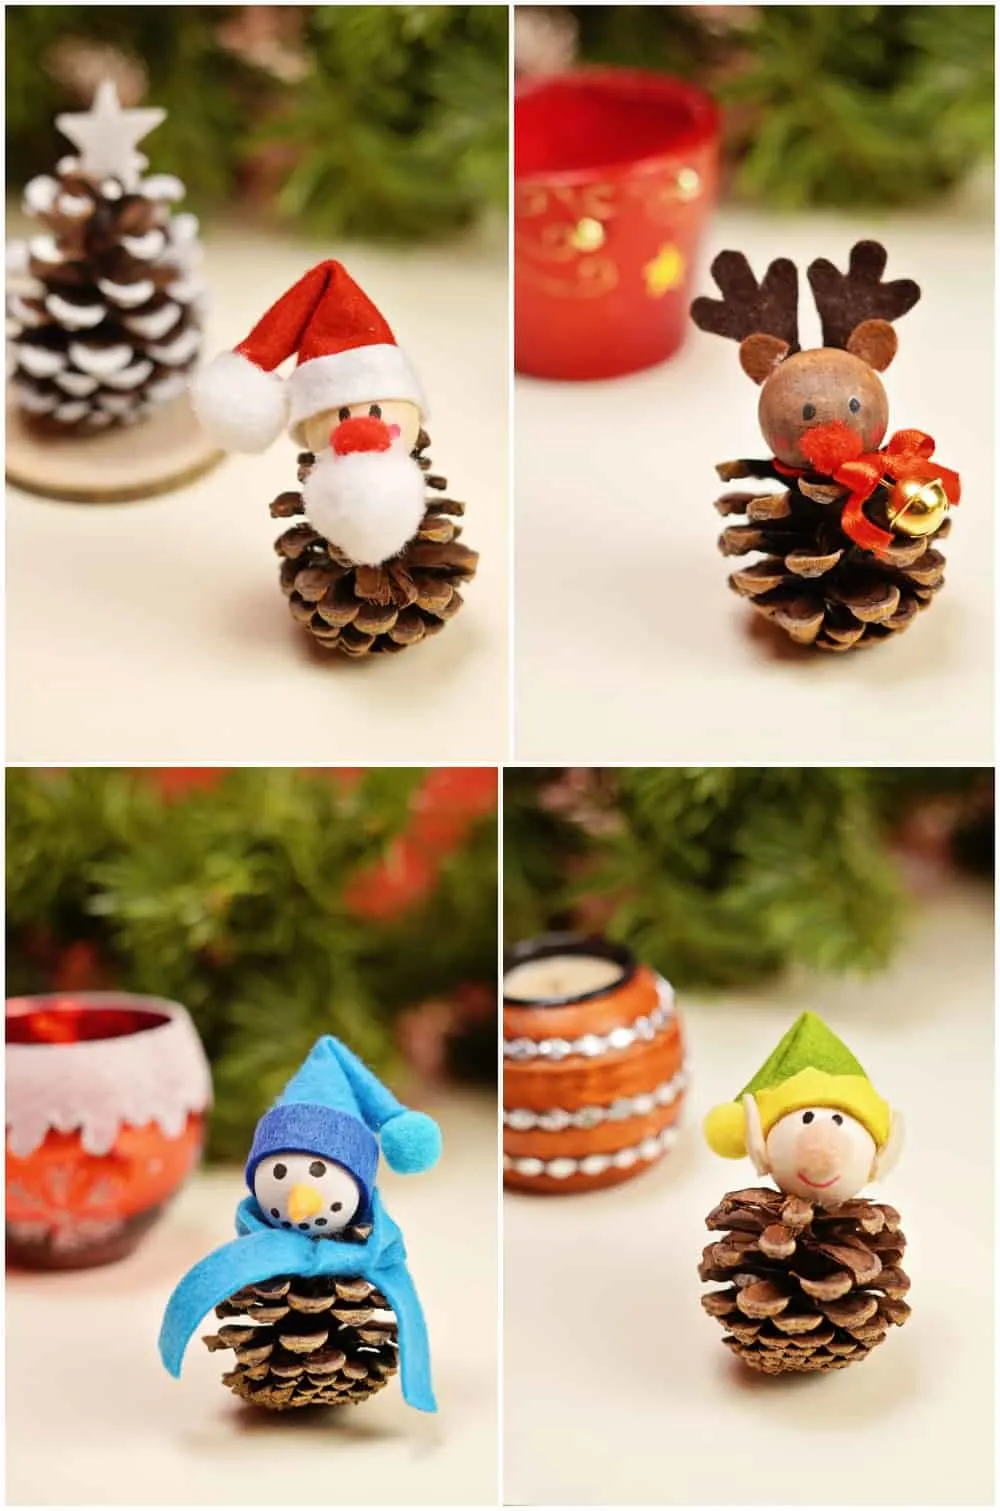
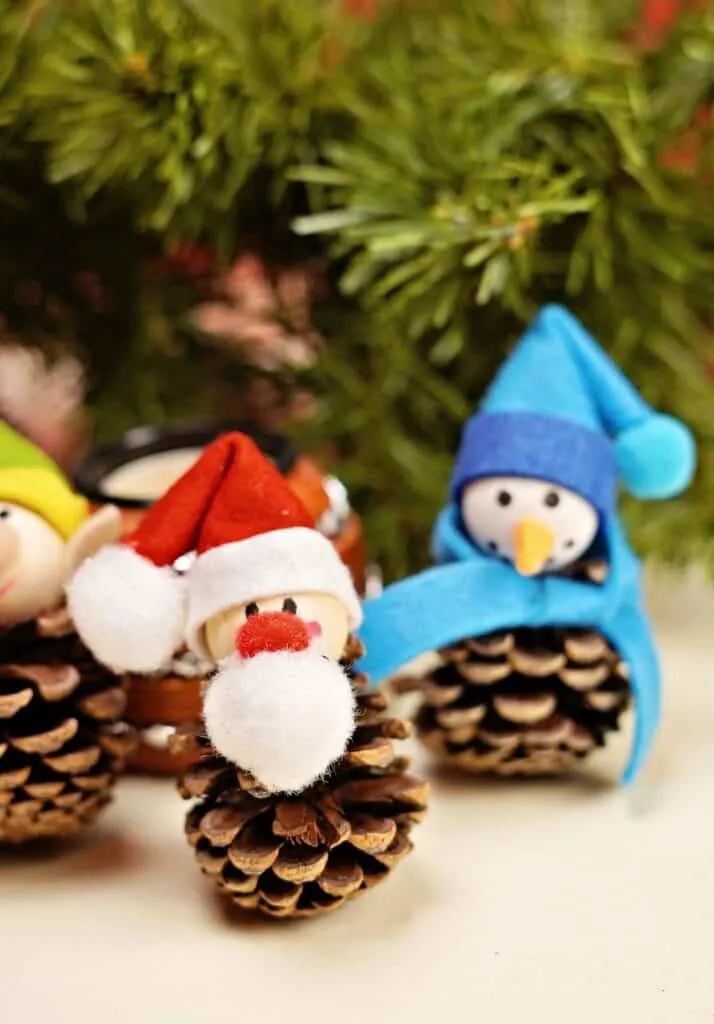
We made Santa, Elf, a Snowman and Rudolph the Red-Nosed Reindeer here but you can easily adapt and make any fun holiday pine cone characters! These DIY ornaments or Christmas decor make cute holiday crafts to make with kids!
Watch the video in this post to see how to make this pine cone craft.
What do you need to make this Pine Cone Christmas Craft
I promise you won’t need much, well other than pine cones of course! Bits of scrap felt, markers, pom pom and glue and paint are the main items. If you like to craft and make holiday crafts with the kids, I’m sure you already have most of these materials at home!
How do I turn these into Pine Cone Ornaments?
The easiest way would be to hot glue some twine that you twist into a circle and glue on back of the wooden bead head. But if you want the pine cone ornament to be more secure, you’ll need to get wooden beads that you can thread and add the string through that (follow our pine cone penguin ornament tutorial) and use a thick needle to go though the felt hat if it’s the Santa or elf.
Pine Cone Christmas Craft – Materials:
Pine cones
White and brown acrylic paint
Paintbrush
Wooden beads
Cream, orange, red and white, blue small pom poms
Black and red marker
Red ribbon
Small red bell
Scrap felt – Blue (dark and light), red, white, brown (dark and light), yellow and green
Pencil
Scissors
Hot glue gun
INSTRUCTIONS
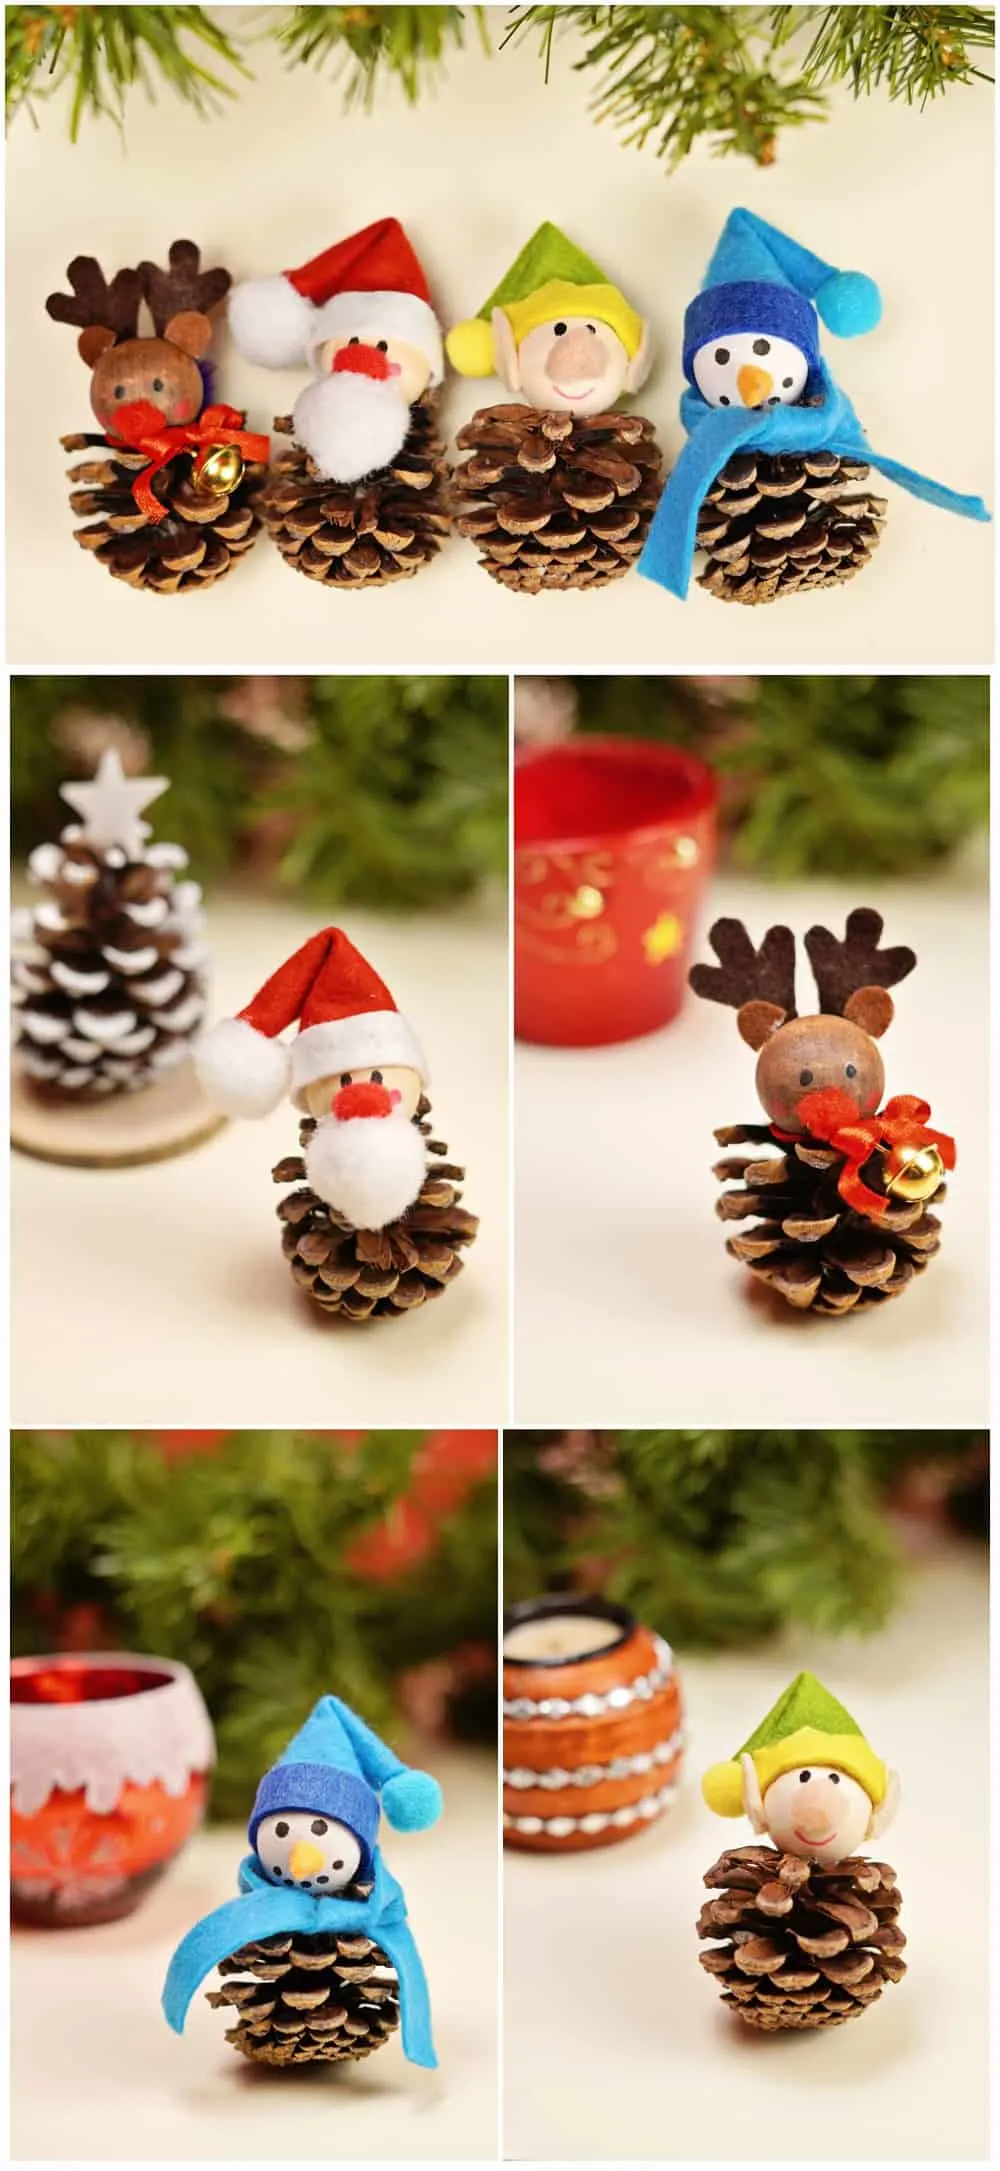
Watch the video in this post to see how to make this pine cone craft. We show how to make the Santa. Follow that example to make the rest using the images in this post as a guide.
PINE CONE CHRISTMAS CRAFT
Materials
- Pine cones
- White and brown acrylic paint,
- Paint brush
- Wooden beads
- Cream, orange, red and white, blue small pom poms
- Black and red marker
- Red ribbon
- Small red bell
- Scrap felt - Blue (dark and light), red, white, brown (dark and light), yellow and green
- Pencil
- Scissors
- Hot glue gun
Instructions
Draw a semi circle on the red felt and cut it out. Make a cone form, roll it, and glue it together. Cut a thin stripe to the white felt and glue it to the bottom of Santa's hat. Glue the white pom pom to the top of the hat. Fold it in half and glue it.
Glue the wooden bead to the hat.
Draw Santa's face (eyes and cheeks) and glue the red pom pom as a nose.
Glue Santa's head to the top of the pine-cone.
Glue the white pom pom to make Santa's beard.
Use similar method for the other pine cones using our photos as a visual guide.
Check out more holiday craft ideas to make with kids
Paper Christmas Trees
12 DIY Christmas Photo Ornaments
Seashell Angel Christmas Ornaments
Agnes Hsu is a mom of three and has been inspiring parents and kids to get creative with easy activities and family friendly recipes for over 10 years. She shares her love for creative play and kids food to her 2MM+ followers online. Agnes' commitment to playful learning and kindness has not only raised funds for charity but also earned features in prestigious nationwide publications.

