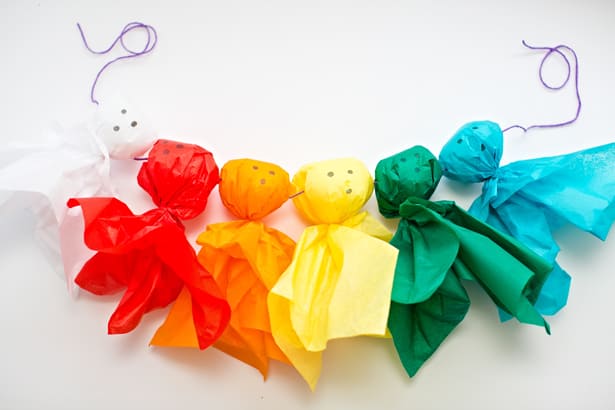
Who says all ghosts have to be white? We love rainbows around here so decided to put a colorful twist to making these easy tissue paper ghosts. String them up as a garland and you have an easy and bright Halloween decoration!
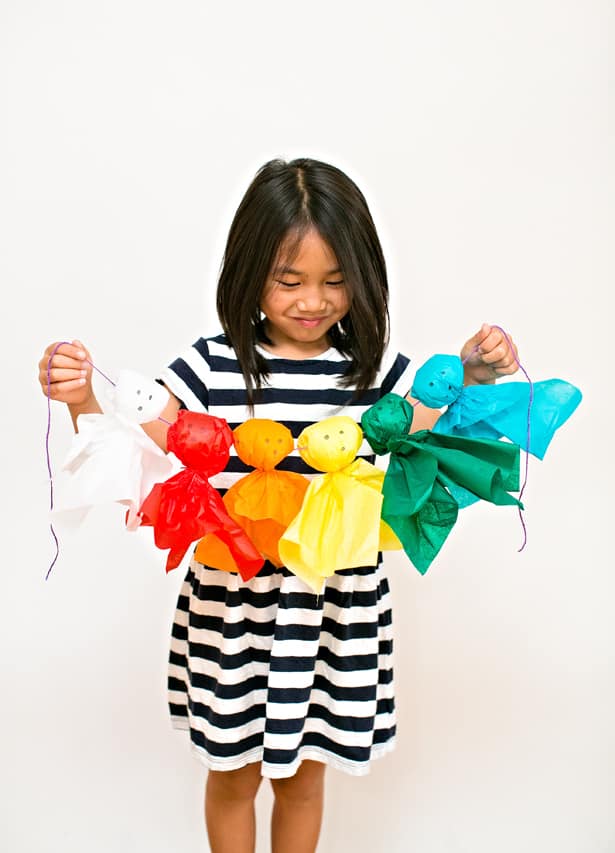
Rainbow Tissue Paper Ghost Garlands – Materials:
– Colorful yarn
– Large needle
– Colored tissue paper sheets
– Black marker
– Polyfill
Instructions:
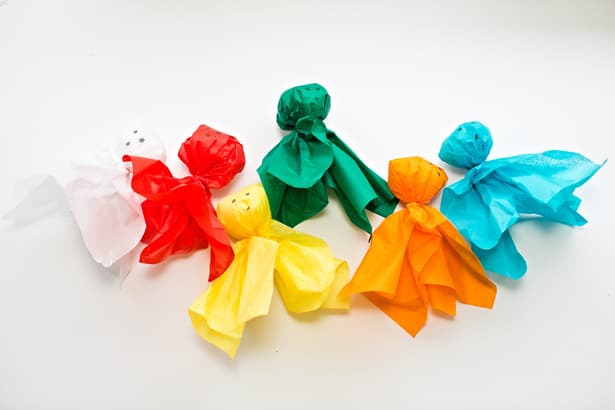
Step 1. First make your ghosts. Use one sheet of tissue paper per ghost (ours measured 12″ x 18″) and grab a small handful of polyfill. Place the tissue paper over your polyfill and tie securely around it with yarn or string.
Step 2. Use your black marker and draw on your ghost faces.
Step 3. Thread your needle with yarn or string and pierce through the tissue paper ghosts to create your ghost garland.
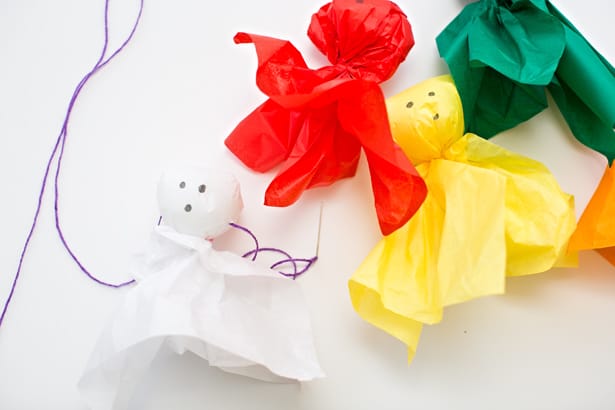
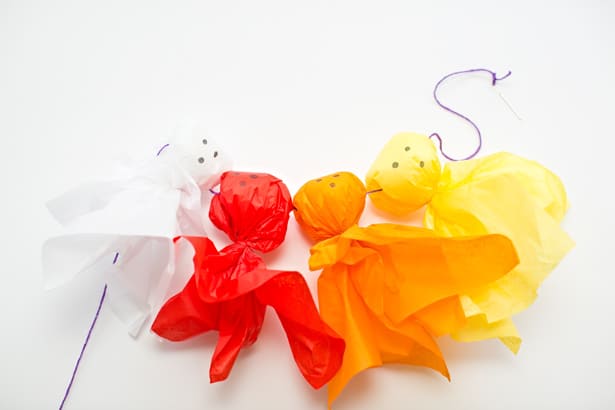
This is a fun craft for kids to help make. They’ll love wrapping up the ghost and older kids can help thread the needle through with supervision.
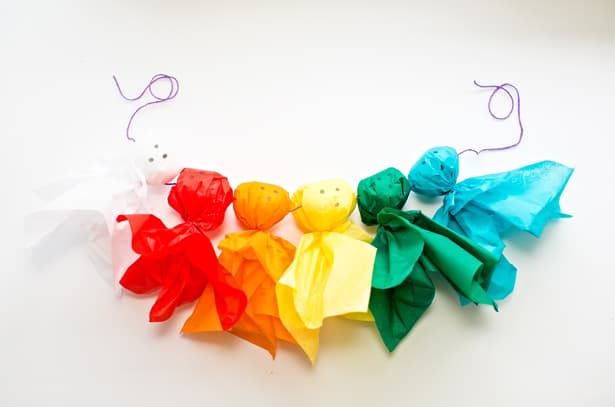
What are some of your favorite easy Halloween crafts? Check out more fun ghost crafts!
______________________________________________________________________________________________________
Disclosure: Some of the links in the post above are “affiliate links.” This means if you click on the link and purchase the item, we will receive a small affiliate commission. Regardless, we give our promise that we only recommend products or services we would use personally and believe will add values to our readers.
Agnes Hsu is a mom of three and has been inspiring parents and kids to get creative with easy activities and family friendly recipes for over 10 years. She shares her love for creative play and kids food to her 2MM+ followers online. Agnes' commitment to playful learning and kindness has not only raised funds for charity but also earned features in prestigious nationwide publications.

